Overwatering Chillies

Collapsed seedlings

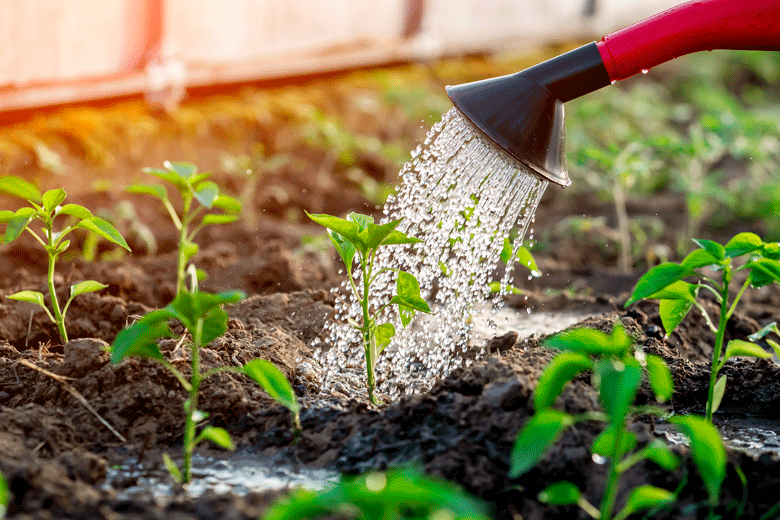
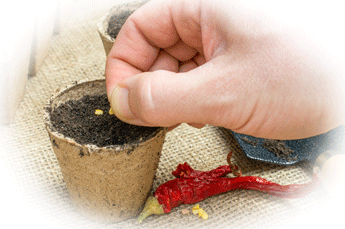
Overwatering Chillies is something to be avoided at the best of times.  However. when checking my seedlings a couple of days ago and finding a couple had fallen over, I said ” here we go again. This has happened to me before. My first thoughts were “I hope this isn’t damping off.” If it had been, I would have been seriously alarmed.

Damping off is a disease where seedlings have been attacked by one or another pathogens that cause their stems to rot.  These nasties are rapid killers that can kill off a tray of seedlings in no time at all. What’s more, if not effectively dealt with, damping off can transfer to all seedlings in immediate proximity.  It has the potential to wipe out everything

The seedlings were in wet soil. This is just inviting the nasties mentioned to come visiting. These nasties include the Rhizoctonia fungi, Phytophtora, Fusarium, and the water mould Pythium . These pathogens can spread from seedling to seedling through shared potting media and irrigation water. In my case, shared irrigation water could have posed a risk. I keep my seedings in seed trays that share watering. If this was the start of damping off, my seedlings were in danger. The situation did not look good at all!

I could have kicked myself. It is one of the first lessons I learned when I began growing Chillies. Seedlings shouldn’t be given too much water. I constantly try to remind myself about this. Overwatering is not good for Chillies, full stop.  Chillies don’t like too much water when they are fully grown. They like overwatering even less when they are seedlings (no more emphasis required)

Read more

Going peat free

About peat

In a previous post, I mentioned that I would be looking at ways to go peat-free. There are concerns about the effects rapidly diminishing peat bogs and peat lands are having on the environment.

Peat is one of the most effective carbon sinks on the planet. A carbon sink accumulates and stores carbon-containing chemical compounds for indefinite periods. In doing so, they reduce the concentration of carbon dioxide (CO2) from the atmosphere.

As we know, carbon dioxide is one of the biggest causes of global warming. By continuing to remove peat from bogs at the rate we are, we are creating irreversible problems.

Peat, which is an accumulation of partially decayed vegetable or organic matter, takes thousands of years to form.  We are currently using Peat up it up far quicker than it takes to make. This could make a situation, which is already out of control, as far as the environment is concerned, even worse. So, as much as I am a fan of using peat in growing Chillies, stop, I will. Other alternatives will need to be found.

I have already started some seeds for next season. I must admit I used peat pellets to start these seeds. The pellets are, however, what I have left over from the season that has just passed. Little would have been achieved by throwing these out.  However, I have taken the first step in going peat-free.

Read more

Cooking with Scotch Bonnets

Scotch Bonnets are a favourite

For me, this is always a fun time of the year. After having grown Chilies for the last eight months, now is the time to begin cooking with them. This post will be the first in a series I intend to write about the Chillies I harvest for this season. I want to delve into how these Chillies can be used in cooking. In the first of these posts, I explore cooking with Scotch bonnets.

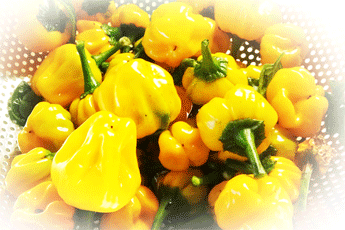
Earlier this week, I harvested some yellow Scotch bonnets from a plant I overwintered from last year. All in all, I picked forty pods from this plant alone. The plant still has about ten pods on it, so by the time these ripen the plant will have delivered about fifty Chillies. That’s not bad for a single plant.

I am really happy with this result, as Scotch bonnets are one of my favourites. It is such a versatile Chilli with loads of flavour and there is so much you can do with them.

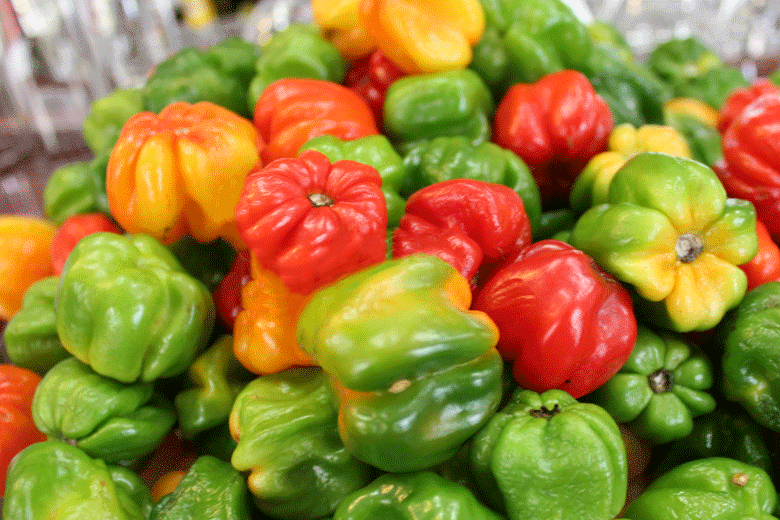
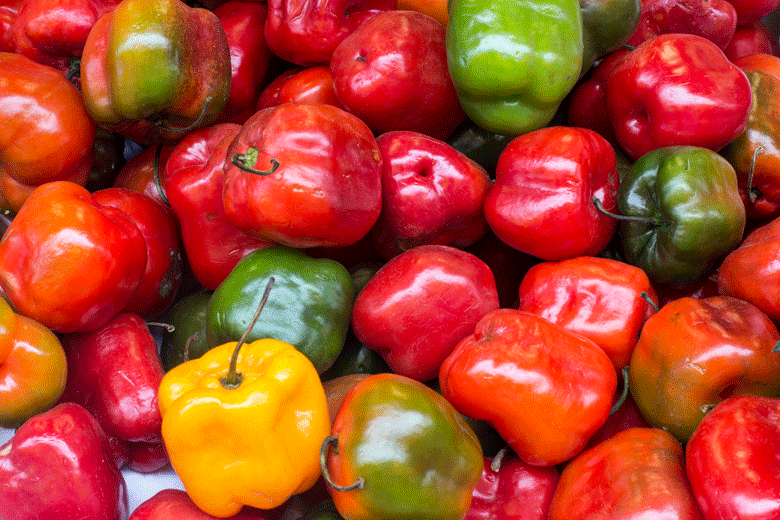
They are quite hot Chillies with a Scoville rating of between 100000 and 350 000 SHU, but by not using too many in any one dish, this heat is quite tolerable. I have previously made seriously good  hot sauce with Scotch Bonnets. I have also dried them to make Chilli flakes, used them in curries , and made jerk chicken.  There are however many more uses for Scotch bonnets in cooking.  To help me decide how I will use these Chillies, I will explore where Scotch Bonnets are used elsewhere.

Read more

First frost

Nearing the end of the season

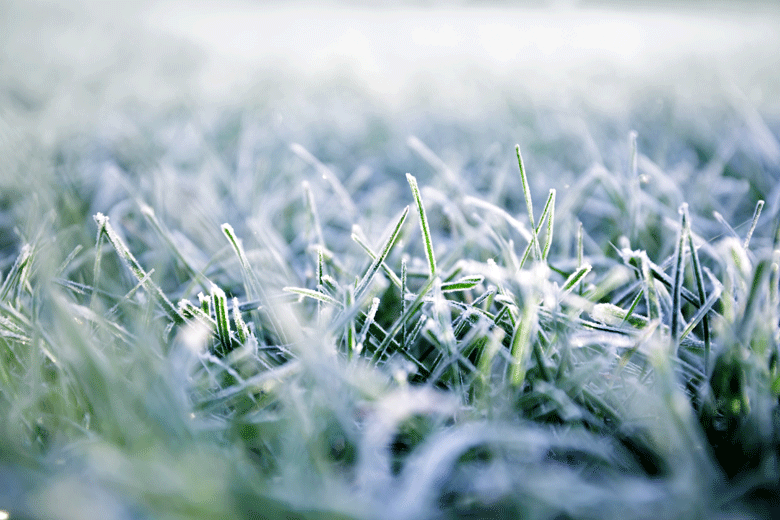
I have been dreading  for this for a couple of weeks now. It has gradually been getting colder, and this morning there it was – the first frost.  When the first frost arrives , if you haven’t yet managed to get your plants under some form of cover, be it protective fleecing, indoors or into heated enclosures, that’s it. Your Chilli growing season  will soon be drawing to a close. Chillies don’t like the cold!

The first frost arrives in various areas in the UK at different times. The general rule is that the further North you are, the quicker it will come. I live in the Midlands and was expecting the first frost towards the middle of the month. However, this year the first frost arrived at least ten days earlier than I believed it would. Fortunately, I managed to get all my Chillies indoors or into heated enclosures  a couple of weeks ago.

Last season  I covered some of my plants with drawstring plant covers, as I did not have enough space for my plants under cover. This was the only way I had of keeping the frost off the plants. By covering them, I managed to extend the season for a while, but it was nowhere near as effective as bringing them inside or into the heated areas.  The covers can only provide limited protection. After a while, it just becomes too cold for them to work effectively.

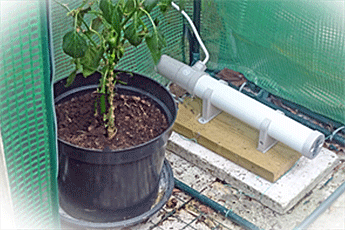
The heated enclosed areas I refer to are a mini glass greenhouse, and two tomato grow tents. I erected these last year. I also had some weatherproof outdoor electrical sockets installed. By having these sockets installed, I was able to place low energy tubular heaters inside these areas. These heaters only draw 80 watts, which means they do not use much electricity. They do, however, do a fine job of keeping the plants warm.

Read more

Star performing Chillies of 2021

Where it all started

I began this growing season indoors in heated propagators and under grow- lights   at the beginning of March. I started seeds in the first week of the month, and followed that up with planting more seeds a couple of weeks later. I started Longhorn F1s, Ciliegia Piccante (Satan’s Kisses), Thai Demons, Barak Chillies, Orange Habaneros, and African Devils.

I also had some overwintered plants from the 2020 season. These were a couple of yellow Scotch Bonnets, Bolivian Rainbows, a White wax and a Trinidad Scorpion  Butch T. A few weeks later, I started seeds for Chi Chiens, Purple Tigers,  more Scotch bonnets, Habaneros and Prairie Fire Chillies. I didn’t know it at the time, but somehow I managed to plant Apache F1 Chilllies as well.

It has been a strange season. There has not been much sunshine. The result is that my Chillies have not done as well as I might have hoped.   They seemed to take forever to grow. However, with some perseverance and deviating from what I usually do (including changing fertilization and ripening methods), I managed to get some normality back in the season. Well, kind of anyway!

I had quite good germination rates and currently have plants for most of the seeds I started.  Right now, many of these plants have fruited. In most instances, the fruit is now ripening. Particularly on the plants I brought indoors early in the season.  Some plants, however, have only just managed to flower. Some haven’t even managed to do that. It’s all a bit of a mystery why this happened.

Read more

How to grow Rocoto Chillies

The journey of a single Chilli

In a previous post, I mentioned I wanted to grow Rocoto Chillies. It is a variety that I have never grown before and thought they would be perfect for this post (and more to follow). The idea is to chart the progress of a Chilli variety from seed right through to maturity. In future posts, I will write about the Chillies progress from the minute it is planted until the plant produces fruit. Once the Chillies get harvested, I will describe how they are used in cooking.

So why did I choose Rocoto Chillies?  The answer lies in the weather in the UK. This year I have problems with ripening. I have lots of Chillies, but many haven’t yet ripened. The season seems to be running out of time. It has become a race against time before the first frost.

When I learned that Rocoto Chillies have a tolerance for the cold, I was immediately interested. The Rocoto will have a longer growing season than some of the Chillies I planted in the 2021 season.  I have already had to bring this year’s Chillies indoors or into heated enclosures so they can ripen. Hopefully, next year, I will be able to avoid doing this with the Rocoto because of its ability to handle cold weather.

Read more

How to take cuttings

Taking cuttings from  Chillies

Yesterday, while cutting back a Bolivian Rainbow plant to make a Bonchi, I decided to take cuttings from the stems I had cut off.  Throwing perfectly good Chilli stems away seemed like sacrilege!

Taking cuttings is a fantastic way of cloning exact replicas of your best plants.  If the parent plant is a star, the odds are that the plant from a cutting will turn out that way also  That is a real bonus!

It is also an excellent method of growing Chillies if you have left the growing season a bit late. You will, of course, have to have overwintered Chillies to make cuttings from them, but if you have overwintered plants, Bobs, your uncle. You can eliminate having to germinate seed, and then wait for them to reach a reasonable size before potting- on and hardening off.

However, taking cuttings is not as simple as snipping off a stem , placing it in water and hoping for the best. It requires more than that. A bit of science is required to make the magic of root cuttings work.

The following guidelines are based on that science.  Follow them and you will have every chance of success in your Chilli cuttings.

Read more

Saving seeds

Saving Chilli Seeds: Your Guide to Future Flavour

There’s nothing quite so rewarding as growing your own chillies. And once you’ve savoured the spicy fruits of your labor, you may find yourself wondering about saving seeds for future cropsAs well as saving money, it allows you to preserve the genetics of your favourite varieties. Yet successful seed saving isn’t quite as straightforward as just scooping out some seeds; it’s also about drying them correctly so that they will still be viable when planting time rolls around again.
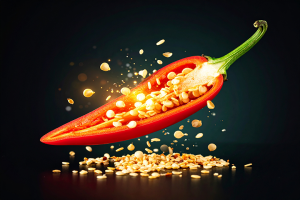
Prior to the how, the why. Chilli seeds, like most seeds, need to be gradually dried to remove moisture. If they‘re too wet, they‘re a haven for mould and mildew and will be unusable in no time. Too little moisture (i.e., drying them too quickly with high heat) can also damage the delicate embryo inside, reducing germination rates. What you’re looking for is a slow, even dry.

While most individuals relate seed saving with the close of the season, you can save seeds all along as your chillies mature throughout the growing seasonThe moment you have a fully mature, healthy chilli pod ready to be harvested, you can go ahead and extract those seeds. This way, you don’t have to wait for the plants to be dying off; you can harvest seeds from your best performers as they mature, ensuring you are harvesting the genetics of your strongest and most prolific plants.
Step-by-Step Guide to Drying Your Chilli Seeds:

Below is the ultimate step-by-step guide to drying your chilli seeds for planting later:

1. Harvest from the Best (and Ripest!)

Quality In, Quality Out: Start with entire, healthy chillies that are totally ripe. They should be their mature colour (generally red, but varies with variety) and be free of disease, shriveling, or damage.

Avoid Hybrids (Unless You Like Surprises): For a guarantee that your future plants will be identical to the parent, take seeds from “open-pollinated” or “heirloom” varieties. Seeds from F1 hybrids won’t normally grow true to type, and you‘ll possibly end up with something quite different!

2. Extracting the Seeds Safely

Gloves, Gloves, Gloves! You can’t say this enough. The oil that makes chilli hotcapsaicinis found in the white membranes holding the seeds. Get this in your eyes or, even worse, on your skin, and you will regret it!

The Cut: Slice your chilli in half lengthwise carefully.

Scrape Them Out: Using a small spoon, a knife tip, or even your gloved fingers, gently scrape the seeds away from the white placenta and inner walls. Try to remove as much of the wet pulp as possible.
3. Prepare for Drying – The Golden Rule: No Washing!

This is a common cause of confusion. The majority of people think that they should wash the seeds to clean them. Do not wash your chilli seeds!

Why No Washing? Introducing extra moisture in the form of washing significantly increases the risk of mould during the drying process. The capsaicin left on the seeds and membrane is actually a natural antifungal/antibacterial agent.

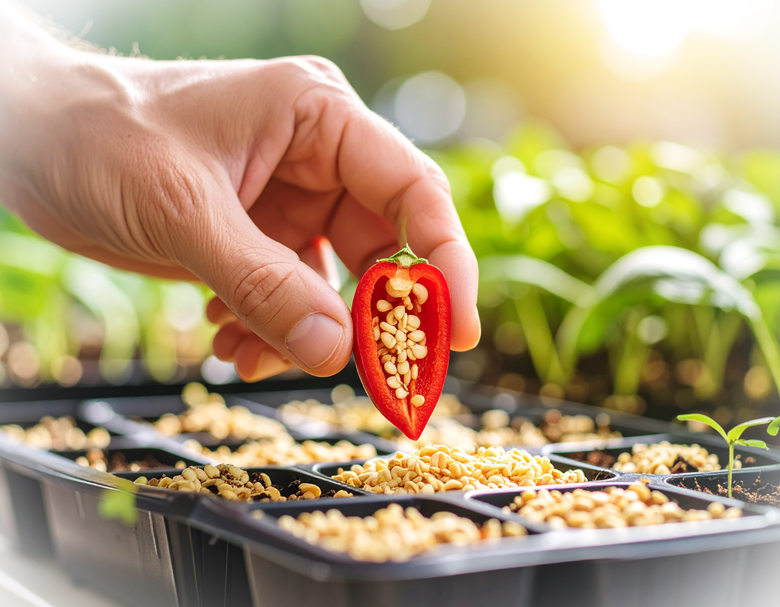
Spread Them Out: Once you’ve scooped them outlay your seeds in a single layer on an absorbent surface. Some good ones include paper towels (be gentle peeling them off later, or just plant the piece of paper with the seed!), blotting paper, plain typing paper, or paper plates (preferably unwaxed ones, or ceramic plates).
Label Everything: If you’re drying more than one varietymake sure to label each section clearly to avoid a  mystery chilli patch next year!

4. The Drying Zone: Patience is a Virtue

Location, Location, Location: Find a warm dry spot with a little air circulation. A countertop not in direct sun, a cabinet with the door slightly ajar, or even a window sill (if it’s not in the sunwill work.

Avoid Direct Sunlight & Heat: Do NOT put your seeds in direct sunlight, on a radiator, or in an oven. Suddendirect heat will “cook” the embryo and destroy viability. A slow, steady dry is what you want.

Turn and Check: Over the next 1-2 weeks, gently turn the seeds occasionally and, if using paper, change it if you find that it is becoming damp. This encourages even drying.

How to Tell They’re Dry: Seeds are totally dry when they are brittle and crack rather than bend when you try to bend them. If they are still pliable, they need more time.

5. Storage: The Long Sleep

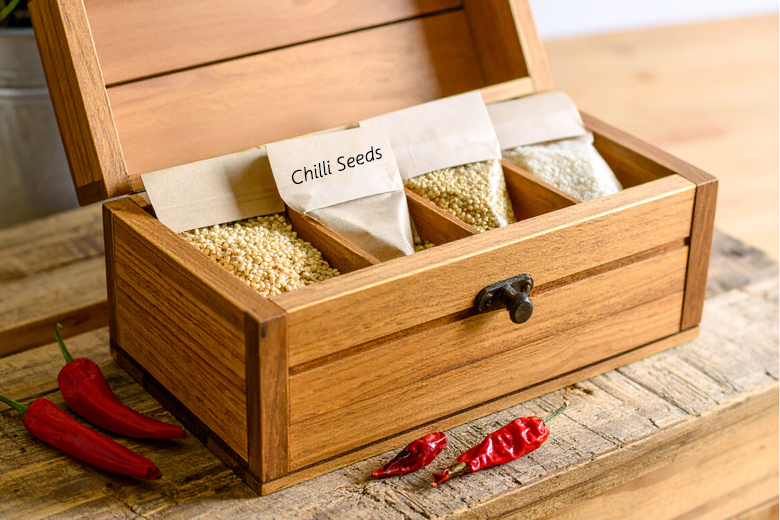
Airtight is Right: Store your seeds in an airtight container when they are completely dry. Small zip-lock bags, glass jars with tight lids, or even film canisters will do.

Add a Desiccant: To eliminate any last traces of moisture and preserve low humidity, add a small desiccant packet (like the ones that come in new shoes) or a few grains of dry, uncooked rice to the container.

Label Clearly: Don’t miss this one! Label with harvest date and chilli variety. You think you will remember, but you won’t!

Cool, Dark, Dry: Store your containers in a cool, dark, and dry place. A cupboard is okay, but the crisper drawer of your fridge is even better for longer-term storage as it maintains consistent cool temperatures and low humidity.

By following these simple yet vital steps, you’ll be well on the road to a fruitful chilli garden year after year, all from your own saved seeds! Which varieties will you be saving this year?
Harvesting Chillies

Picking ripe Chillies

The best way to harvest

The season is almost over. We are now at the point where we can start harvesting ripe Chillies. All the time and effort that has gone into growing the Chillies will be rewarded with, hopefully, an excellent crop. Now we just have to make sure that we harvest them properly.

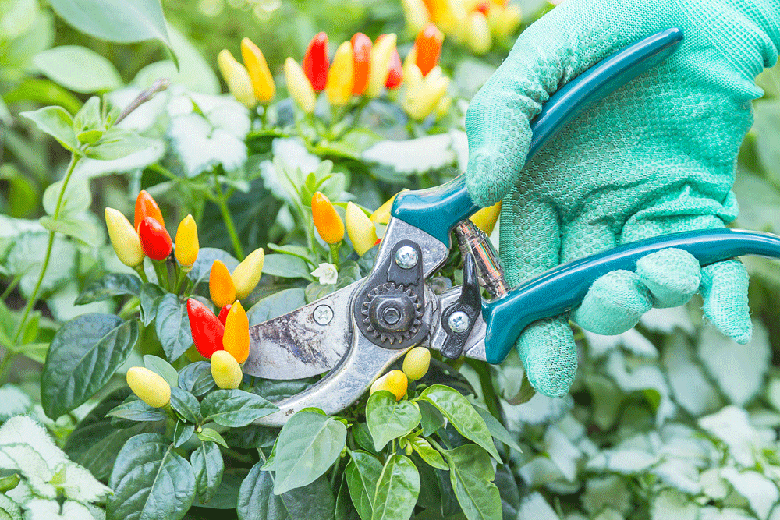
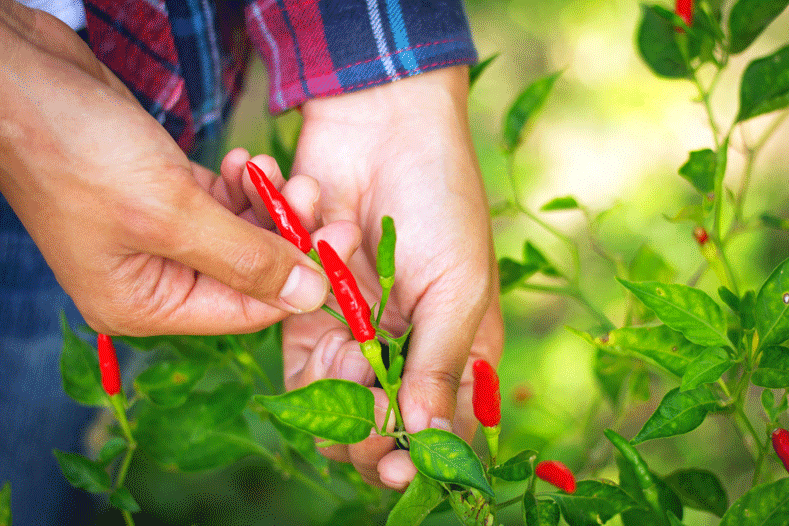
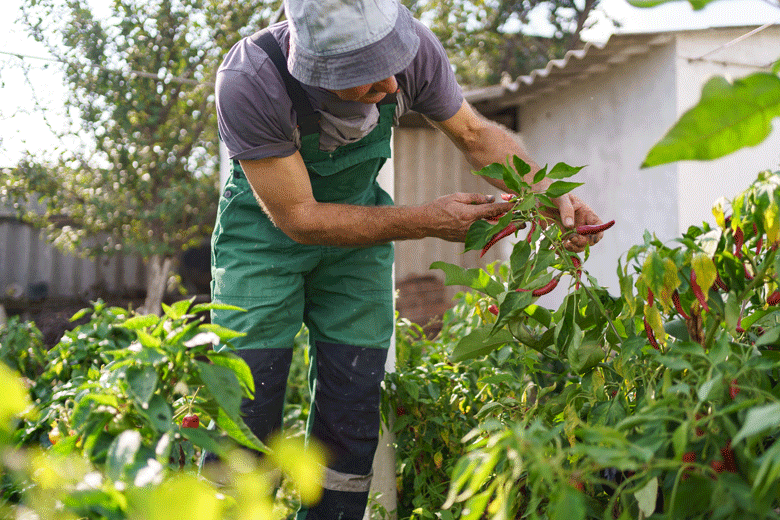
The best way to harvest Chillies is not by using a pair of scissors or the like. It is far better to snap the Chillies off at the base of their calyxes with your fingers. Simply hold the base of the calyx between two fingers and pull the Chilli away from it using your thumb and index finger on the other hand. Snipping

Chillies off at the stem instead of using instead of snapping them off can pose a risk to the plant. By snipping the Chilli plant on its stem with scissors, you are creating an “open wound” on it. There is a possibility that the stem will then d ie back and let disease into the plant.  This is something that we want to avoid as best we can.

The method above is best if you want to use the Chillies immediately. Another method of harvesting Chillies is well described in this video.  With this method, Chillies are snapped off with their stems intact at the node. Snapping Chillies off in this way is an excellent way of harvesting when you don’t want to use the Chillies right away. It does however, it still poses a risk to the plant. There is still a possibility that disease can enter the plant at the point where the stem is snapped off. The risk is, however, far less than using a pair of scissors or a knife.

Read more

Chilli seed germination


An update

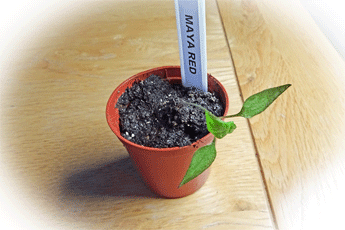
Since my last post, the Habanero Maya red Chilli seeds have germinated. That gives me a 100 percent germination rate for  seed  starting  for the 2022 season. In a second round of seed starting of superhots, I planted Dorset Nagas, Bengal Nagas, Moruga Scorpions and Dorset Zingers. The seeds were started about nine days ago.

In line with most superhots, I expect germination in a further week or so.  Superhots take about two weeks to sprout.

Two other Chillies that I planted with the superhots are not quite in the same heat ratings league. These Chillies are the Green Trinidad  and the Bellaforma.  I planted them with the superhots to compare germination rates between mild and hot Chillies.

Guess what?  Both already germinated. My Trinidad Green seeds took about a week. The Bellaformas followed a day or two later.  Both were taken out of the heated propagator and are now under grow lights for 16 hours a day.  The seedlings are in open trays. They are not covered (see note below).

Read more