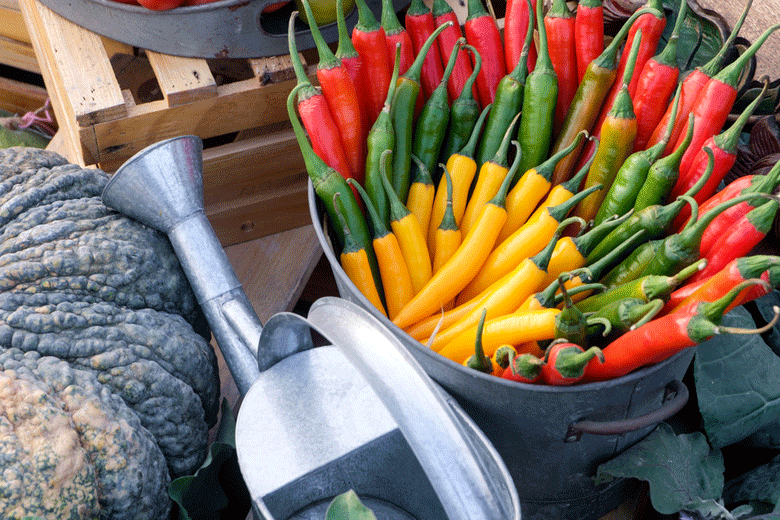
 Growing Chillies is fun
Growing Chillies is one of those hobbies that is hard to tire of. There is always something new to learn. Be it trying out new varieties or experimenting with different growing mediums, Chilli growing is great fun and personally rewarding. There is just something about watching Chilli seeds bursting into life and finally turning into bushes (with lots of Chillies) that is fascinating. It is easy to become a fan. These are captivating plants that never cease to amaze.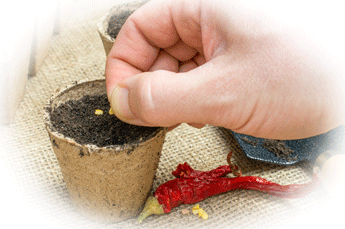
Chillies range in size. They range from dwarf varieties of only inches high to massive bushes that grow to over three feet. Indeed. Some are so big (like perennial Lemon Drop Chillies) that they grow over six feet in their first season. Some Chillies like Tabascos and Dorset Nagas grow even taller in warm climates.
There are thousands of varieties. Chillies come in every shape size, colour and pungency. With all this diversity, you can bet you will find a Chilli that is just right for you. Even if you have limited space, there are Chillies out there that will fit the bill perfectly. There are Chillies for every living space. Be it in a single room or somewhere far bigger, there is undoubtedly a Chilli somewhere that will meet your particular situation.
What’s more, growing Chillies is a piece of cake. With a moderate amount of care and following a few simple guidelines, you will have your own homegrown hot peppers in no time at all.
Choosing what to grow
Get the basics right
For your first season, it may be best to start growing Chillies with just one or two different varieties. In doing so, you can develop your growing skills. Growing Chillies may be easy, but mistakes undoubtedly will happen. By restricting your growing to only a few varieties, you can focus on the basics. This will allow you to get things right the first time around.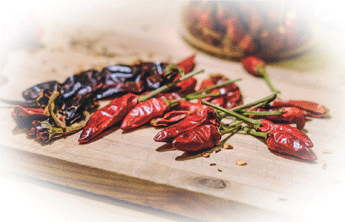
Choosing what you will grow depends on your own personal circumstances. If you live in a small apartment, it would be best to choose something that will not grow too big. If the only space you have is a sun-facing windowsill or a small patio, you don’t want something that will overshadow everything. You are looking for something far smaller.
By restricting pot size you can control how big a Chilli will grow. A Chilli like the Bolivian Rainbow, which is stunningly beautiful, can have its height controlled in this way. In the wild, a Bolivian Rainbow Chilli can grow up to three feet tall. By restricting its growth in a smaller pot, it can be kept to a more manageable size.
Dwarf varieties should also be considered. Many of these have specifically been specifically developed for keeping indoors as houseplants.
Chilli varieties
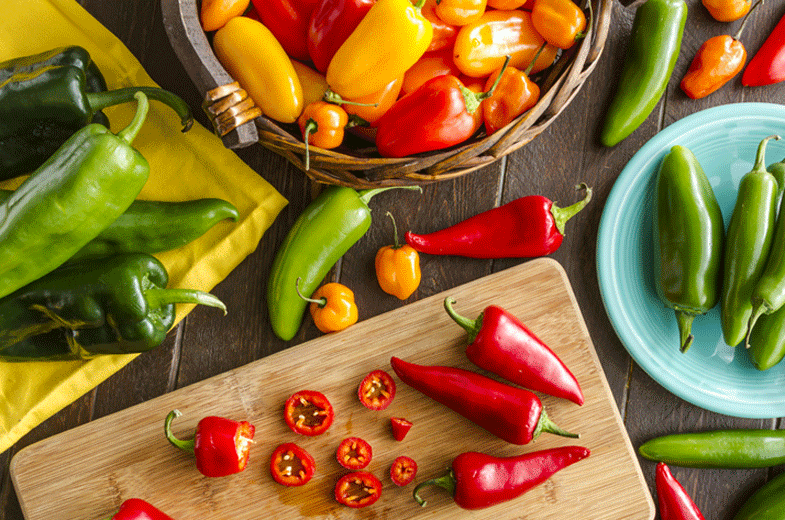
Houseplants
There are many ornamental Chillies with vibrant colours. These make them as beautiful as any flower. Some have a whole spectrum of colours. These colours can include red, purple, yellow, orange and green. Some are even black or brown.
Many of these plants don’t grow taller than twelve inches. Take the Demon Red Chilli as an example. It is a very hot dwarf cultivar that grows to 14 inches. It was specifically developed for growing in limited space environments. As well as being delicious, this Chilli also makes a great ornamental feature.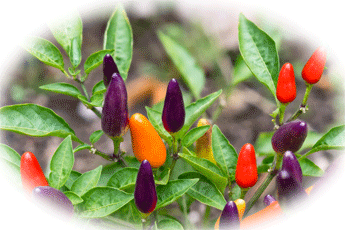
Some ornamentals grow taller than practical houseplant size out in the open. Limiting their pot size will however restrict the plant’s growth. This will allow it to be kept indoors as a houseplant.
Take the Peruvian purple as an example. It is a beautiful Chilli that makes a great houseplant. It does however grow quite tall outdoors. To keep it as a houseplant needs a smaller pot. This will restrict the size of the root system it can develop. This in turn will mean the plant doesn’t grow as big as it might.
From my own growing experience, the Prairie Fire Chilli is a great variety for growing indoors. It grows up to 10 inches high, with a spread of 11 inches. This Chilli provides a healthy crop of small, (quite hot ) multicoloured peppers (red, yellow and orange) throughout the year. Other possibilities include the Numex Easter, Apache, Variagata , Red Missile F1, Little Elf, Cheyenne F1 pepper and Basket of Fire F1.
Bigger plants
The Jalapeno, Hot Wax Banana pepper, and African Devil (Peri- Peri) Chillies are good choices for growing in a garden. They grow well in pots or planted directly in the soil. Other plants that grow well outdoors are Ring of Fires (a prolific producer of red Chillies) , Scotch bonnets (yellow and orange). Hungarian Hot Wax (similar to White wax Chillies ) and Jamaican Red ( a type of Scotch Bonnet).
When considering whether to plant hotter varieties, it is good to remember that many of these Chillies have a long maturation period. 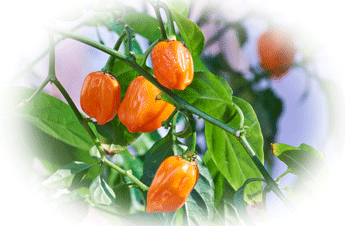 Chillies like Habaneros, Trinidad Scorpion Butch T’s and Carolina reapers can take over 100 days (from potting on) to maturation. This is before they will start producing any fruit. Some even take as long as 120 days before they mature.
Considering it only becomes warm enough to plant Chillies outside in June in the UK, it is essential to start your growing season early. It would be best to start seeds indoors well before then. This is particularly true of the super-hot varieties mentioned above.
There are literally hundreds of choices that you can make. Choosing what to grow can be difficult. My advice when starting out would be to grow varieties that do not have long growing seasons. Choose a seed to maturity period of about 75 days (about 60 days from potting 0n). Chillies that fall into this category include Jalapenos, Cayenne Chillies, Banana Chillies, Anaheims, Longhron F1’s and Serranos
Where and when to plant them
Where to plant Chillies
As previously mentioned, it is essential to consider how much space you have when choosing which Chillies to grow. If space is limited, you may want to consider smaller varieties. You may also consider limiting the size of the pots that your Chillies are grown in. This will restrict how big they will grow. The growth of the root ball will be restricted, resulting in diminished growth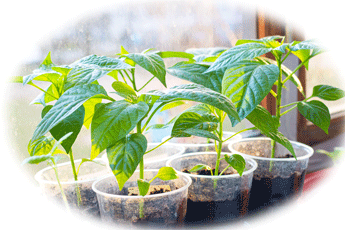
Once that decision is taken, it becomes easy. Given a fighting chance, Chillies are very easy to grow. All they need is a sunny spot. Be this on a windowsill, on a balcony or in a conservatory, Chillies will be quite happy
All that is needed after that is, regular watering, nutrition, and TLC. Your Chillies will reward you greatly, without you having to go to too much effort.
With a property with a garden, the possibilities are broader, because the plant’s final size does not need as much consideration. Here you can grow the Chillies to maturity solely in pots. They can also be planted directly into the soil.
If only growing in pots, the pot’s size relative to the final size and root structure will be an important consideration. The bigger the plant, the larger the container that will be needed.
When to plant them
Early start to the season
The sooner in the year you start, the better. The Chilli growing season in the UK is very short. It only becomes warm enough in June to take Chillies outside, after that the season will only last until the first frost. This varies from region to region. Some areas see their first frost in mid-November.  Other areas may only become this cold at the beginning of the next year. Irrespective of when the first frost in your area is, unless you take your plants indoors before then, they will die off
For slower growing varieties like Habaneros, Scotch bonnets and Carolina reapers, some growers will start as early as January. These superhot varieties can take up to 120 days from potting on to maturity.
Other varieties with shorter seed to maturity growing periods like Jalapenos, Cayenne and Birds -eye Chillies can be started later. The end of March is probably the latest to sow seeds for these varieties if you want a reasonable crop.Theese Chilies take on average 60 days from potting on to reaching maturity.
It is only at the point that Chilli plants reach maturity that they will start producing flowers and fruit. This fruit will then need to ripen. It becomes a race against time if the seeds are sown too late. Unripe Chillies are difficult to use up.
Beginning the season early is done by starting seed indoors in special conditions. Typically, this will involve using heated propagators or other warm areas like in a cupboard that houses a boiler. The seeds are started and will turn into seedlings. Come June, they will be more than ready to be hardened off to be left outdoors permanently.
So, what do I need?
Peat pots, pellets and more
Now that you have decided what to grow, the fun starts. If you have decided to grow from seed in the UK, you will need to start your growing project in early March (although for some varieties (particularly the hotter Chillies) , sowing as early as January is recommended).
Chillies have quite a long growing season and need plenty of sunshine – so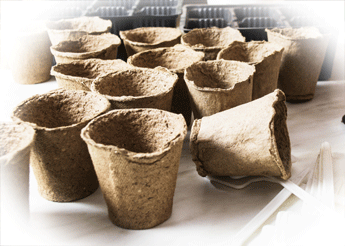 starting later may result in a smaller crop (or none at all). It would be best if you aimed for your plants to have reached full maturity by August. This will allow good harvesting through to October/November – when the plants will start to die off.
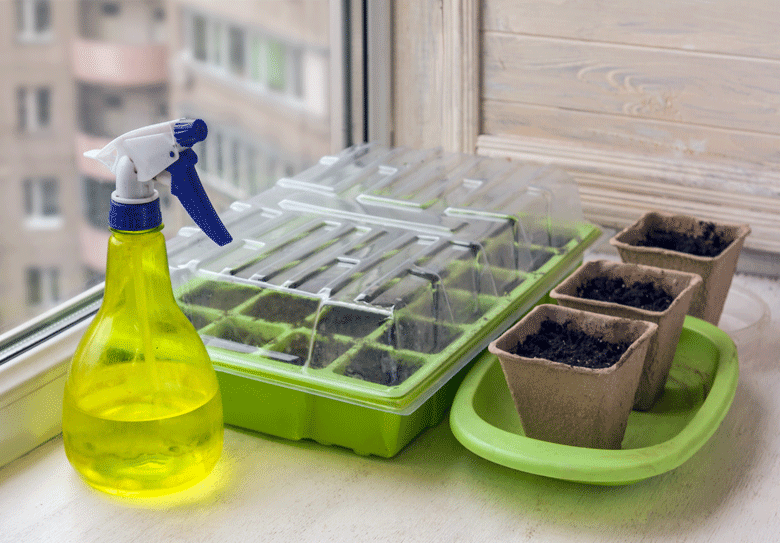
It is best to propagate them indoors or in a heated greenhouse, as it is far too cold to germinate Chilli seeds outside much before June. To do this, you will need a propagation box, good seedling starter compost, a hand-held trigger sprayer and a heating mat (Alternatively, you can purchase an electrical seed propagator with a built-in heater).
Another item you may want to consider (to make or buy) is an overhead “Grow light” unit. With this, you can use artificial lighting to aid in the growth of seedlings once they have germinated. Grow lights are good for starting the season early (as soon as December) for slow-growing hot Chilli peppers like the Scotch bonnet.
All of these items can be purchased inexpensively at your local garden centre or online. If you are handy, much can be made relatively easily, using anything suitable you might have lying around. To find instructions on making typical homemade propagation equipment, click here.
How to grow them
A growing guide
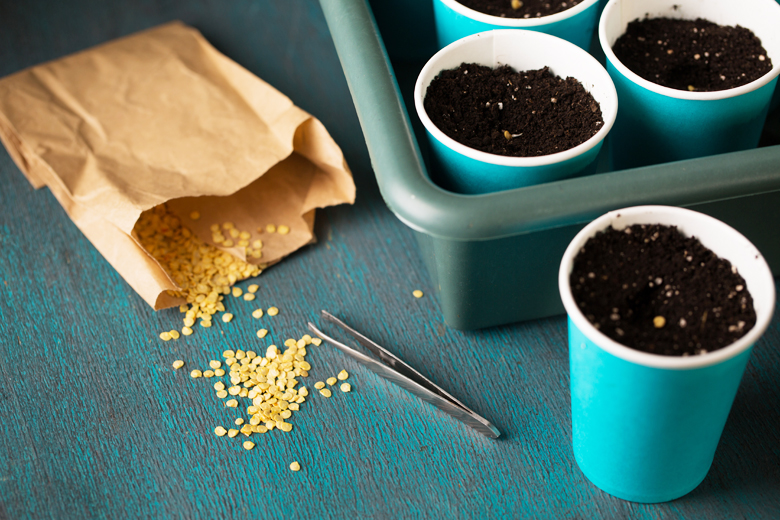
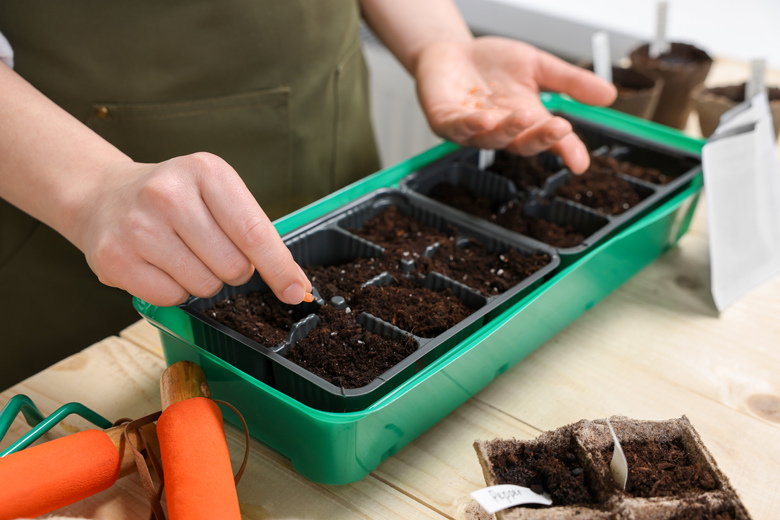
The first step is to fill the propagation box (seeding trays with individual compartments can also be used) with compost. It is best to use specialised seed starting compost – easily found online or at your nearest garden centre – as these are specially formulated for optimal seed starting.
Many of these mixtures contain vermiculite or perlite, which will aid water retention and drainage – an essential element in Chilli seed propagation. Some experts even advocate the use of vermiculite only in the germination stage. No potting soil is used. The seeds are planted in the vermiculite alone.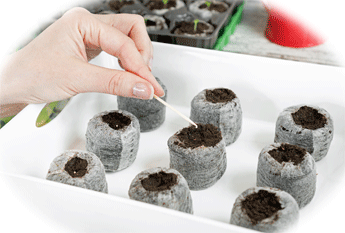
Under no circumstances do you want the medium in which you are growing, the seeds become waterlogged. Doing this will potentially develop a disease that will kill off the seeds.
Because of this, if your seed potting mix does not contain vermiculite or perlite, it’s worth considering adding either (or both) to aid water absorption. This means you can water the seedlings less
Next, moisten the soil with a good sprinkling of water from your handheld sprayer. Sow the seeds directly onto the potting mixture and cover with a thin layer (4-5 mm) of compost or vermiculite.
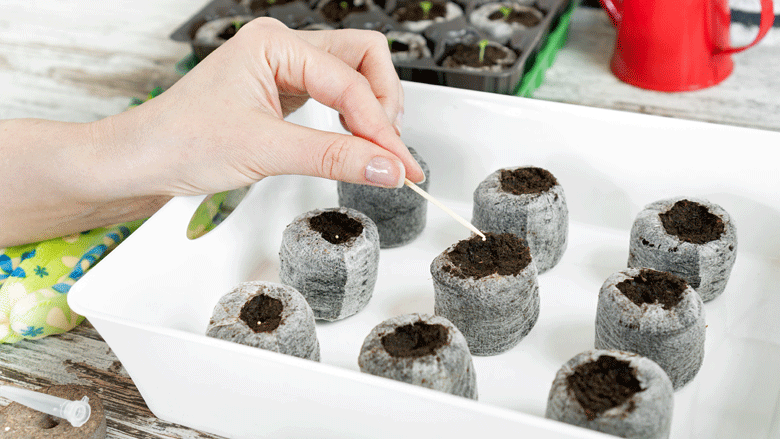
Alternatively, use peat pellets for your seed starting. These will need to be soaked before use to introduce some moisture into them. Before use, however, squeeze any excess water out of them. Place the peat pellets into a seedling tray, before placing them in your propagator. 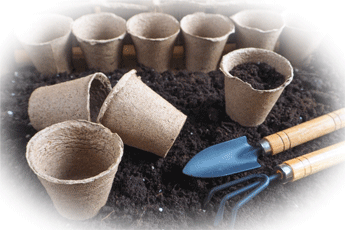
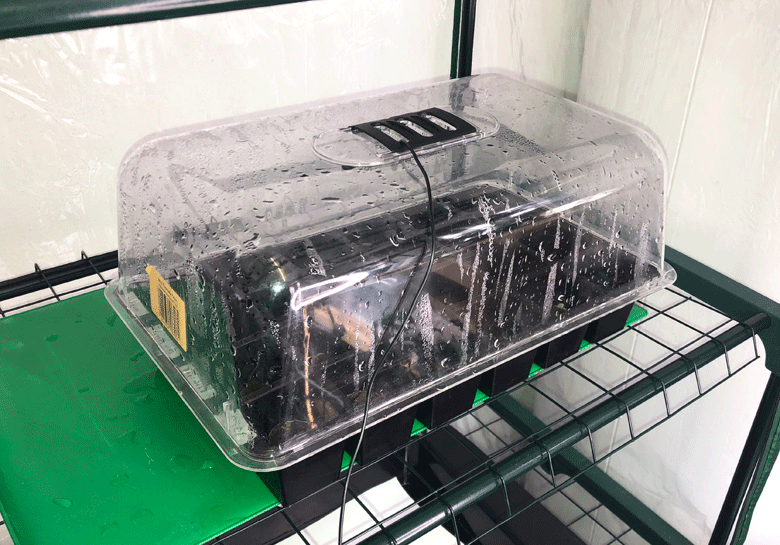
Place the plastic cover on the propagator and keep it at a temperature of between 26 and 32 degrees Celsius, using the propagator’s heated mat or built-in heater. It is best to keep the seeds out of contact with direct sunlight at this point. The seeds should take between 7 and 10 days to sprout and can then be moved to a warm, sun-facing window sill or heated greenhouse.
Do not overwater your seedlings. As mentioned, the soil must be kept only moist through regular watering. The right way to do this is by using your handheld sprayer (a hairdresser’s water mist sprayer is ideal) that will allow you to spray a fine mist over the compost/vermiculite, covering the roots of the plant or peat pellets.
I cannot emphasise enough how important this is. Do not overwater your seedlings. Overwatering will attract pests like fungus gnats and create other problems.
The seeds have germinated. What now?
Bursting into life
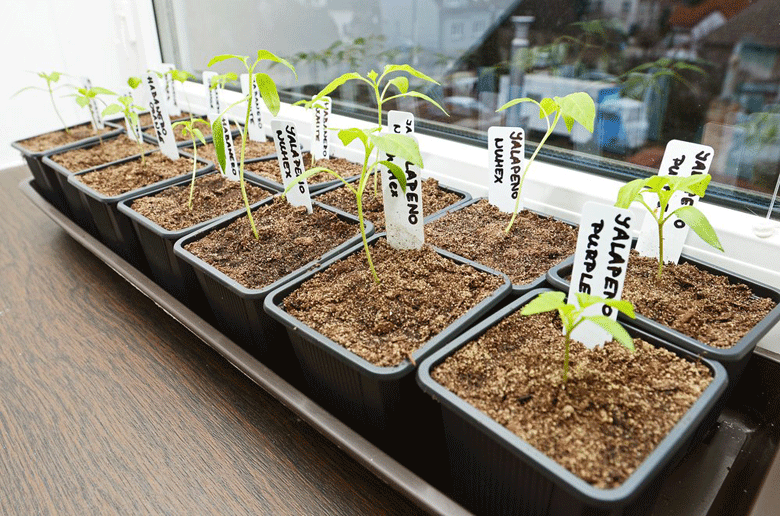
Once the seeds have germinated, allow them to grow until they have their first true two leaves, and then transplant them into 3-inch peat pots. The true leaves arrive after the Coteldon leaves. It will have taken approximately 3 to 4 weeks to be at this stage. At this point, you will want to purchase some good quality potting soil and make up a mix of 30% vermiculite or perlite to 70% potting soil. Also, buy a chilli or tomato plant feed and fertilise the plants according to the instructions provided.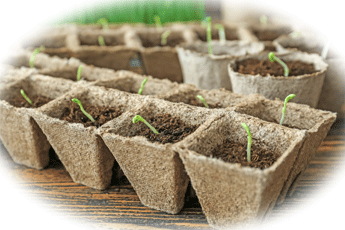
Once the seedlings have been transplanted (potted on), keep the pots warm and moist. It is best to keep them indoors or in a heated greenhouse right now, as the plants are still too young to survive the cold.
Tend the Chilli plants through feeding them with a Chilli or tomato feed. Chilli Focus is an excellent fertilizer to feed young Chilli seedlings after the Coteldon leaf stage.
When seedlings are young, it is best not to give them too much water as it is not required at this time. The need for more water will come at a later stage in the plants’ development. When watering , always spray at the plant’s base and not directly onto the leaves. The droplets of water that land on the leaves may act as a “magnifying glass” that may damage the Chilli when it is in direct sunlight ,
What else should I do?
Potting on and fertilising
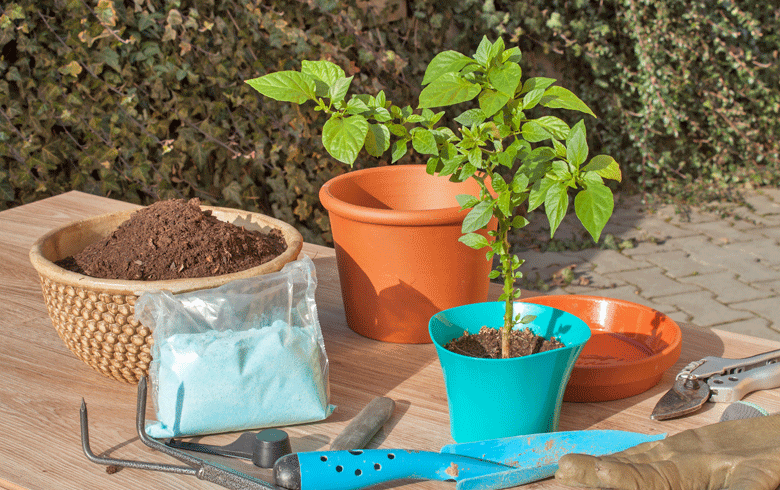
A further 4 to five weeks after transplanting the seedlings into the 3-inch pots, they will need to be potted on once again. At this stage, they will have 6 – 8 leaves. They should now be transplanted into the pot, which will be its final home for the season . Alternatively, it is where they will grow until big enough to be transplanted directly into the soil).
During final potting on, you should also consider preparing the pots with additional fertiliser . Once this has been done, continue feeding the plants with Chilli or tomato feed.
The size of the pot depends on the type of Chilli being grown. For dwarf varieties, a one-quart pot (6 inches) will suffice. Pots of 5 gallons (12 inches) or even bigger may be needed for bigger Chillies. Many Chillies, like Longhorn F1’s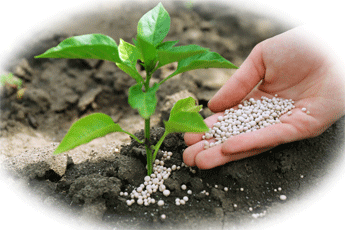 (a type of Cayenne) and Tabascos can grow well over three feet tall. They need bigger pots to do this
Before repotting, it is good to start introducing plants that will be kept outside to open-air conditions. The idea is to toughen them up ( harden off) . They will need to be hardened off to deal with the wind etc, that they have not been exposed to before this step. To do this, take the plants out onto the patio on warm days, and bring them indoors at night. Progressively increase the time they are outside by an hour a day over a ten-day period. Then slowly start allowing them to overnight outside until they have built up resistance to the elements. At this point, they can be left permanently outside or transplanted directly into the soil.
Maintain a regular feeding programme using Chilli or tomato feed, and ensure that the plants receive adequate water. Also, make sure that any pests like snails and slugs are kept at bay with snail bait. There are also other methods of doing this
Once again, I re-emphasise how important it is that the plants are not over-watered. You may also want to consider using a seaweed-based fertiliser (kelp) as an addition to your regular feeding. This is normally applied every 7 to ten days by foliar (on the leaf) spraying. Because of the danger of plant damage (through the “ magnifying glass” effect mentioned previously), it is best to do this at periods of the day when the sun is not at its hottest. The best times are early in the morning or late afternoon. Foliar spraying allows the plant to absorb the feed through the leaves.
Chilli plant flowers and fruit set
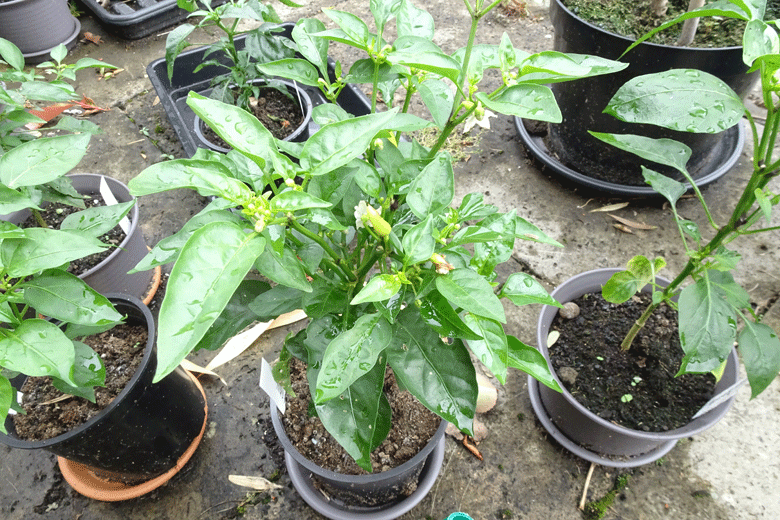
First Chillies of the season
You should start noticing flowers appearing on the plants in late July/mid August. At the first sign of these flowers, start feeding the plants with a fertilizer high in potassium to encourage flower formation and fruit set
Once bees start pollinating the flowers, you will soon start seeing small Chillies beginning to develop from the flower base. You are now well on your way to harvesting a crop.
By the end of August, you can start harvesting the first Chillies. 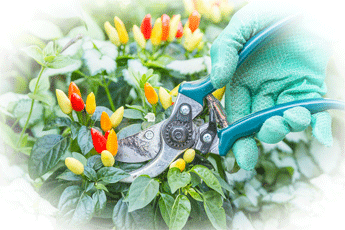 A little further on, the plant will continuously produce hot peppers. The Chillies will gradually start ripening. The rate at which they ripen depends on how much sunshine there is.
While ripening, they will gradually change hue until they reach their fully ripened colour. Sometimes this might be a process where they have several changes in hue before arriving at the final colour, e.g. beginning green, turning yellow or orange, and then finally, red.
Once they have ripened, you can begin harvesting. The more you harvest, the more the plants will produce. Don’t be concerned that you will land up with far too many Chillies. Chillies have a reasonably long shelf life when fresh. They will easily keep in the fridge for up to three weeks. This is particularly true of Chillies with thick walls. Chillies also freeze well and can be dried to make Chiili powders and flakes . Don’t forget the Chilli jams, chutneys, hot sauces, pastes and relishes that can be made with Chillies.
And finally
This is a typical scenario for the development of a Chilli from seed to a Chilli producing plant in the UK. Seasons may vary due to weather conditions and other factors, so things may not always follow the same pattern. Other countries’ growing seasons will depend on their locations globally, and so obviously will be different from the United Kingdom.
If you want even more information on growing Chillies, read our top tips for growing Chillies
Enjoy growing your Chillies.

