
 Keeping your stars alive
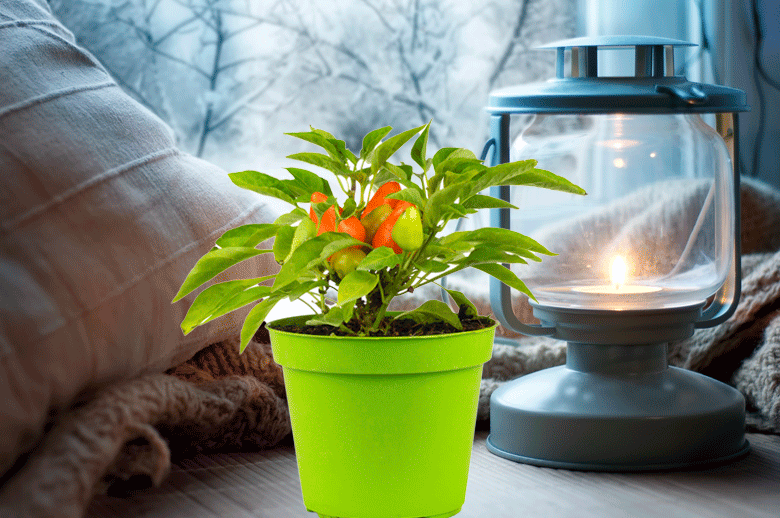
Sometimes in a Chilli growing season, you may grow a plant (or a few – if you are lucky) that is somehow just special. They are healthier, produce more than normal, and somehow just have that edge that makes them winners. So what happens when winter arrives? In colder climates, unless you have a way to keep these plants alive during the cold season, they will die off and you have to say goodbye to your star performers.
Luckily, there is a method of doing exactly that. In this post, we explore the process of overwintering your Chillies, so they can survive until next season.
So what is overwintering Chillies?
In essence, what you are trying to do is keep the plant in a dormant state (where it is just warm and nourished enough) to survive the winter. By doing this, you can not only keep your prize specimens alive, but also give them an early start for the next season – when they will likely produce bumper crops.
Most Chillies are perennials – they will normally naturally slow down during winter, but will bounce back into life in spring. However, their origins and natural homes are in hot climates (with mild winters). This is why when they are grown in cold winter countries (like the UK), they cannot survive unless given special assistance in overwintering to help them make it through.
How is overwintering achieved?
It is important to start the Chilli plant overwintering process before the frost hits the plants. You are looking for healthy specimens that can cope with what is a drastic change for the plant and its normal environment.
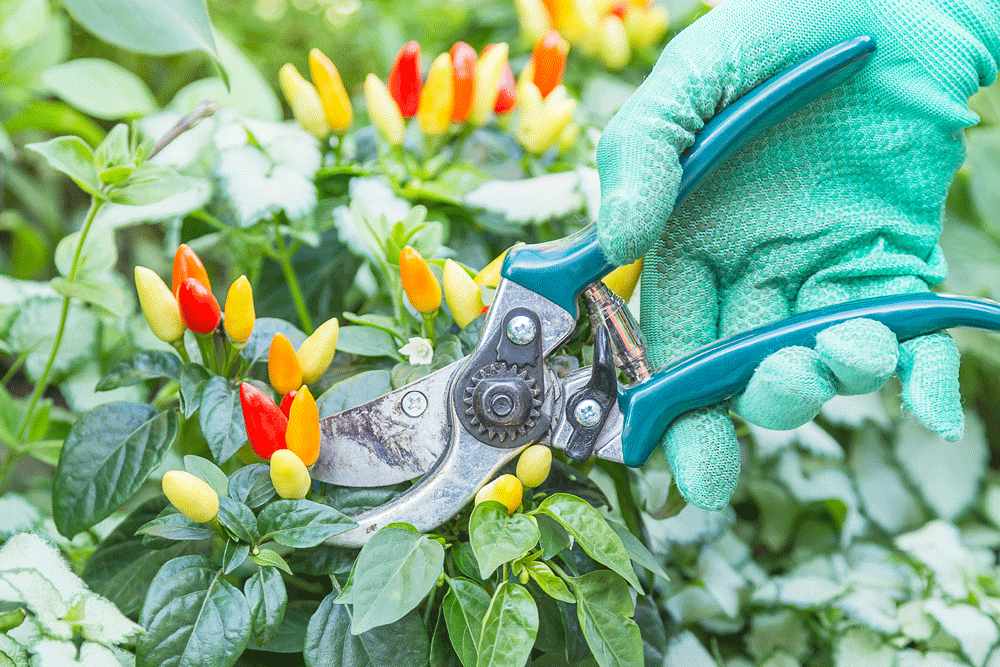
Once you have chosen those that you want to overwinter, make sure you are armed with sharp secateurs, good compost/potting soil, a few smallish pots, some slow-release fertiliser, and a watering can to begin the procedure recommended below:
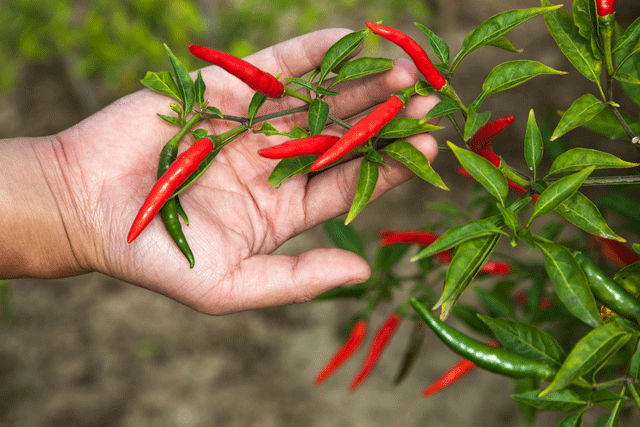
Firstly, remove all remaining Chillies from the plant. Next, using the secateurs, trim the plant of all leaves. Now prune the branches of the bush, starting with pruning the side branches and finally cutting the main stem. In these regards, all pruning of the branches should be done at a 45-degree angle above the node from which the branches grow. Do not cut too close to the node, but preferably allow a little stump to accommodate die – back (the drying out of the trimmed stem or branch from where it was cut).
Once the side branches have been trimmed off, cut the main stem, leaving 150 to 350 mm (depending upon the plant).
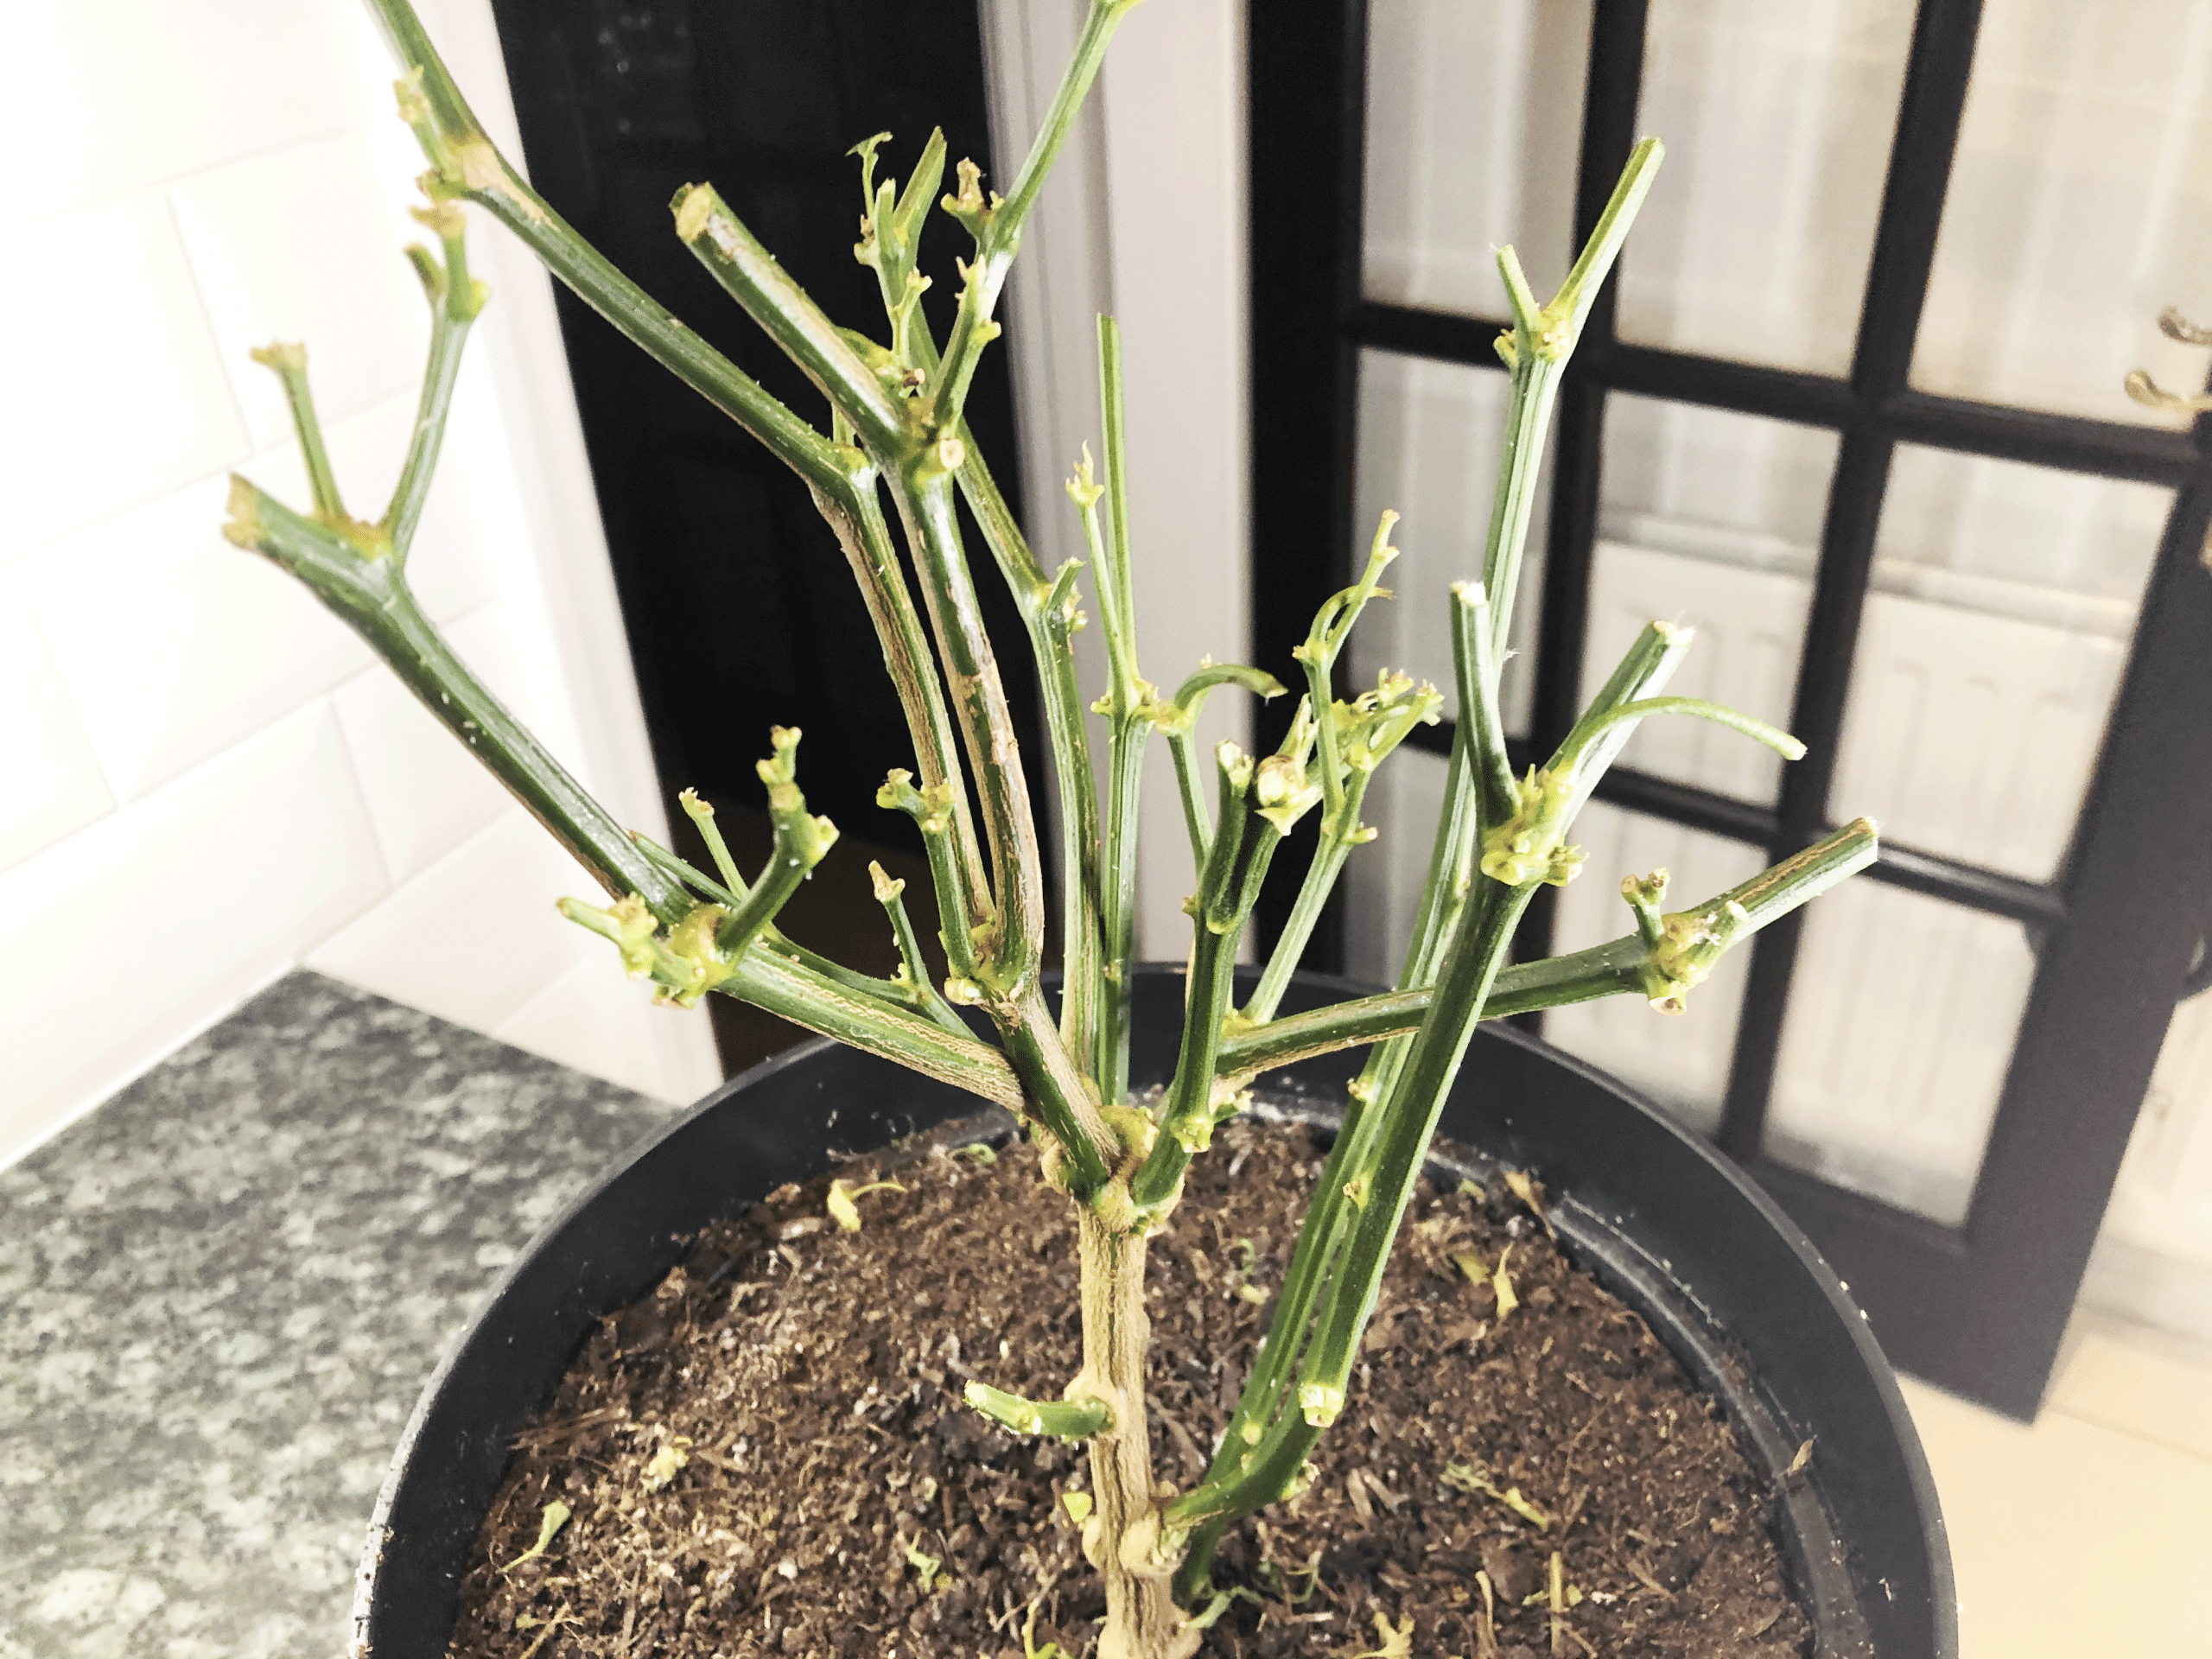
If the plants have been grown in the ground, they should be dug up (taking care not to damage the roots) and transplanted into smallish pots (roughly 200 mm) and filled with good quality potting soil. Similarly, if the plants have been grown in larger pots, transfer them to smaller pots. Now add some slow-release fertilizer to the top of the soil and water. Do not water too much! During winter, water very sparingly, only to prevent the soil from becoming too dry (probably only every one to two weeks).
The main idea behind overwintering Chillies is that you want to leave the plant in a state of “hibernation” where it is still alive, but will also not need too much energy to stay that way during winter. As long as the roots are there and the plant is kept out of the freezing cold (aim for a temperature of above 10 degrees Celsius), the plant will be fine until Spring.
Spring is here. What Now?
Come March or April, the plant will start shooting again. You will see that it is definitely back in a growth phase. Allow this to happen for a couple of months (mid to late May) until new branches and leaves have developed. Now transplant it back into the ground or large pots again. You are again in business in terms of your Chilli crop.
This process can be repeated year in year out, for many consecutive years.