A Comprehensive Guide
For UK gardeners, finding high-quality chilli seeds can seem daunting. With so many varieties and suppliers out there, how do you know where to start? Whether you’re dreaming of mild Jalapeños or craving the intense burn of Carolina Reapers, we’ve got you covered. In this guide, we’ll explore the best places to buy chilli seeds in the UK. We’ll introduce you to reputable suppliers who offer everything from common favourites to rare and exotic varieties. Plus, we’ll share tips on choosing the right chillies for your growing conditions and experience level.
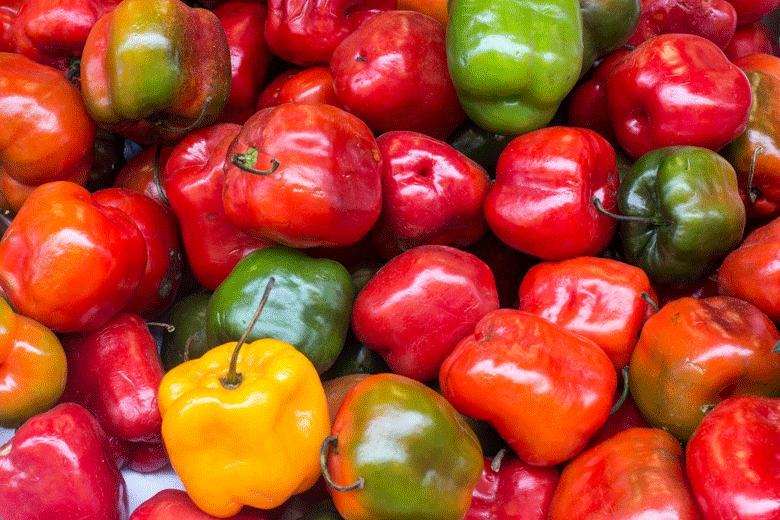
But first things first. Before choosing your seed supplier, it’s always good to know what grows well in the UK and what to look out for. Despite our cooler weather, several chilli varieties thrive here. Apache and Hungarian Hot Wax are great for beginners, offering good yields and tolerance for cooler temperatures. Jalapeños and Cayennes adapt well to UK conditions and are versatile in the kitchen. For heat lovers, Scotch Bonnets can succeed with extra care or in a greenhouse. Padrón peppers offer a fun mix of mild and spicy fruits on the same plant.
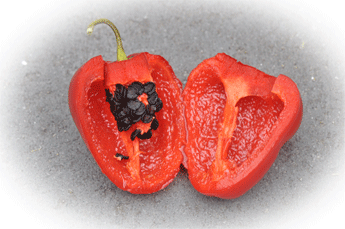
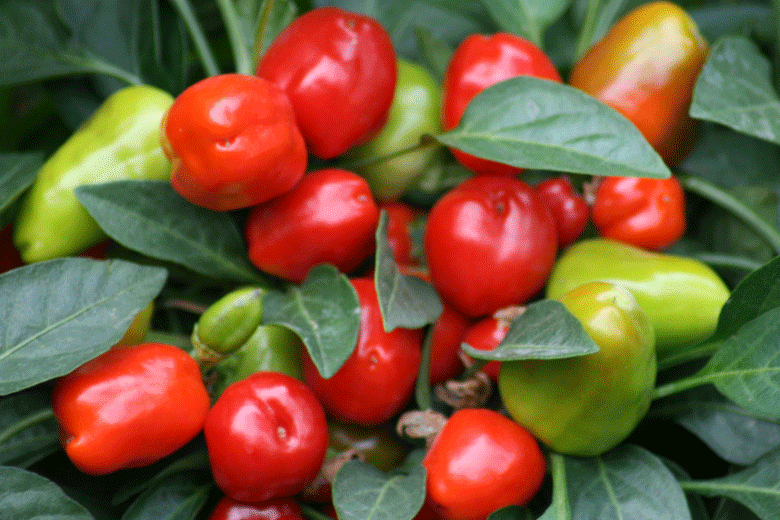
The standout for UK growers is the Rocoto, remarkably cold-resistant and able to withstand temperatures as low as -5°C, making it ideal for outdoor growing. These apple-shaped peppers offer a fruity flavour with significant heat and can even be grown year-round in milder UK regions. Whether you’re a novice or experienced grower, these UK-friendly varieties ensure a successful and spicy harvest. Now, get ready to embark on a spicy journey through the world of chilli seeds.
From online specialists to local garden centres, we’ll help you find the perfect starting point for your chilli-growing adventure. So grab your gardening gloves and let’s dive in – your future salsa, curry, or hot sauce starts here!

 do this, I poured the solution onto the surface of the mix. The hydrogen peroxide drained through the mix and in the process killed off most of the larvae. By doing this, I hope to have broken the
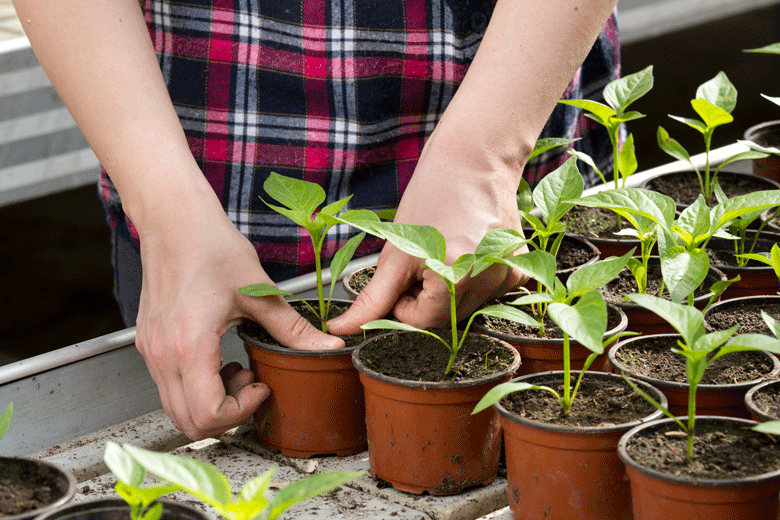
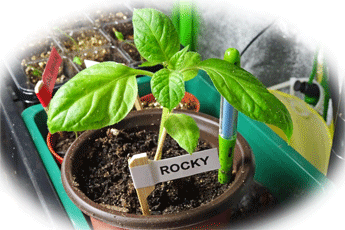
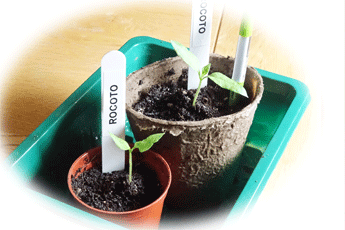
 The rest still have a while to go, but I can see these Rocotos being potted on in the next couple of weeks.
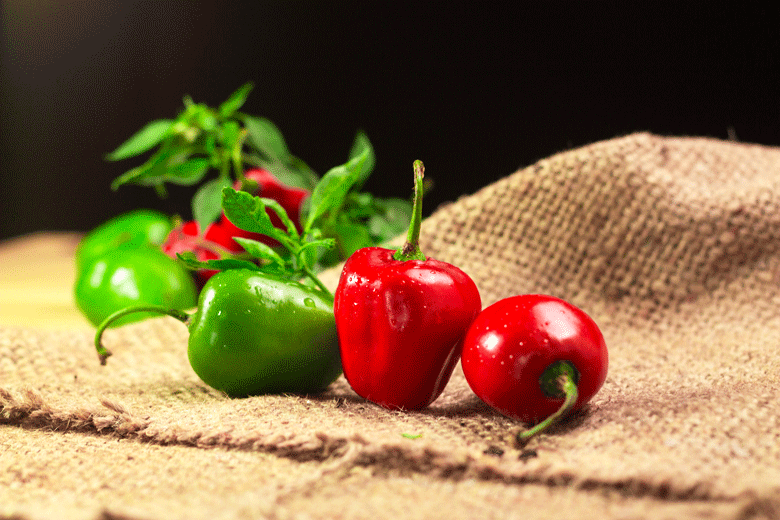
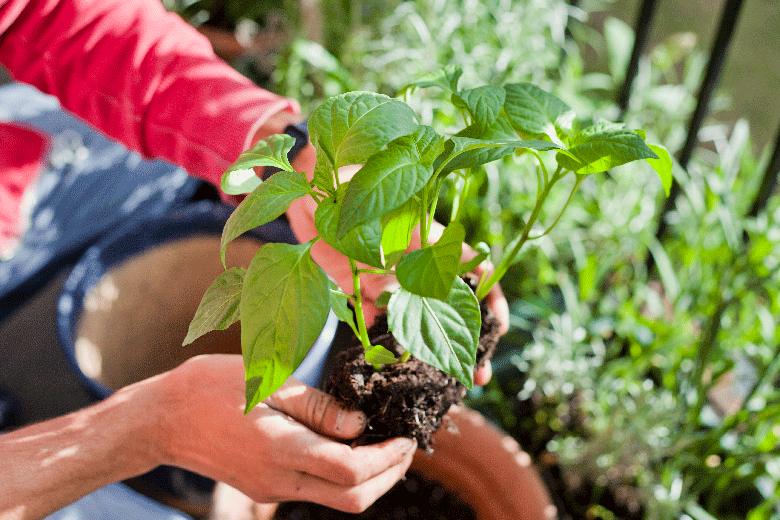
 irst potting on
 typically sow more than one seed into the pod or pellet I use to start seeds, because it is insurance against failed
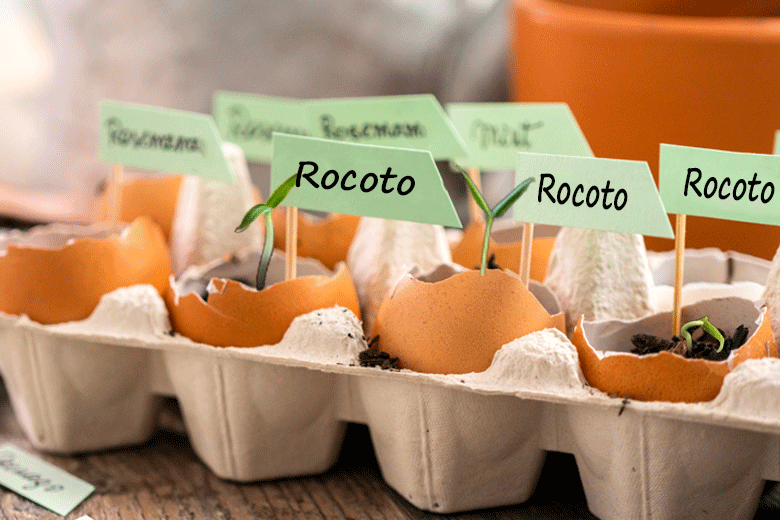
 free
free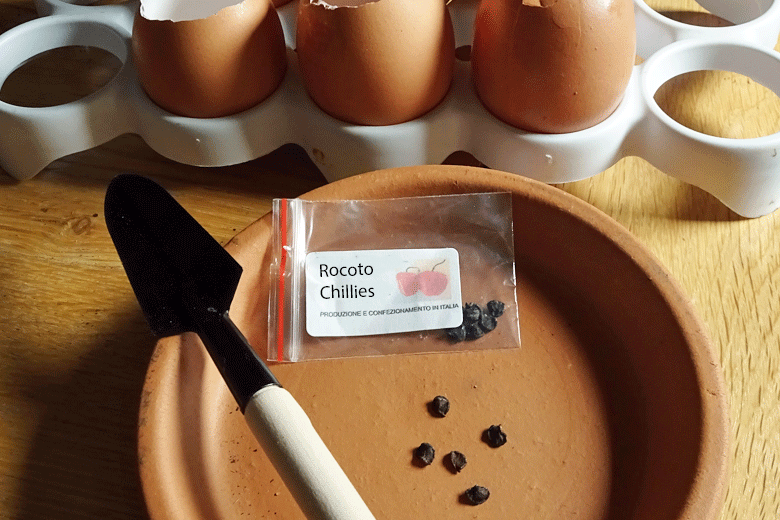
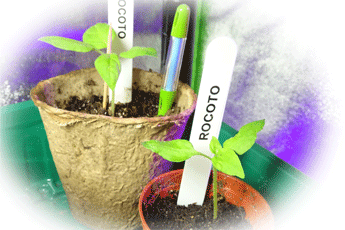
 Getting to know the Rocoto Chilli
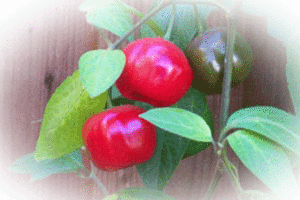 As part a of this I will be learning as much about Rocotos as possible. I want to explore where they are from, what’s the best way of