Preparing soil to plant Chillies

The perfect recipe

Embarking on the exciting journey of growing Chillies allows us to delve into the art of horticulture and savour the delicious rewards of homegrown peppers. Whether you’re a seasoned gardener or just beginning to explore the world of plants, cultivating your own Chilli plants opens a gateway to a world of flavours, colours, and aromatic sensations.

However, to truly unlock the full potential of your Chilli plants and witness them thrive, one crucial aspect must not be overlooked: the perfect potting mix.

In this blog post, we’re thrilled to introduce you to an extraordinary potting mix recipe specifically formulated to provide your Chilli plants with the ultimate nurturing environment. By expertly combining the optimal proportions of coir, compost, vermiculite, and worm castings, this mix will propel your chilli plants towards explosive growth, abundant yields, and an unmatched flavour palette.

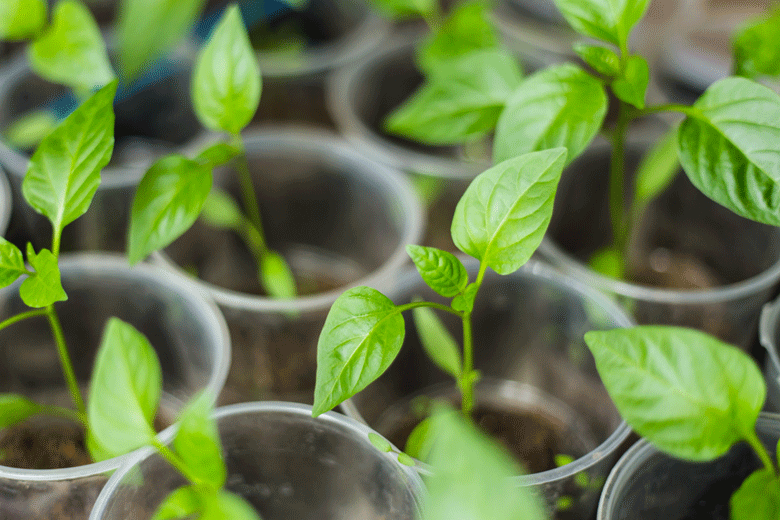
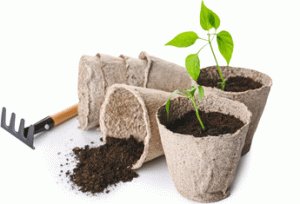
This potting mix aims to provide a growing medium for Chillies which is slightly on the acidic side (which Chillies love), but also one that is nutrient-rich and is  able to provide good water retention and aeration properties.  In total it aims to be the perfect  potting mix that will provide healthy plants that will provide a bountiful harvest of  Chillies

So roll up your sleeves, put on your gardening gloves and let’s make a perfect potting mix for Chillies.

Read more

Aphids on Chilli plants

Battling Aphids

Welcome to our comprehensive guide on combating aphids, those pesky little insects that can pose a significant threat to the health and productivity of your cherished Chilli  plants. As a passionate gardener, you know how disheartening it can be to witness your plants suffering from aphid infestations, which can stunt growth, deform leaves, and diminish overall plant vitality. But fear not! In this blog post, we will delve into a variety of effective strategies to help you combat aphids on your chilli plants, ensuring they thrive and reward you with a vibrant and abundant harvest.

By understanding the life – cycle and habits of aphids, as well as utilizing proven strategies, you’ll be equipped to protect your Chilli plants and enjoy a thriving garden filled with robust, healthy, and aphid-free plants.

In the following sections, we will explore a range of methods to combat aphids, from natural predators and manual removal to homemade remedies and organic insecticides. In addition we  will provide information on companion plants that can be planted alongside your Chillies to keep the Aphids away.

So, let’s roll up our sleeves, put on our gardening gloves, and dive into the world of aphid control. Together, we’ll empower you with the knowledge and tools to effectively combat these pesky insects, ensuring the well-being of your chili plants and the success of your harvest. Let’s get started!

Read more

How to make Chillies grow faster

Let’s make it happen!

Are you eager to witness your chilli plants thrive and produce an abundant harvest of fiery Chillies in record time? If so, you’ve come to the right place! In this blog post, we will explore effective strategies and time-tested techniques to help you make your Chilli plants grow faster. Whether you’re a seasoned gardener or a beginner with a green thumb, these tips and tricks will give your Chilli plants the boost they need for accelerated growth and optimal productivity.
In the following sections, we will delve into various stages of Chilli plant growth, from seed germination to transplanting, and explore ways to optimize sunlight exposure, soil conditions, watering, fertilisation, , spacing, temperature management, indoor cultivation, and pest and disease control. By incorporating these best practices into your Chilli growing routine, you’ll be well on your way to maximizing the growth rate of your plants and enjoying a thriving Chilli garden.

So, if you’re ready to take your Chilli growing skills to the next level and witness impressive results, let’s dive in and discover the secrets to making your chilli plants grow faster. Get your gardening tools ready, put on your gardening gloves, and let’s embark on this exciting journey together!

Read more

Grow better Chillies. Top tips

It starts at the beginning

To  ensure optimal growth and a bountiful harvest , it is crucial to establish a solid foundation and follow proper cultivation practices right from the beginning. By providing your chilli plants with the ideal conditions and implementing effective strategies, you can maximize their growth rate and enhance their productivity. This comprehensive guide in a series of posts will walk you through the essential steps necessary to achieve accelerated growth and optimize the potential of your Chilli plants.

Embarking on your chilli growing journey requires a strong start, and it all begins with selecting the highest quality seeds available. Investing in seeds from reputable companies guarantees that you are working with healthy and viable genetic material. While these seeds may come at a slightly higher cost, it is a worthwhile investment when considering the time, effort, and resources you will dedicate to cultivating your Chilli plants.

The germination stage is a critical milestone where the dormant seeds awaken and sprout into vibrant seedlings. Maintaining the appropriate germination temperature is vital for successful sprouting. Chilli seeds tend to germinate best within a temperature range of 26-32°C (79-90°F), with an optimal temperature of around 28°C (82°F). Creating a warm environment, such as using a seedling heat mat or placing the seeds in a consistently warm location, promotes faster and more uniform germination, setting a strong foundation for accelerated growth.

Once your Chilli seeds have successfully germinated, providing immediate access to light is essential. Adequate light exposure prevents the seedlings from becoming weak and leggy. Whether you opt for dedicated grow lights designed for optimal plant growth or position the seedlings near a sunny window, ensuring they receive sufficient light energy is crucial for their healthy development

Read more

How long do Rocotos take to grow?

Seed to maturity period

As a follow on to my previous posts on growing Rocoto Chillies I decided to research how they would take to grow. This is what I found:

Apparently Rocotos  have a pretty long seed to the maturity growth period. It takes ten to twenty days for the seeds to germinate. Then, after germination, they will go through a series of potting -ons until they are in one-litre pots. This could take anything up to two months or even longer.  After all, plants grow more slowly in winter. The first opportunity will be potted on for the last time, hardened off and then placed outdoors for the rest of the season. It can then take over one hundred days after this until they bloom and set fruit. Apparently, Rocotos   grow quite quickly but take a long time before they flower  produce fruit

One thing I am going to have to consider is the temperature at which I start the seeds. I usually start seeds at between twenty-six and thirty two degrees Celsius. I would imagine  this Chilli should be started at lower temperatures because of its origins. Seed starting temperature is something I will need to experiment with for these Chillies. I will probably begin two batches in heated propagators. One at a lower temperature, say in the region  of eighteen and twenty three  degrees Celsius, and the other at between twenty-six  and twenty-nine  degrees. It will be interesting to see what starting temperature is the best

Read more

Ripening with grow lights

Grow lights work well

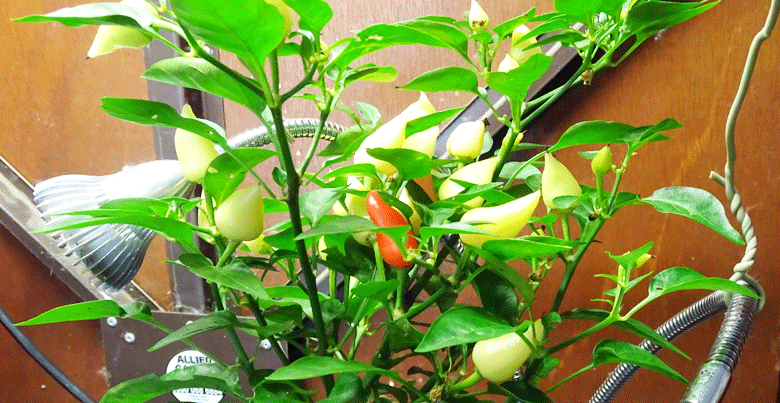
Last year September because I was experiencing a problem  with getting my Chillies ripe in time for the end of the season I placed them under grow lights to see whether this would speed up ripening . After two weeks, I was delighted to advise it had worked. The two plants I had under the lights started to ripen. Two other plants of the same variety that I had kept outside showed  no signs of doing the same. This  convinced me that ripening under grow lights works. Here is what happened.

Read more

How Chilli heat is measured

What is Capsaicin?

Wilber Scoville

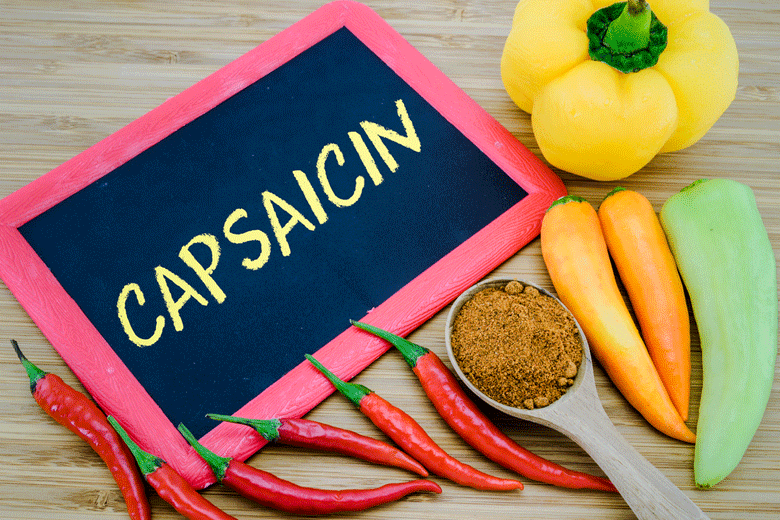
Many Chilli fans will have heard of the Scoville rating system. This system measures the pungency of Chillies in terms of what is known as Scoville heat units. The higher the number of Scoville units (SHU) a Chilli is rated at, the hotter it is. For example, Bell peppers are rated zero SHU, and the Carolina Reaper (officially the world’s hottest Chilli) is between 1500000 and 2150000 SHU.

The Scoville rating system came into existence when Wilbur Scoville, an American pharmacist, developed a method of measuring the heat levels of individual varieties of Chilli in 1912.

Image: Wilber Scoville
Wilber Scoville

The original system involved capsaicin being extracted from dried hot Chillies with alcohol. This was then diluted in sugared water. A panel of five trained men would taste progressively decreased dilutions of the extract until at least three could not detect the presence of capsaicin. Each dilution was measured as 100 SHU. The number of dilutions multiplied by 100 determined the Scoville heat rating of the variety being tested.

Today, testing for capsaicin levels has become far more precise with the use of high-performance liquid chromatography. The results achieved with this method are more reliable because they are not dependent on a subjective perception of heat, but rather on the scientific analysis of capsaicin

Most Scoville rating charts will provide a range of heat units for a Chilli variety. This is because not all Chillies are the same.  Individual pods may contain more or less capsaicin, even though they are of the same variety (and for that matter even from the same plant) . For this reason, more than one pod is tested. Pods are selected from various plants grown together in a single season .  The lowest and highest test results are then provided as the heat range of the particular variety. The middle of the range is the average SHU of the specific variety.

Read more

Germination of rocoto seeds

The Rocotos have hatched

I was delighted a few days ago when I discovered that four of my Rocoto seeds had germinated. I was even more pleased this morning when I found that another had burst into life. Considering I expected germination for these seeds to take up to twenty days, it was a pleasant surprise indeed.

Instead of the time  I had  expected, the first seeds germinated in only ten days. What made the event even more pleasing was that the new peat-free seed starting medium had worked like a charm. To become peat free in my Chilli growing, where previously i would have used peat pellets, I tried something else.

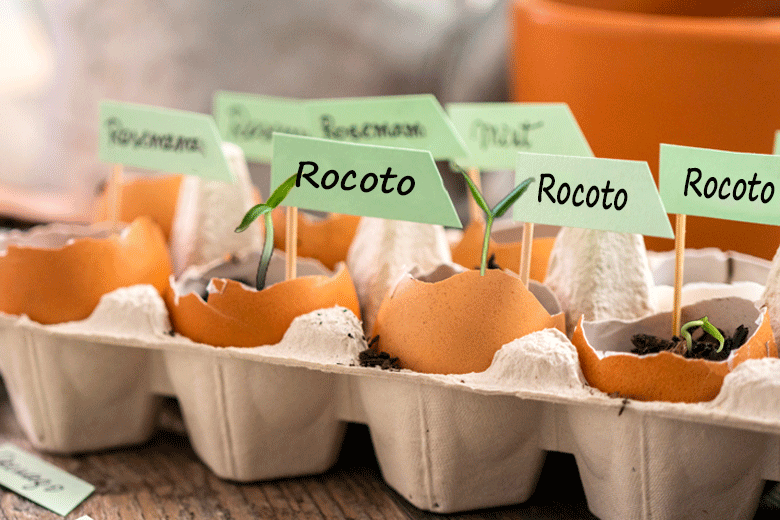
To start these seeds, I used eggshells as seed starting containers.  I filled the shells with John Innes seed starting compost that I had mixed with fifty percent vermiculite.

Okay, I have to admit that not everything was peat free. The John Innes compost contains a little .  It was however, a bag of compost I already had on hand. It will have served no purpose to throw it out. When the bag is finished, I will look at other peat-free starting composts. I have already done some research, and I could possibly make my own seed starting compost by next season.

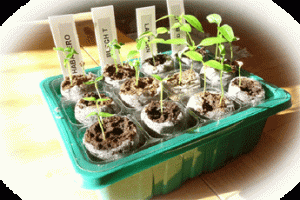
If you read my last post, you might recall that I also used the egg tray in which the eggs were packed to germinate the seeds. I filled the cavities in the egg trays with a little vermiculite to aid capillary action between the capillary mat in my self-watering propagator. The eggshells were placed on top of the vermiculite in these cavities

Read more

The next step. First potting-on

Well ahead of the game

About three weeks ago, I did my first potting on of seedlings for the 2022 season. I repotted some seedlings that germinated about two weeks ago. They are all about two inches tall.  The seedlings, all Habaneros, were transferred into 2-inch plastic pots.  Repotting seedlings into plastic pots is a deviation from the way I normally do things. Usually, I would have transferred them into peat or fibre pots. However, I used plastic on this occasion, as these seedlings will be kept in pots longer than I have done in the past. I will keep them in small containers to constrain their growth.  Because this is the first time I have started seeds this early, I am not sure how big they will grow between now and next June. I am, however, working on the assumption that plants grow slower in winter, so I am not expecting them to grow very big in this period.
At most, I might pot them on only one more time before they are placed into one-litre pots. In the past, I would have used peat or fibre pots for the seedlings, because this made potting on far easier. It wasn’t necessary to remove the seedlings from these pots. The seedlings could simply be placed into a bigger pot as they were (peat or fibre pots and all). They were then covered with compost and ready for the next stage of their development. This year, however, the game plan is somewhat different.

Read more

Starting Rocoto Chilli seeds

The seeds finally arrived

Last week, I received my Rocoto seeds. I was delighted, as this meant I could finally start my series on the life of a Chilli from seed from when it is planted right up to its use in cooking. I want to map out the journey of a single variety (Rocotos in this case) from the minute I start it, right through to harvest, and then finish with what I do with it in the kitchen.

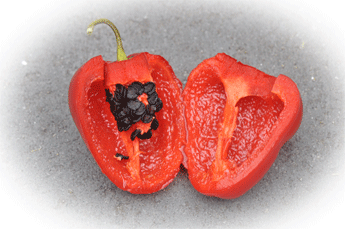
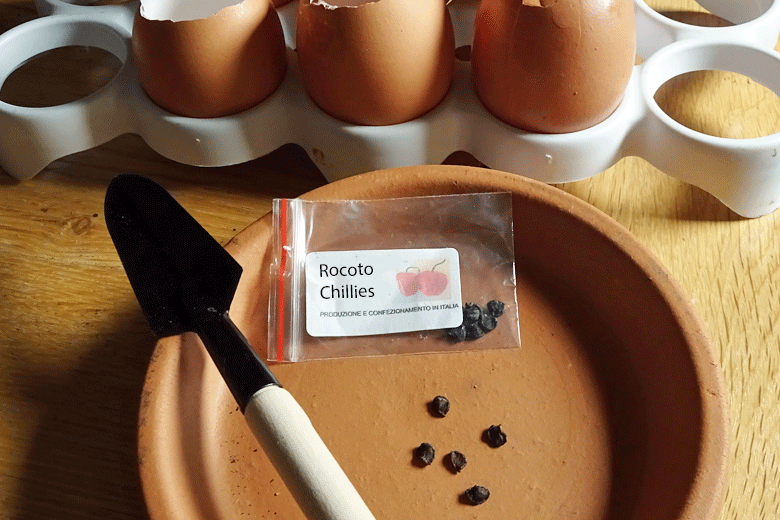
When I opened the envelope, the seeds were sent in; I found a small bag containing ten black seeds. Black seeds are a characteristic of Rocoto Chillies. The seeds were quite big,   about two to three millimetres wide and long. The seeds certainly looked healthy. So, while I might have paid a lot for them (the postage cost as much as the seeds), I was pleased with the quality

It didn’t take long before I was preparing the growing medium to plant these Chillies. As part of my drive to become peat-free in my Chilli growing, I decided to try something else instead of using peat pellets. The thought of using egg shells immediately came to mind. Somewhere along the line, I had seen an image of them being used for organic seed starting. The idea immediately appealed to me.  Here was a way to achieve peat free growing, but also a way to use a sustainable resource. Read more