Let’s sow some seeds
Now my Chilli growing season really starts. I finally get to sow some seeds. My Chilli seeds have soaked overnight. They have been woken up. My Rockwell cubes have been PH balanced (and allowed to soak for two hours). So, I am now ready on that front. All I need to do before sowing is to prepare my peat pellets. So let’s get going!
As I will have a bit of a bit on my hands today, the other two methods (as mentioned previously) – the kitchen towel and hydroponic methods will need to be tackled tomorrow. The parts I will be dealing with today will be handled in the following ways:
What are the first steps?

Peat pellets
The peat pellets require soaking in water. To do this, I will fill a plastic food container (big enough to hold my pellets) a quarter full of hot water.

I will then place the dry pellets in the container. They will be allowed to absorb water for about 5 minutes. During this time, the pellets will swell to about four times their dry size. I will then allow them to cool down to room temperature.
Next, I will remove any excess water by squeezing the pellets’ top and bottom between my thumb and fingers. I am looking for the pellets to be moist, not waterlogged.
Once this is done ,I will keep them to one side until I am ready to start sowing my seeds. I won’t leave it too long though, Especially in very hot weather. I wouldn’t want them to dry out too much. Moist is the keyword here. Chillies germinate best in warm, moist conditions.
I can now move onto the Rockwell cubes
Rockwell cubes
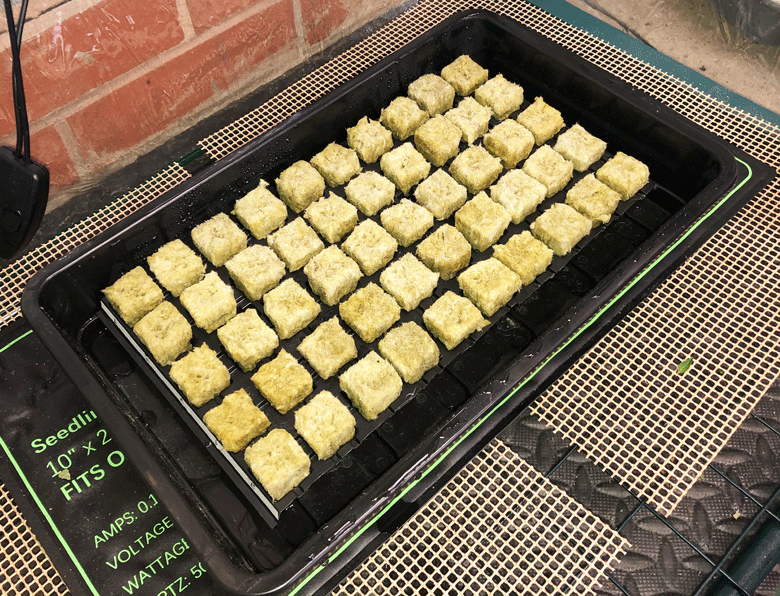
Similarly, with the Rockwell cubes. I will remove them from the PH balanced water that they have been soaking in, I will remove any excess water., I won’t be squeezing them. as this will damage the fibres and make them less able to retain water. Here I will give them a good shake. The cubes will still be quite moist to the touch but when they are shaken, no water droplets can be observed.
How are the seeds sown?
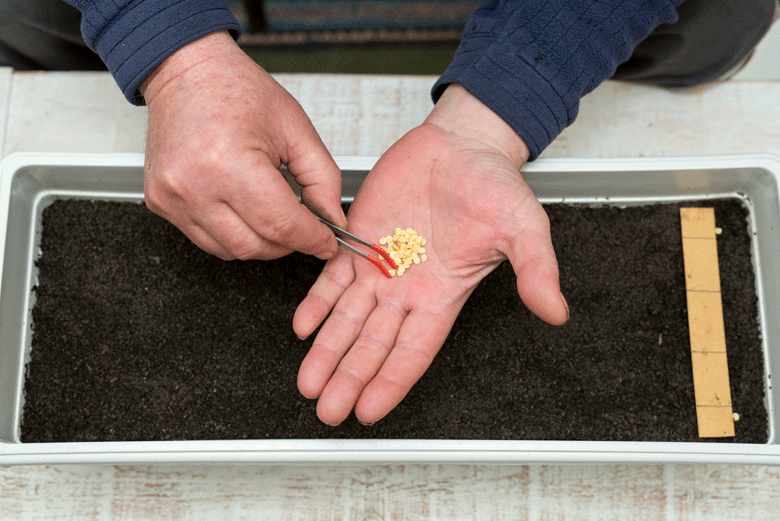
Firstly, I will drain the water from the soaked seeds and put them on a flat surface.
For the peat pellets
I will use a pair of scissors to cut away the netting on the top of the pellet (on the open side).
 Then, using a toothpick, I will make two to three small holes. The holes will be wide enough to each take a seed of about 5 mm deep. The holes will be on opposing sides of the pellet’s exposed top.
Now, I will dip the toothpick in water and pick up a seed with its tip. The water helps the seed stick to the seed. The seed will be dropped into one of the holes I have made. The seed will then be covered with a bit of the peat fibre (by scraping it over the hole). I will fill the other holes in the same way. I will continue with this process until all the pellets have had seeds sown into them.
Each pellet will then be placed in a seedling tray insert with individual cavities. Each cavity will be marked with a sticker, showing which variety it contains. The insert will now be placed into a seed tray. It is essential to do this otherwise the pellets will dry out.
The seed tray will now be put into a covered propagator ready for the next step. I normally spray the pellets with a little (a fine mist only) water using a spray bottle at this point.
Rockwell cubes
Rockwell cubes normally come with a hole already in the top. I will use the toothpick method again to put two seeds into this cavity. The seeds will be placed on opposing sides to each other in the hole (instead of putting them one on top of the other). As with the peat pellets, I will cover the top of the cavity by scratching a little of the cubes’ wool over it. Once all is done, these will also be put into seedling trays. Each cavity will be labelled showing what type of Chilli it contains. The seed trays will then be placed in a propagator and the cover put on.
And then?
I will now place the propagators on heat blankets with thermostat controls. These will be programmed to ensure that the propagators’ temperatures are maintained between 26 and 32 degrees Celsius – the ideal temperature for germinating chillies. To do this I have found that it is best to set the thermostat at 29 degrees Celsius. This will result in the average temperature falling somewhere in the middle of the two limits.
Some advocate keeping the propagators in the dark while the seeds are germinating. I have tried this. but can’t say I have noticed any remarkable difference in germination rates. I will try this again this year to see if I can be convinced either way. I will keep you posted.
