
 A well rounded program
When growing Chillies from seed to fruit in one season, it’s important to establish a well-rounded fertilisation program to provide the necessary nutrients for healthy plant growth and fruit production.
In the initial stage, when planting chilli seeds, no additional fertilization is required. The seeds contain sufficient nutrients for successful germination. Plant them in seed starting pellets, such as coco coir or a fertilizer-free seed starting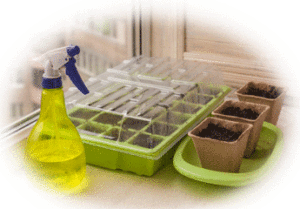 potting mix.
Sow your Chilli the seeds into your seed starting medium and add water. that is all that is required.Once the seedlings have germinated and developed their first true leaves (dicotyledons), they may require additional nutrients (albeit at very low levels). However, it is important to note that the seedlings can still sustain themselves from the stored nutrition in the seed endosperm. Fertilisation during this stage is not necessary, but if desired, use a diluted fertilizer solution at reduced concentrations to provide a gentle nutrient boost.
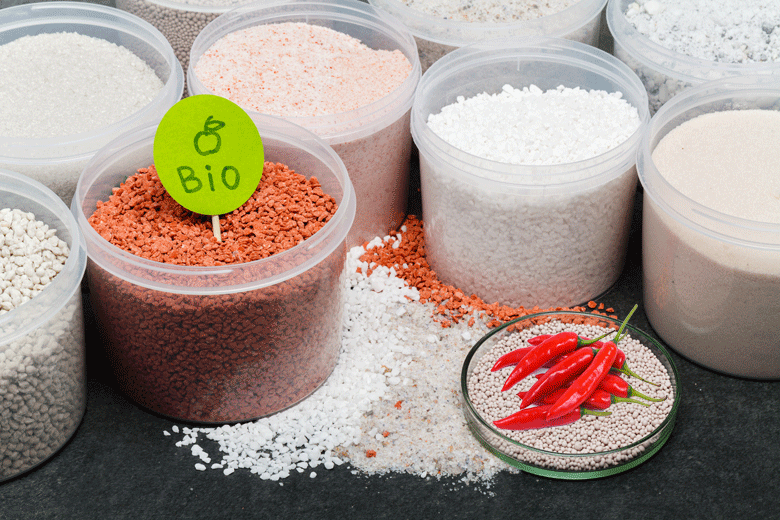
If you decide to go this route use a liquid fertiliser with an extremely low NPK. It should be in the region of 1-1-2. Fertilisers like this can be bought ready mixed or made by diluting products like Chilli Focus . Another alternative is to dilute liquid tomato feed.
 Step by step guide
After that here’s a step-by-step guide to help you develop an effective fertilisation program for your Chilli plants:
- After the dicotyledons have appeared transplant the seedlings into two-inch (50 mm) pots and use a fertiliser with a weak NPK as mentioned above
- Do this until the seedlings reach about four inches tall.
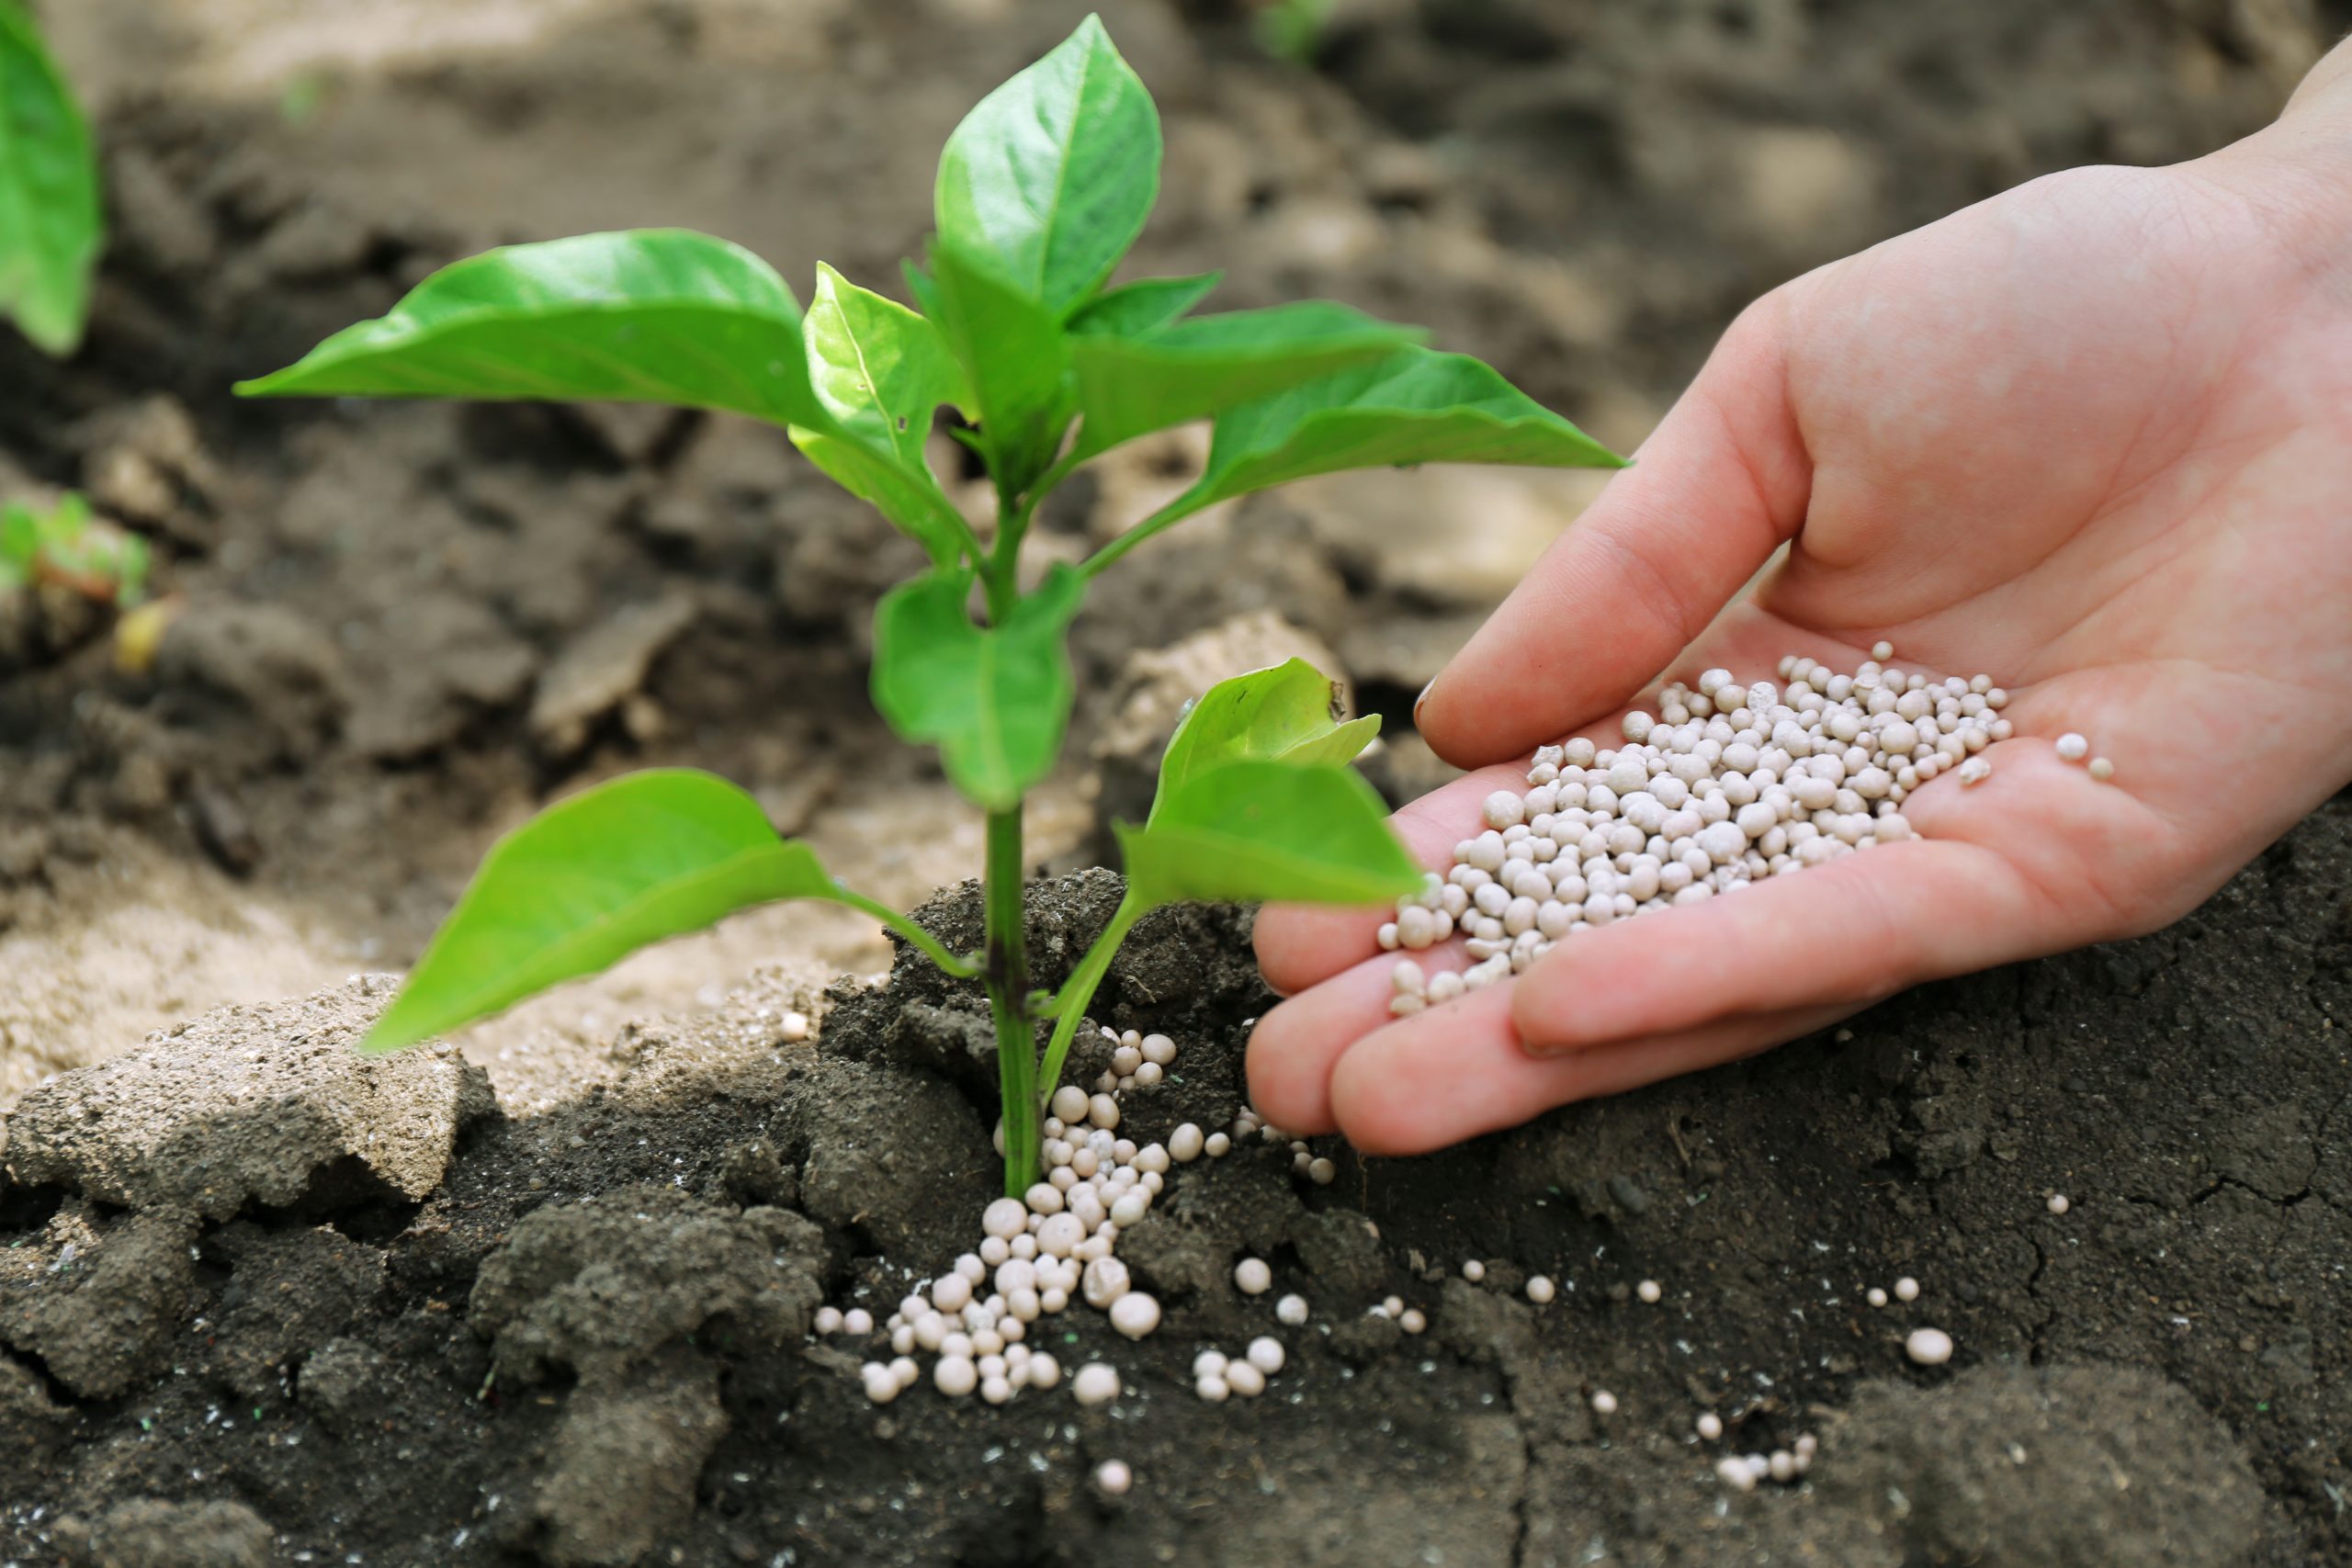
- Once they have reached this size repot the seedlings into one litre pots using a good quality potting mix Provide a fertilizer that is high in nitrogen with an NPK in the region of 25-15-15 to encourage leaf growth Follow the instructions on the fertilizer package for appropriate dilution rates. Water as needed between each application of fertilizer.
- Final potting on stage: When transplanting seedlings into larger containers or the garden, the time has come to change fertilisation, . Choose a fertilizer with a NPK ratio with a reduced nitrogen content and higher phosphorous and potassium levels , such as 12-25-25 to encourage root growth. Apply every 2 to three weeks or alternatively at a reduced dilution at every watering. Follow the instructions as recommended by the fertilizer package.
- Flowering and fruiting stage: Once the plants start to flower, switch to a fertilizer formulation with higher potassium (K) levels to support flower formation and fruit development. Look for fertilizers with an NPK ratio of around 15-15-30 . Apply the fertilizer every 2-3 weeks or as recommended by the fertilizer package.
- Foliar feeding: Additionally, you can supplement the fertilisation program by foliar feeding, which involves spraying a diluted liquid fertilizer directly onto the foliage. Use a foliar fertilizer or dilute a water-soluble fertilizer and spray it on the leaves once every 2-3 weeks. This can provide a quick nutrient boost and promote healthy growth. Seaweed extracts are excellent for this purpose.
- Organic Alternatives: If you prefer organic fertilizers, you can use compost tea or liquid seaweed extract as natural alternatives. These organic fertilizers provide a range of nutrients and promote overall plant health. Apply them in a similar manner as water-soluble fertilisers, following the instructions on the product packaging.
Final note
It’s worth noting that while fertilisation is crucial, other factors such as proper watering, sunlight exposure, and pest control also play vital roles in the successful growth and fruiting of chilli plants. Providing optimal growing conditions and monitoring the plants’ needs throughout the season will help ensure a healthy and productive chilli harvest.