 Completely new to growing Chillies?
Okay, so you’ve never planted anything in my life. You received a packet of Chilli seeds from a friend, and you want to sow the seeds without doing a lot of research. You also don’t want to go to too much expense. All you need is a little solid advice on how to grow your Chilli seeds. Sound familiar? Relax, we have you covered. Follow this no frills guide to starting Chilli seeds, and you will be on your way in no time at all.
So what do you need? Some stuff is definitely required, but there is no need to spend a lot at your garden centre or online. Stick to the basics, at first. In time, you can get fancier if you like
At the very least, I would recommend a closed dome propagator, some eggs, a cardboard egg tray or two, a small bag of general-purpose seed starting compost, a plastic spray bottle, some wooden ice-cream sticks or similar, a marker pen, a teabag (camomile if possible, but normal will do), a spoon and separate seed tray). A heat mat, small bag of vermiculite, and some capillary matting are optional. You also need the seeds, of course. If you have all these things together, you will be on the path to success.
So what will all this cost? A quick search online revealed it would cost about £7.00 for a propagator, £15 for a heat mat (optional), 50p for a spray bottle, £ 6 for a bag of vermiculite (optional), a 10-litre bag of seed starting mix £5.50, £2 for capillary matting (see below) and a gravel tray £2.30. I would assume you already have a spoon, ice cream sticks, a marker pen, eggs and egg trays at home. So the total setup cost for the bells and whistles version is about £40. Without the heat mat and vermiculite, it will cost about £18.00 (£16 without the capillary matting)
This may seem a lot to plant, just a few seeds, but the assumption here is that this will not just be a once off. The equipment and materials can be used to start many batches of seeds. Call it an investment in infrastructure.
I have decided to go ahead. What now?
Preparation
So, you have all the kit you need. If you have decided you won’t go with the heating mat, you will need access to a warm place, like a cupboard with a boiler or somewhere similar. Ideally, you are looking for somewhere with a constant temperature above 21 degrees Celsius. If it is warmer even better (about 26 to 32 degrees Celsius is ideal).
To begin the seed starting process, you need to start saving eggshells. When you use an egg, instead of cracking the shell in half, use a knife to crack it near the top. Then carefully remove the top bit of the shell and pour the contents into a jug or a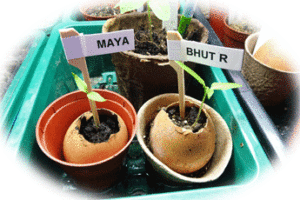 pan. Wash the insides of the eggshells with clean water and allow to dry. Allow one eggshell for every two seeds you intend planting. Enjoy cooking the eggs!
Once you have the eggshells, place your packet of seeds into your fridge three days before you want to plant the seeds. This process tricks the seeds into believing it’s winter and prepares them for the next step
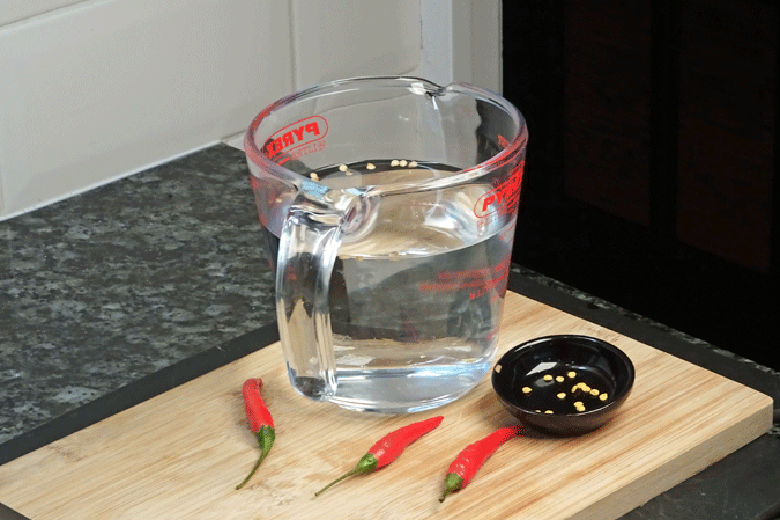
The next step is to make some Camomile tea. Steep the teabag in hot water for two minutes. Take the tea ag out of the water and let it cool to room temperature. Now brew a second cup of tea with the used teabag. Let the tea cool to room temperature, and then place the seeds in it. Soak the seeds in the tea for no longer than twelve hours. This process will swell the seeds slightly and make the walls of the seed thinner. It has the same effect as a seed passing through a bird’s digestive system, and also kills off harmful bacteria. Birds, believe it or not, are one of the Chillies favourite ways of dispersing its seeds
What’s next?
Preparing the shells
Once the seeds have soaked, you can start preparing to sow them. The first thing you need to do before that, however, is ensure your seed starting compost is fine enough. Seed starting compost sometimes contains clumps or clods. These need to be removed. Ideally, you would use a quarter inch mesh sieve to do this, but using your hands to remove the bigger bits works as well. Remove as much of the bigger pieces as possible, otherwise germination of your seeds may be affected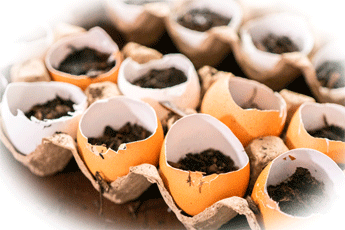
Next, prepare your egg trays. Cut off the top so that you are left only with the bottom part of the tray with cavities. Turn this upside down, and using a knife, make a small hole in the bottom of each egg cavity. This is done so that water is more easily absorbed into the cavity once the egg is placed in it.
You will notice that if you place an egg shell into a cavity of an egg tray, there is a gap between the bottom of the egg shell and the tray. This gap needs to be filled with something to allow capillary action between the bottom of the tray and the mix inside the shell. This can be done using a scrunched up piece of absorbent kitchen towel or partially filling it with a bit of vermiculite. In both instances, make sure enough is used to ensure that definite contact is made with the eggshell. When using vermiculite, place the tray on top of the capillary matting before adding the vermiculite, otherwise it will spill out the hole you made in the bottom of the shell.
Adding the seed starting mix
Sowing the seeds
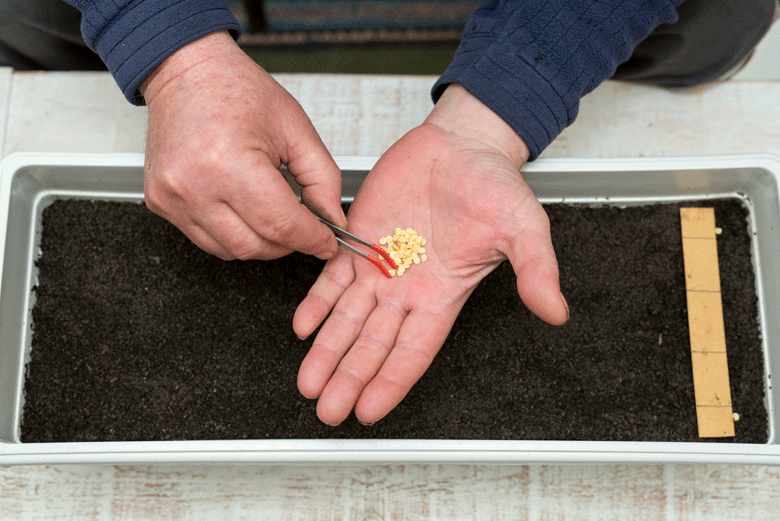
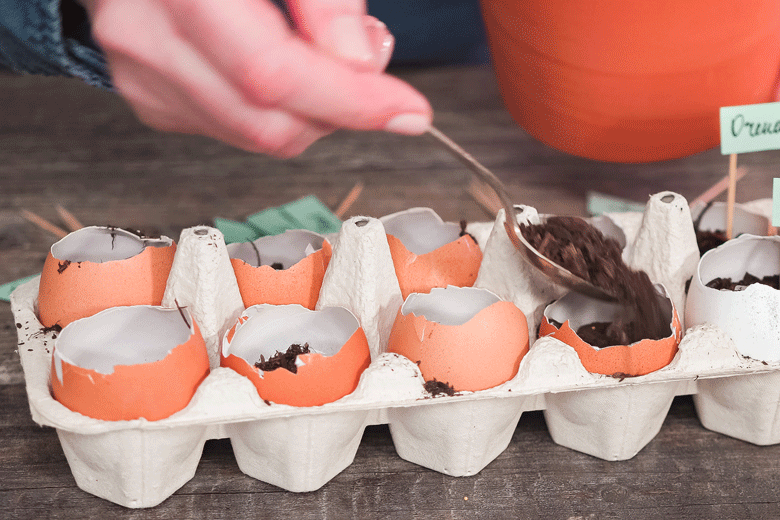
Once this is done, use the spoon to spoon out potting mix to about three quarters way up the inside of the shells. Moisten the seed starting mix with room temperature water from the spray bottle. Use rainwater or bottled water if possible. Now place two seeds on opposing sides on top of the seed starting compost. Using the spoon again, spoon a quarter inch (6mm) of vermiculite on top of the seeds. Now moisten this with the spray bottle. Under no circumstances should the seed starting mix feel more than just moist to the touch. Rather water too little, and then gradually add more rather than overwater. Too much water is not good for seeds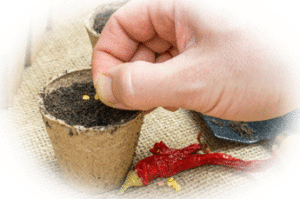
If you have vermiculite, the procedure will be a little different. Here you would mix the vermiculite with the seed starting mix at a ratio of one to one (fifty percent seed starting mix and fifty percent vermiculite). Fill the shells to three quarters with this mixture. Place the seeds on top in the same way as above. Repeat the mixture with a spray bottle. Now place the seeds on top of the mixture in the shells. Use vermiculite to cover the seeds by no more than a quarter inch (5 to 6 mm). Once again spray a little water onto the vermiculite to moisten it.
Place the egg shells into the partially filed cavities in the egg tray, and place the egg tray into the propagator. Write the names of the Chillies you are planting on the sticks, and place the markers into each cavity. This is important, as it can be easy to forget, especially if you are planting a pack of mixed seeds.
Wet the capillary matting with room temperature water. The matting should only feel wet to the touch. Other than this, there shouldn’t be any more water in the bottom of the propagator. A good sign that capillary action is happening is if the egg trays start absorbing water. Watch this carefully. At the risk of repeating myself, do not fill the propagator with any more water than is absolutely necessary.
Now place the dome on the propagator,. From there, it is simply of placing the propagator in a dark place (out of direct sunlight) on top of the heating mat: the heating mat should be turned on). If you are using a warm cupboard with a boiler for heat, place it there.
Germination
Bursting into life
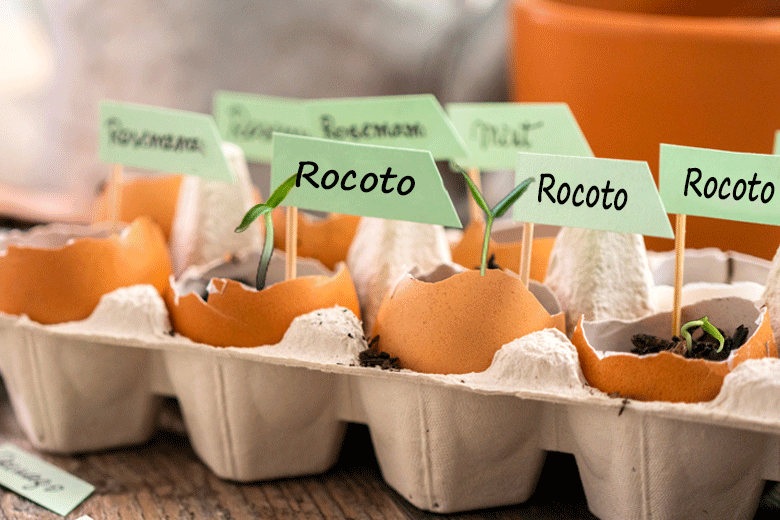
Check your propagator every day for moisture. You will notice droplets of water on the dome of the propagator. Turn the dome upside down and pour the water back into the tray. Feel the capillary matting. If it is still wet, there is enough moisture in the propagator. If it is dry, wet the matting.
After about seven to ten days, you will find that some or all of your seeds have germinated. They may not germinate simultaneously. It is essential to check every day. As soon as the seeds germinate, you will need to immediately remove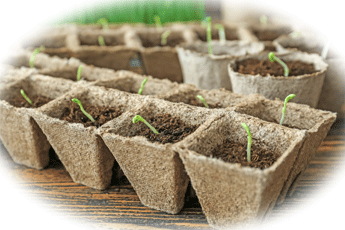 them from the propagator into another container (an egg tray in as seed tray works well). The container should not have a lid on it. Not moving the seedlings will lead to them becoming leggy.
Seedlings start looking for a source as soon as they sprout. This is what they should be placed on a sun facing window sill or similar. However, don’t place them in strong direct sunlight immediately. Rather, make sure they are partially shaded by a blind or a curtain. You don’t then your seedlings frying in the sun
If you were given seeds, hopefully they are not of the superhot variety. These take longer to germinate. Ideally, you are looking to plant seeds with short germination periods. Sometimes superhots can take longer to germinate. This can pose a risk of the seeds rotting before they germinate. If buying seeds, especially when starting with growing Chillies, it is best to choose varieties that will sprout quickly. These normally would fall into the Capsicum annuum species
How to look after your seedlings after they have sprouted can be found in other posts on this site. A good place to start is the best way to grow Chillies
Finally
I have not tried this before, but it may be possible to eliminate the capillary matting. The theory is that the egg trays absorb water when it is poured into the propagator. If this is the case, surely the egg trays are acting like capillary matting? Capillary action should take place between the contents of the eggshell and the wet egg tray. This is essential for the seed starting mix to stay moist. It’s certainly giving the idea a bash. I certainly will! Don’t forget the scrunched up paper towel or vermiculite though. Mind the gap!
Some growers don’t bottom water. They spray their seeds everyday with a spray bottle. The theory is that spraying from the top doesn’t affect the temperature of the seed starting compost as much. As previously mentioned, compost temperature should be ideally between 26 degrees and 32 degrees Celsius for good germination. However, in my opinion, there are problems with this approach. Firstly, there is a great risk of the seedlings drying out unless you are extremely careful. This has happened to me in the past. Top spraying also encourages fungus gnats. These are certainly something you want to avoid
