
The seeds finally arrived
Last week, I received my Rocoto seeds. I was delighted, as this meant I could finally start my series on the life of a Chilli from seed from when it is planted right up to its use in cooking. I want to map out the journey of a single variety (Rocotos in this case) from the minute I start it, right through to harvest, and then finish with what I do with it in the kitchen.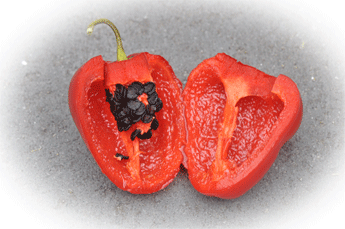
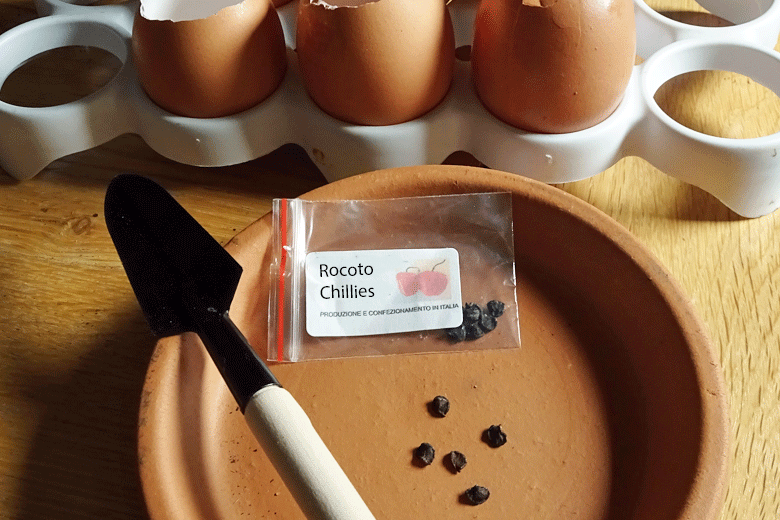
When I opened the envelope, the seeds were sent in; I found a small bag containing ten black seeds. Black seeds are a characteristic of Rocoto Chillies. The seeds were quite big, about two to three millimetres wide and long. The seeds certainly looked healthy. So, while I might have paid a lot for them (the postage cost as much as the seeds), I was pleased with the quality
It didn’t take long before I was preparing the growing medium to plant these Chillies. As part of my drive to become peat-free in my Chilli growing, I decided to try something else instead of using peat pellets. The thought of using egg shells immediately came to mind. Somewhere along the line, I had seen an image of them being used for organic seed starting. The idea immediately appealed to me. Here was a way to achieve peat free growing, but also a way to use a sustainable resource.
How I started the seed
Egg shells and John Innes
My first step was to soak the seeds in weak Camomile tea for twenty-four hours. Rocoto seeds have a hard outer and benefit from soaking until they swell. It is important not to soak the seeds too long as it is possible to drown them.
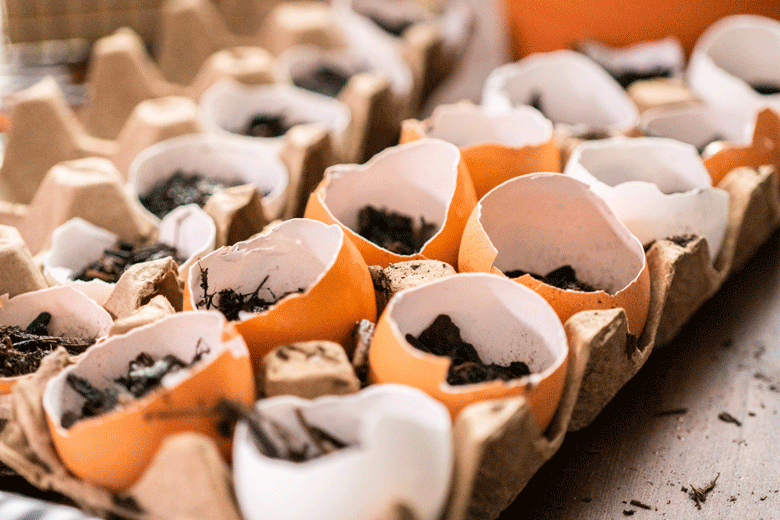
Once the soaking had been completed, I made up my seed starting mix. I used a mixture of John Innes seed starting compost and vermiculite at the ratio of 50:50; I spooned this mix into eggshells saved from breakfast and baking. The eggs shells had been cracked open at one end using an egg top remover before the contents were poured out. Doing this provided wonderful little containers for starting seeds. And what’s more, it is far more environmentally friendly than peat pellets.
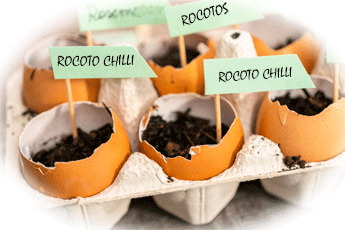 To allow bottom watering with my self-watering propagator, I made a hole in the base of each egg. Once the compost/vermiculite mixture was spooned into the eggs, I moistened the surface with a water spray bottle. I then placed a single seed on top of the moistened surface and covered the seeds with about half an inch of the mix. I then sprayed a little more water on top of this. The idea was only to moisten the mixture. It is essential to limit the amount of water you use when starting seeds. The compost should be kept only damp and nothing more
I then made holes in the base of the cavities of a cardboard egg tray. Each cavity was then partially filled with some vermiculite. The reason for this was to help capillary action between the compost in the eggs shell and the capillary matting of the self-watering propagator. It was necessary to do, as eggs don’t actually come into contact with the base of the trays they are packed in. There is a slight gap. The vermiculite was used to fill this so it could absorb water from the capillary matting
I then placed the seed tray on the platform of the self-watering propagator. I had previously filled the reservoir tray that the platform rests in with lukewarm water. I put the capillary matting on top of the platform, with one side dipping into the water reservoir below. The system was now armed for self-watering. All that now was required was to place the propagator on a heat mat and regulate the temperature at between 26 degrees and 29 degrees Celsius.
Final note
I had intended to attempt to start the seeds at a lower temperature. I was thinking between twenty and twenty six degrees, but have now decided to leave that for another day. That will be part of a wider experiment that I want to look at in the future when I have more seeds
From now until the seeds germinate, I will keep a close eye on the moistness of the compost in the eggshells. This is the first time I have used egg shells in this way, so I will be super careful. I don’t want to overwater the seeds, but I certainly don’t want them to dry out either.
It could be a long time until the seeds germinate. Rocotos can take anywhere from twenty days (and sometimes longer) to germinate. This long germination period adds to the risk when it comes to watering. The longer the germination period, the more the risk of the seeds rotting if they are given too much water.