How to improve chilli plant growth

Let’s make it happen!

Are you eager to witness your chilli plants thrive and produce an abundant harvest of fiery Chillies in record time? If so, you’ve come to the right place! In this blog post, we will explore effective strategies and time-tested techniques to help you make your Chilli plants grow faster. Whether you’re a seasoned gardener or a beginner with a green thumb, these tips and tricks will give your Chilli plants the boost they need for accelerated growth and optimal productivity.

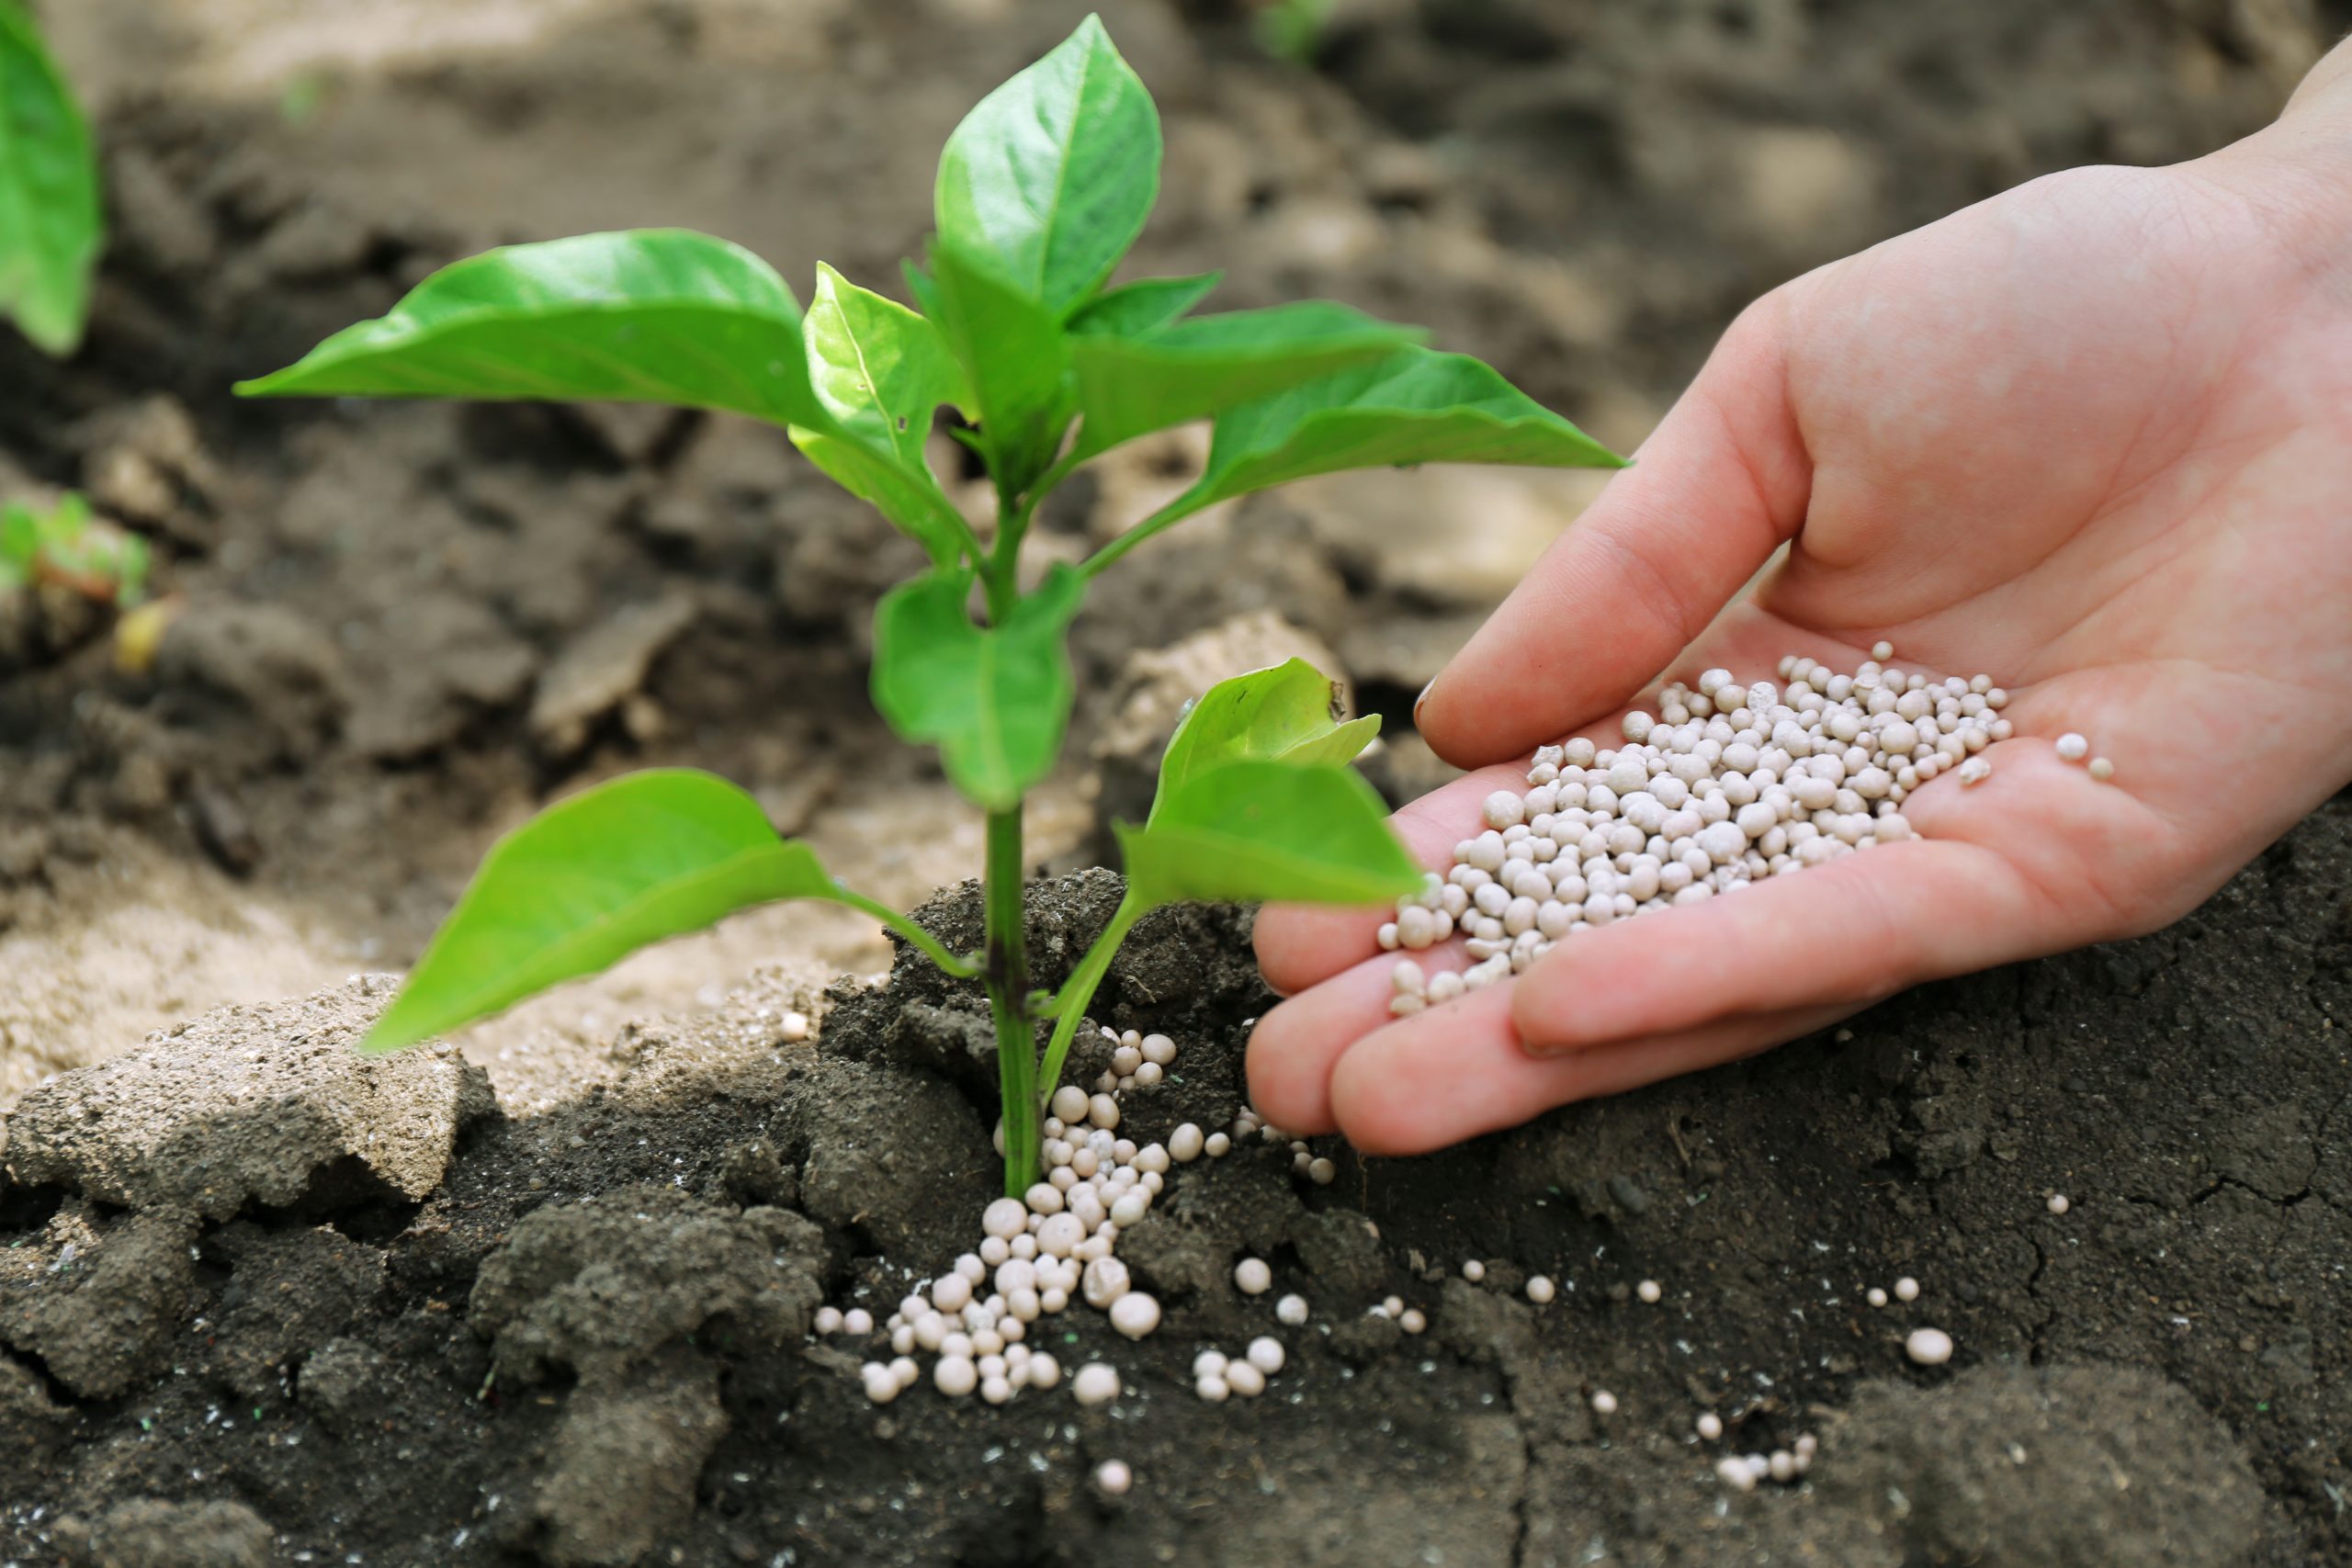
In the following sections, we will delve into various stages of Chilli plant growth, from seed germination to transplanting, and explore ways to optimize sunlight exposure, soil conditions, watering, fertilisation, , spacing, temperature management, indoor cultivation, and pest and disease control. By incorporating these best practices into your Chilli growing routine, you’ll be well on your way to maximizing the growth rate of your plants and enjoying a thriving Chilli garden.

So, if you’re ready to take your Chilli growing skills to the next level and witness impressive results, let’s dive in and discover the secrets to making your chilli plants grow faster. Get your gardening tools ready, put on your gardening gloves, and let’s embark on this exciting journey together!

Read more

Feeding Chilli plants

A well rounded program

When growing Chillies from seed to fruit in one season, it’s important to establish a well-rounded fertilisation program to provide the necessary nutrients for healthy plant growth and fruit production.

In the initial stage, when planting chilli seeds, no additional fertilization is required. The seeds contain sufficient nutrients for successful germination. Plant them in seed starting pellets, such as coco coir or a fertilizer-free seed starting potting mix.

Sow your Chilli  the seeds into your seed starting medium and add water. that is all that is required.Once the seedlings have germinated and developed their first true leaves (dicotyledons), they may require additional nutrients (albeit at very low levels). However, it is important to note that the seedlings can still sustain themselves from the stored nutrition in the seed endosperm. Fertilisation during this stage is not necessary, but if desired, use a diluted fertilizer solution at reduced concentrations to provide a gentle nutrient boost.

If you decide to go this route use a liquid fertiliser with an extremely low NPK.  It should be in the region of 1-1-2.  Fertilisers like this can be bought ready mixed or made by diluting products like Chilli Focus .   Another alternative is to dilute liquid tomato feed.

Read more

Pickling Chilli recipe

Pickling this years Chilli crop

Today I made some pickled Chillies with a variety of Chillies that I harvested as part of this year’s Chilli crop. It is a good way of preserving Chillies and was  extremely easy to do. Having done this, besides pickling Chillies it now means that out of this years harvest I have been able to make Chilli powder, fermented Chillies and will shortly making hot sauce. I have also frozen quite a few.

All that I needed  for the pickling was the Chillies, some vinegar, water, sugar, salt, spices and the mason jars that I used to do the pickling.  I also needed a pot , a  cutting board and a sharp knife.

Once I had all of these together , the first step in the pickling process  was to sterilise the jars. I did this by washing them in warm soapy water and then rinsing them in fresh warm water, I then let them air dry.

Once this had been done, I placed them in an oven that I had preheated to 100 hundred degrees Celsius for ten minutes. This will have killed off any harmful bacteria. In addition to this, the use of vinegar in the  pickling process  helps to keep the Chillies free  from  air borne bacteria like Botulism. The acidity in vinegar deters the growth of Botulism spores which otherwise might have been a problem; as Chillies are not acidic in themselves

The next step was to remove the stalks from the three hundred grams of  mixed Chillies I was using  I then sliced them in half and packed them tightly into two mason jars. One jar is 500 millilitres and the other 350. In both instances the jars were filled to eighty percent of their total volume. I did this because it is essential that the Chillies are completely submerged in vinegar to prevent spoilage The only thing that was then needed was to make the pickling solution

Read more

Fermented Chilli sauce recipe

Fermented Chilli sauce

Fermented Chilli sauce

Last weekend I started making fermented Chilli sauce with part of my harvest of Aji Habaneros and Bishops Crowns. The Chillies are now starting to ferment, and I am now starting to see carbon – dioxide bubbles floating up from the fermentation brine. It has taken about three days to reach this point. In another four to five days the sauces will be ready, and I will then blitz them into a Chilli sauce.Fermented-vegetables

Fermentation is a great way to preserve Chillies, whether making a hot sauce or Chilli pickles. It is a method that has been used for thousands of years and was certainly being done before canning and bottling was invented.Recently, there has been renewed interest in this ancient form of preservation. This is because people have realised that the end- product tastes great and is also really healthy. What’s more, it’s easy to do

The basic principle behind fermentation is that you allow the Chillies to ferment in a brine solution of about five percent salt in water. The fermentation process results in acetic acid being produced which serves to preserve the Chillies but also give them a pleasant sour taste. Once they have been preserved in this way, they can be kept either whole in the brine or alternatively the brine gets drained and the Chillies then get blended into a sauce.

Read more

How to overwinter Chillies

The first frost

The first frost has arrived in the West Midlands. With the anticipation that it would arrive around about now, three weeks ago I brought most of my Chillies in doors. Most are in my garage under grow lights as many still must ripen fully. I also prepared a couple of my larger plants for overwintering and even turned one of my larger plants (a Fatalii) into a Bonchi. Bonchi’s are Chilli plants that have been cut in such a way that they will eventfully resemble Bonsai trees. They make great indoor ornamental plants

Overwintering Chillies is done by removing most of their foliage and pruning their stems so that the plant is placed in a position that it requires very  little nutrition to grow. It means that when the plant goes into dormancy for the winter it can stay sufficiently alive to survive the winter. When spring arrives, the plant will then break out of dormancy and have a head start in in producing Chillies in the next season.

In their natural environment (hotter climates) Chillies are perennials. Perennials are plants that do not completely die off during winter in the same way annuals do. They lose foliage and stop growing during winter but will spring back into life at the onset of summer. In the UK, however, because of the cold winters, this is not possible. Chillies cannot survive freezing and die if exposed to  the zero-degree temperatures that are often experienced in the United Kingdom during this time of the year.

Read more

Ripening with grow lights

Grow lights work well

Last year September because I was experiencing a problem  with getting my Chillies ripe in time for the end of the season I placed them under grow lights to see whether this would speed up ripening . After two weeks, I was delighted to advise it had worked. The two plants I had under the lights started to ripen. Two other plants of the same variety that I had kept outside showed  no signs of doing the same. This  convinced me that ripening under grow lights works. Here is what happened.

Read more

How to save seeds

Saving seeds for next year

With the Chilli season coming to a close and Chilli harvesting in full swing in the United Kingdom, now is the time to start saving seeds for next season. With the hefty price that some seed suppliers charge for their seeds, this makes good financial sense. Besides, if you have plants that have done exceptionally well in the season, why not save some seeds for next year?

To successfully save seeds, choose fruit that is slightly overripe.  The chances of the seeds being fertile are far more likely if they are at this stage of ripeness. Also, make sure you only chose pods that are healthy and not showing any signs of disease.

Once you have picked them, slice them in half and scrape them out of their pods. Try to scoop out as little of the white membrane when doing this, as not doing so can cause seeds to become mouldy during drying. This can cause them to become infertile

Once the seeds have been scrapped out of their pods, place them in a tea strainer under cold running water, and gently wash away as much of the placenta as possible. If this doesn’t,  work try placing the seeds in a jar with some water, and shake them until any remaining placental tissue shakes loose from the seed.

Read more

How to pick Chillies

Harvest time

We are now at the point in the season where many Chilli growers harvest their crops. Many of our Chillies have now ripened. However, if you are like me, there is still a while to go until the end of the season. With this in mind, I want to harvest what I can without damaging my plants. Particularly those I want to overwinter. This is where the method  used to pick the Chillies becomes important. I cover this topic in this post

The best way to harvest Chillies is by snapping the Chillies off at the base of their calyxes with your fingers. Simply hold the base of the calyx between your thumb and index fingers, and pull the Chilli away from it using the same fingers on the other hand.

Snipping Chillies off at the stem using scissors instead of snapping them off can pose a risk to the plant. By snipping the Chilli plant on its stem with scissors, you create an “open wound” on it. There is then a possibility the stem will rot, and this may introduce disease into the plant. This is the last thing you want to happen. To keep plants over winter, they will need to be as robust as possible when beginning the overwintering process. It is the only way the plants will survive and thrive in the next season

Read more

When to harvest Chillies in the UK

When to pick Chillies in the UK

Today I made a second harvest of Chillies. I harvested some about two weeks ago, and today picked some more, for no other reason than that they were ripe, and it was the optimum time for these Chillies to be harvested. Not doing so would have meant that they would have gone past their prime. Picking them too early would have meant they would not have developed to their full potential.

There is no hard and fast rule when to harvest Chillies in the UK.  You can start at any time, provided the Chillies have  ripened. In certain Chillies, that may mean they have changed from green to red, orange, or yellow. Other varieties may start off yellow and ripen to orange, or even begin purple and then turn red. The variations of ripening are endless

The important thing to remember here is that you should only pick Chillies when they are nearly fully ripe. Unlike tomatoes, Chillies will not ripen much more once they have been harvested .You can of course pick them when they are still green, but don’t expect them to be as hot as ripe Chillies

Luckily, many of my Chillies have started ripening, but there is a long way to go yet. Many still need to. Some are still yellow, and others are green. This means that between now and the end of November, when the first frost will arrive in the West Midlands (where we live), I need a lot more ripening to harvest while they are still outdoors.

The ripening of my Chillies this year has been a lot better than last year. This has mainly been because we had a hot summer. The Chillies grew quickly, which in turn means they can ripen more quickly. Hopefully this will happen. However in the UK, because of the short growing season, there is always a dash to get Chillies ripened before the first frost

Read more

Getting rid of Sciarid flies

Getting rid of these pests

While fungus gnats (or sciarid flies as they are also known) don’t pose a threat to humans, they can cause harm to plants. While this threat diminishes when seedlings get older, there is still a possibility that these 2mm little black flies can create problems. Their larvae attack the roots of plants, and adult flies can carry Pythium on their feet. Pythium is a pathogen that causes damping off in seedlings. If infestations are large enough, fungus gnats can stunt growth and even kill plants.

With all these dangers, and for the simple fact that fungus gnats are annoying, I have made it a priority to find ways to get rid of them in any way I can. I know it will be virtually impossible to eliminate them (as they breed very quickly), but I certainly believe it is possible to bring their numbers under control. Particularly now that I have started using some rather unconventional methods to attack the problem head on

The first of these methods (believe this or not) is to use a handheld vacuum cleaner to suck up the gnats as they crawl or hover around the plants. It might sound funny, but believe me, it works remarkably well. To do this, I water the plants from the top and suck the gnats into the vacuum cleaner. I can do this as they fly up after being disturbed by the water. When you consider that each adult fungus female fungus gnat fly can lay up to 200 eggs. Even if you only capture twenty flies in a single session, you will have removed the potential of another four thousand fungus gnats being born. That’s impressive

Read more