
 will also cover what precautions should be taken to protect the young plants against unwanted pests like
  A guide to hardening off
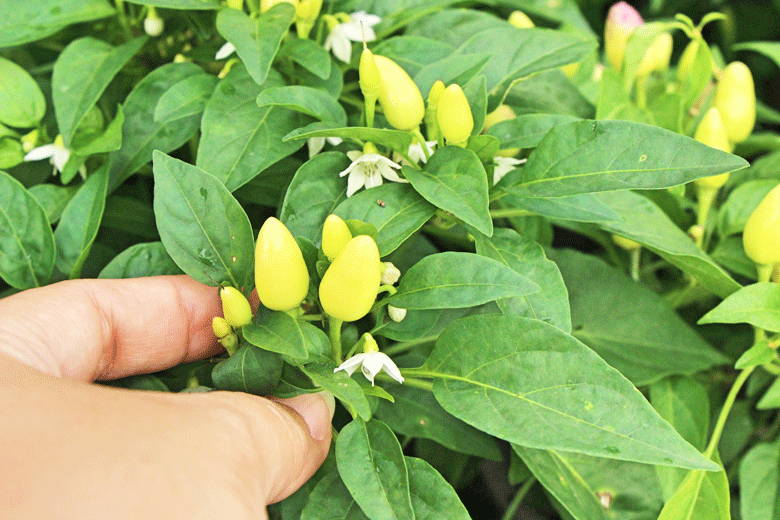
Hardening off chilli plants is essential for their successful transition from indoor environments, where they enjoy stable conditions, to the outdoors, where they will face variable and sometimes harsh conditions. Chilli plants, like other tender plants, are often started indoors to give them a head start before the growing season begins. Indoor environments provide a controlled atmosphere with stable temperatures, consistent moisture levels, and protection from harsh weather conditions.
Imagine spending your entire life in a comfortable, climate-controlled environment and then suddenly being thrust into the wild. This is akin to what happens to chilli plants if they are moved directly from the cozy indoors to the unpredictable outdoors without a period of adjustment. The sudden change in light intensity, temperature fluctuations, and exposure to wind and other elements can be a severe shock to their system, manifesting as sunburn on the leaves, wilting, stunted growth, or even plant death.
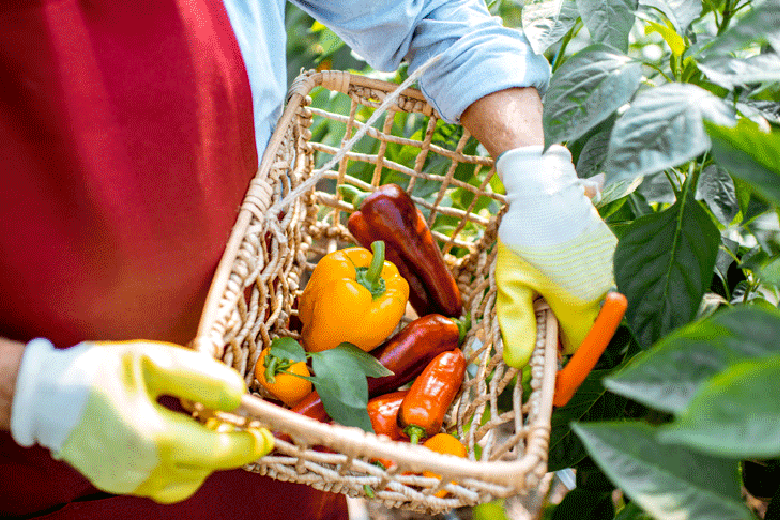
The hardening off process mitigates these risks by gradually acclimatizing the plants to their new environment. By slowly increasing their exposure to outdoor conditions, chilli plants develop stronger stems, thicker leaves, and more robust root systems, making them better equipped to handle the challenges of growing outside. This step-by-step acclimatization is critical for the health and productivity of your chilli plants, ensuring they thrive and produce bountiful harvests.
Follow this comprehensive guide to hardening off your chilli plants for the best start in their outdoor life, ensuring they transition smoothly and grow strong and healthy.
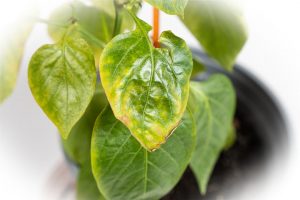
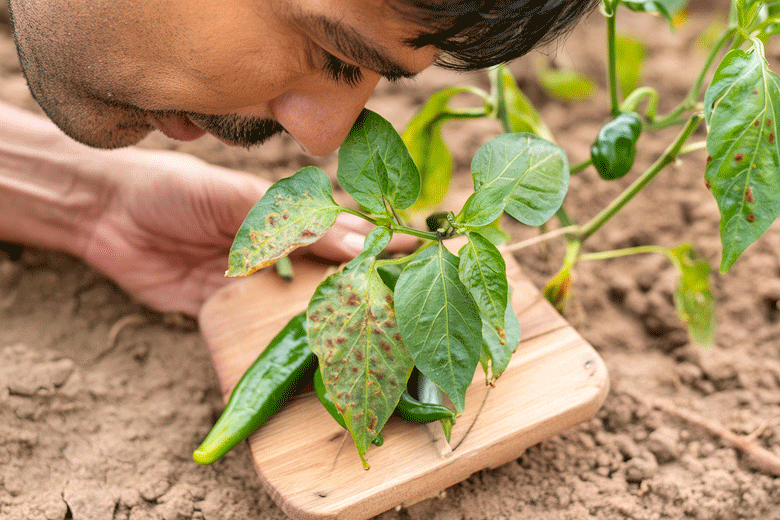 Combating problems
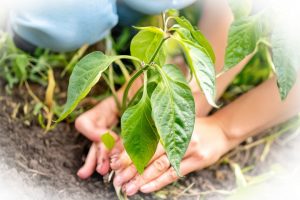
 Getting the basics right
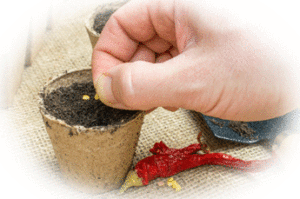
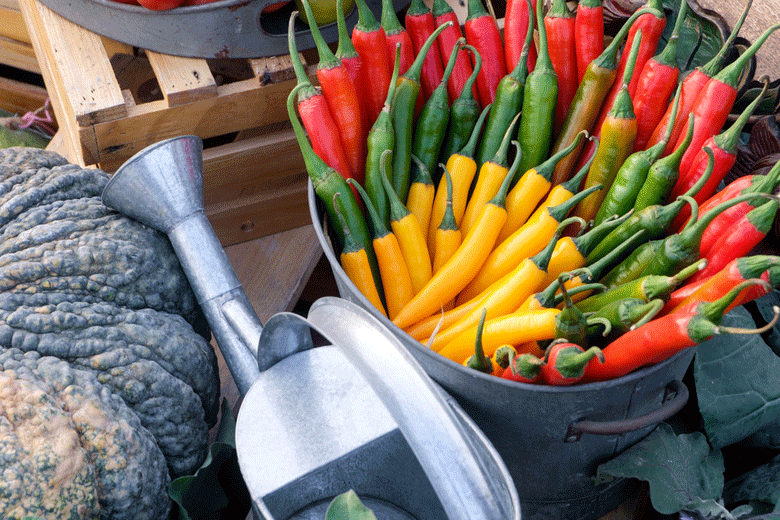
 These varieties include popular options like ‘Cayenne’, ‘Hungarian Wax’, and ‘
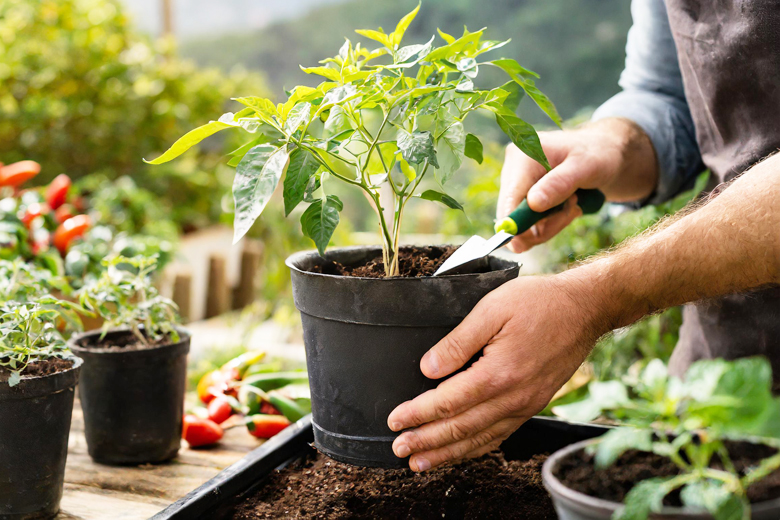 Potting on for success
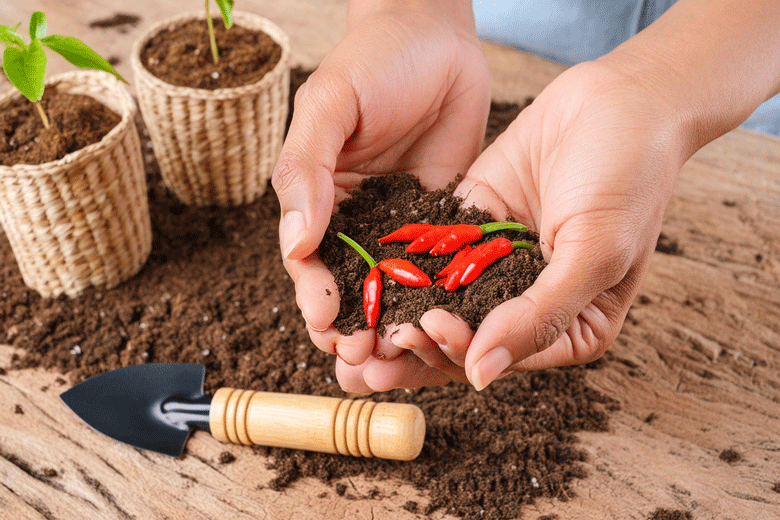
 The best soil for growing Chillies
 plants the best chance to flourish.
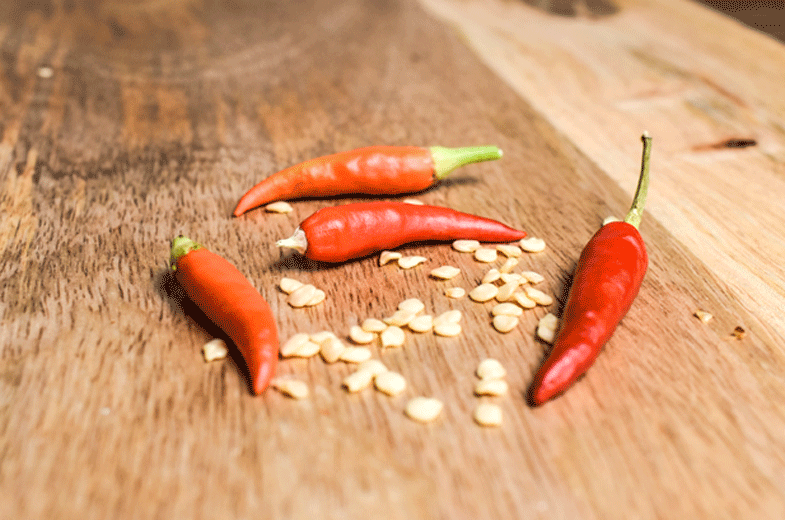


 phosphorus takes centre stage due to its specific importance.
 healthier growth in these plants.