How to take cuttings

Taking cuttings from  Chillies

Yesterday, while cutting back a Bolivian Rainbow plant to make a Bonchi, I decided to take cuttings from the stems I had cut off.  Throwing perfectly good Chilli stems away seemed like sacrilege!

Taking cuttings is a fantastic way of cloning exact replicas of your best plants.  If the parent plant is a star, the odds are that the plant from a cutting will turn out that way also  That is a real bonus!

It is also an excellent method of growing Chillies if you have left the growing season a bit late. You will, of course, have to have overwintered Chillies to make cuttings from them, but if you have overwintered plants, Bobs, your uncle. You can eliminate having to germinate seed, and then wait for them to reach a reasonable size before potting- on and hardening off.

However, taking cuttings is not as simple as snipping off a stem , placing it in water and hoping for the best. It requires more than that. A bit of science is required to make the magic of root cuttings work.

The following guidelines are based on that science.  Follow them and you will have every chance of success in your Chilli cuttings.

Read more

Saving seeds

Saving Chilli Seeds: Your Guide to Future Flavour

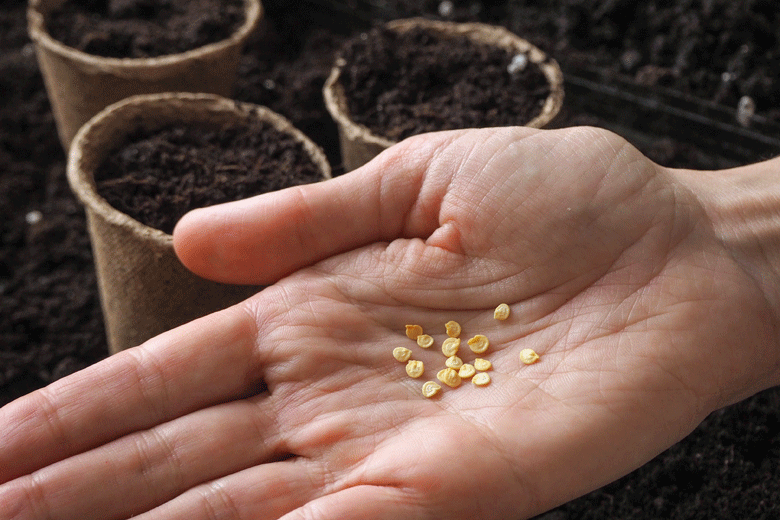
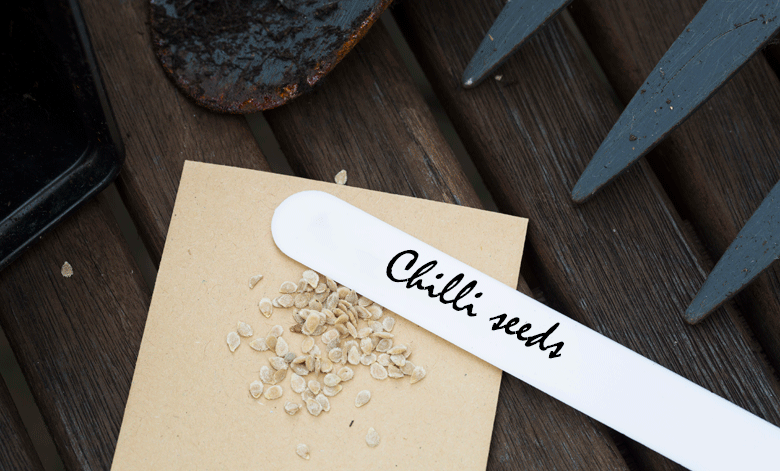
There’s nothing quite so rewarding as growing your own chillies. And once you’ve savoured the spicy fruits of your labor, you may find yourself wondering about saving seeds for future cropsAs well as saving money, it allows you to preserve the genetics of your favourite varieties. Yet successful seed saving isn’t quite as straightforward as just scooping out some seeds; it’s also about drying them correctly so that they will still be viable when planting time rolls around again.
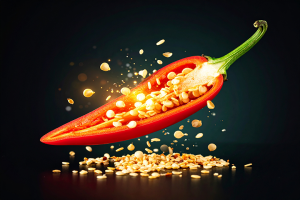
Prior to the how, the why. Chilli seeds, like most seeds, need to be gradually dried to remove moisture. If they‘re too wet, they‘re a haven for mould and mildew and will be unusable in no time. Too little moisture (i.e., drying them too quickly with high heat) can also damage the delicate embryo inside, reducing germination rates. What you’re looking for is a slow, even dry.

While most individuals relate seed saving with the close of the season, you can save seeds all along as your chillies mature throughout the growing seasonThe moment you have a fully mature, healthy chilli pod ready to be harvested, you can go ahead and extract those seeds. This way, you don’t have to wait for the plants to be dying off; you can harvest seeds from your best performers as they mature, ensuring you are harvesting the genetics of your strongest and most prolific plants.
Step-by-Step Guide to Drying Your Chilli Seeds:

Below is the ultimate step-by-step guide to drying your chilli seeds for planting later:

1. Harvest from the Best (and Ripest!)

Quality In, Quality Out: Start with entire, healthy chillies that are totally ripe. They should be their mature colour (generally red, but varies with variety) and be free of disease, shriveling, or damage.

Avoid Hybrids (Unless You Like Surprises): For a guarantee that your future plants will be identical to the parent, take seeds from “open-pollinated” or “heirloom” varieties. Seeds from F1 hybrids won’t normally grow true to type, and you‘ll possibly end up with something quite different!

2. Extracting the Seeds Safely

Gloves, Gloves, Gloves! You can’t say this enough. The oil that makes chilli hotcapsaicinis found in the white membranes holding the seeds. Get this in your eyes or, even worse, on your skin, and you will regret it!

The Cut: Slice your chilli in half lengthwise carefully.

Scrape Them Out: Using a small spoon, a knife tip, or even your gloved fingers, gently scrape the seeds away from the white placenta and inner walls. Try to remove as much of the wet pulp as possible.
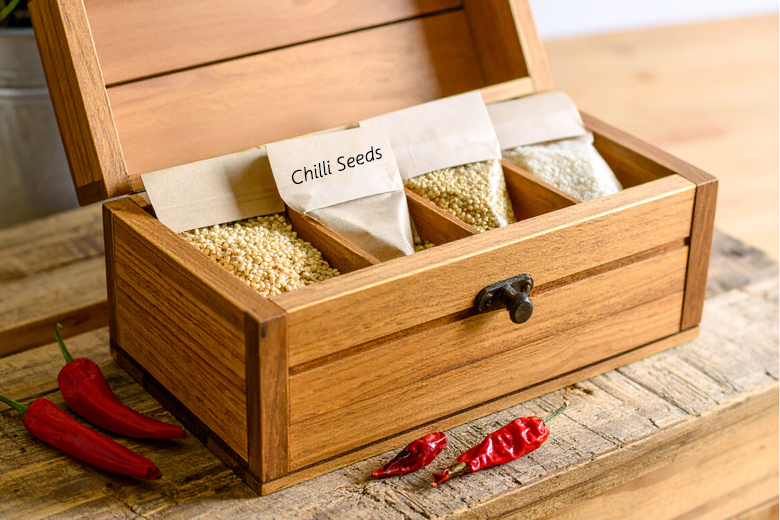
3. Prepare for Drying – The Golden Rule: No Washing!

This is a common cause of confusion. The majority of people think that they should wash the seeds to clean them. Do not wash your chilli seeds!

Why No Washing? Introducing extra moisture in the form of washing significantly increases the risk of mould during the drying process. The capsaicin left on the seeds and membrane is actually a natural antifungal/antibacterial agent.

Spread Them Out: Once you’ve scooped them outlay your seeds in a single layer on an absorbent surface. Some good ones include paper towels (be gentle peeling them off later, or just plant the piece of paper with the seed!), blotting paper, plain typing paper, or paper plates (preferably unwaxed ones, or ceramic plates).
Label Everything: If you’re drying more than one varietymake sure to label each section clearly to avoid a  mystery chilli patch next year!

4. The Drying Zone: Patience is a Virtue

Location, Location, Location: Find a warm dry spot with a little air circulation. A countertop not in direct sun, a cabinet with the door slightly ajar, or even a window sill (if it’s not in the sunwill work.

Avoid Direct Sunlight & Heat: Do NOT put your seeds in direct sunlight, on a radiator, or in an oven. Suddendirect heat will “cook” the embryo and destroy viability. A slow, steady dry is what you want.

Turn and Check: Over the next 1-2 weeks, gently turn the seeds occasionally and, if using paper, change it if you find that it is becoming damp. This encourages even drying.

How to Tell They’re Dry: Seeds are totally dry when they are brittle and crack rather than bend when you try to bend them. If they are still pliable, they need more time.

5. Storage: The Long Sleep

Airtight is Right: Store your seeds in an airtight container when they are completely dry. Small zip-lock bags, glass jars with tight lids, or even film canisters will do.

Add a Desiccant: To eliminate any last traces of moisture and preserve low humidity, add a small desiccant packet (like the ones that come in new shoes) or a few grains of dry, uncooked rice to the container.

Label Clearly: Don’t miss this one! Label with harvest date and chilli variety. You think you will remember, but you won’t!

Cool, Dark, Dry: Store your containers in a cool, dark, and dry place. A cupboard is okay, but the crisper drawer of your fridge is even better for longer-term storage as it maintains consistent cool temperatures and low humidity.

By following these simple yet vital steps, you’ll be well on the road to a fruitful chilli garden year after year, all from your own saved seeds! Which varieties will you be saving this year?

Harvesting Chillies

Picking ripe Chillies

The best way to harvest

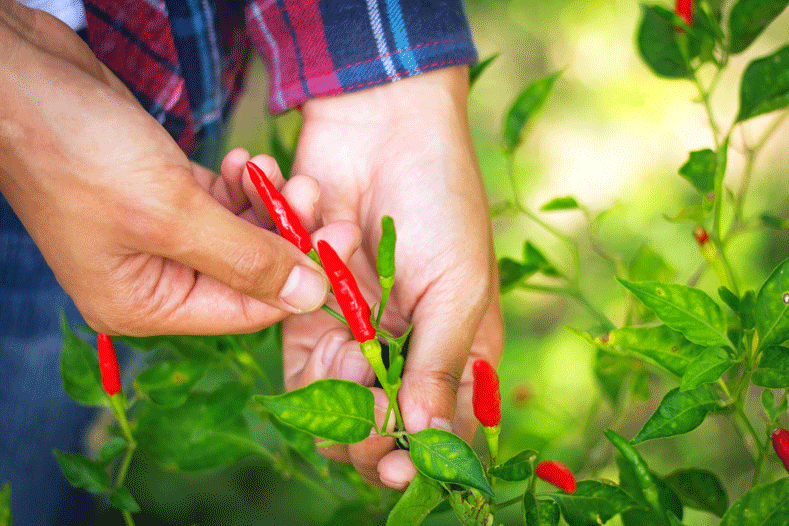
The season is almost over. We are now at the point where we can start harvesting ripe Chillies. All the time and effort that has gone into growing the Chillies will be rewarded with, hopefully, an excellent crop. Now we just have to make sure that we harvest them properly.

The best way to harvest Chillies is not by using a pair of scissors or the like. It is far better to snap the Chillies off at the base of their calyxes with your fingers. Simply hold the base of the calyx between two fingers and pull the Chilli away from it using your thumb and index finger on the other hand. Snipping

Chillies off at the stem instead of using instead of snapping them off can pose a risk to the plant. By snipping the Chilli plant on its stem with scissors, you are creating an “open wound” on it. There is a possibility that the stem will then d ie back and let disease into the plant.  This is something that we want to avoid as best we can.

The method above is best if you want to use the Chillies immediately. Another method of harvesting Chillies is well described in this video.  With this method, Chillies are snapped off with their stems intact at the node. Snapping Chillies off in this way is an excellent way of harvesting when you don’t want to use the Chillies right away. It does however, it still poses a risk to the plant. There is still a possibility that disease can enter the plant at the point where the stem is snapped off. The risk is, however, far less than using a pair of scissors or a knife.

Read more

Chilli seed germination


An update

Since my last post, the Habanero Maya red Chilli seeds have germinated. That gives me a 100 percent germination rate for  seed  starting  for the 2022 season. In a second round of seed starting of superhots, I planted Dorset Nagas, Bengal Nagas, Moruga Scorpions and Dorset Zingers. The seeds were started about nine days ago.
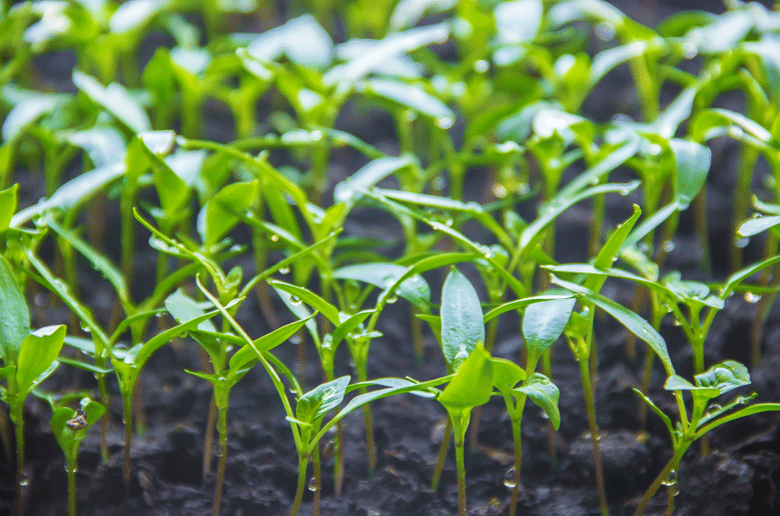
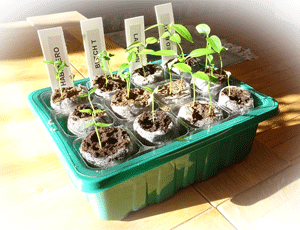
In line with most superhots, I expect germination in a further week or so.  Superhots take about two weeks to sprout.

Two other Chillies that I planted with the superhots are not quite in the same heat ratings league. These Chillies are the Green Trinidad  and the Bellaforma.  I planted them with the superhots to compare germination rates between mild and hot Chillies.

Guess what?  Both already germinated. My Trinidad Green seeds took about a week. The Bellaformas followed a day or two later.  Both were taken out of the heated propagator and are now under grow lights for 16 hours a day.  The seedlings are in open trays. They are not covered (see note below).

Read more

The superhots have sprouted

The start of 2022

I am thrilled to announce that most of the superhots I planted have sprouted. Some far earlier than I would have expected.  The 2022 Chilli growing season has been kicked off early.

In a previous post, I mentioned that I have started my superhot Chillies early for the 2022 season. I would typically begin seeds at the beginning of February or March in any one growing season. This year, however, I am starting three months earlier.

The reason I am doing this is because many superhots have a lengthy seed to maturity growing period. Some Chillies, like the Carolina reaper, can take two hundred and fifty days before they bear any fruit.  Particularly when there is not a lot of sunshine.

With such a long growing period, I would usually not expect to get any Chillies from these plants in a single season. Instead, I would overwinter them with the expectation that I would get a crop from them the following year.

Next season, however, will be different. By starting the superhots now, they will already be at least six inches tall in spring. They can then immediately be potted on, hardened off, and placed outside for the rest of the season.  Doing this will put the plants in an excellent position to deliver a crop in a single season. After that, there’s no reason why they shouldn’t get overwintered to produce more Chillies in following seasons.

Read more

Growing Chillies from seed. Revisited

New seed starting ideas

My previous post mentioned I would be starting  Ghost Peppers, Carolina Reapers, Hanain Yellow Lanterns and Habanero Maya reds, now, for next season.  For the most part, I got all the seeds planted about a week ago. I was expecting germination in two weeks. Surprisingly, the Hanain Yellow lanterns sprouted in three to four days

Over and above these Chillies, I also started Trinidad Scorpion Butch T seeds and some Habaneros. I will also be planting more superhot varieties in the not-too-distant future.

Unfortunately, the Maya red seeds took longer to arrive than I expected. The seeds only arrived yesterday. While preparing these seeds for quick germination, I began thinking it might be interesting to revisit seed starting. 
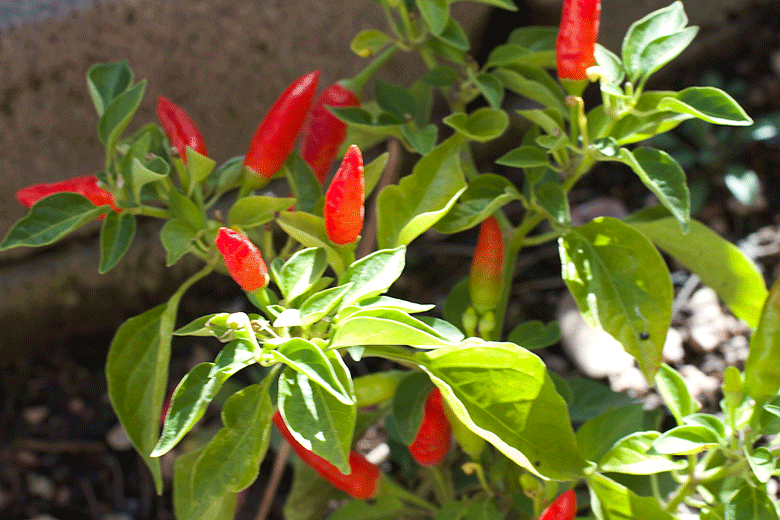
I have new techniques that I recently came across on this subject.  These techniques apparently speed up germination. I will be trying them out to find out how well they work.

To try out these ideas, I will need some teabags, kitchen paper towels, ziplock bags, an art knife or a scalpel. I will also need the seeds I will be planting. The ideas are all simple but could have a huge impact on how quickly seeds germinate.

When growing Chillies, it’s important to get seeds to germinate as quickly as possible. The longer the seeds take to sprout, the greater the risk becomes of them rotting. After all, you are keeping the seeds in a warm moist environment to get them to germinate. These conditions, while being great to get seeds to spring into life, they are also perfect for decay to set in.

Read more

Another Chilli identified

Another one bites the dust

In a previous post, I discussed identifying the species of unknown Chillies by their flowers. After writing the post, I decided to try and identify the unknown Chilli that I have ripening under grow lights.  I believe I have succeeded in doing just that, but it was not that easy. I think this time I just got lucky. It certainly wasn’t through any great skill on my part. Read more

When to plant Chilli seeds

Starting seeds early

Why I am starting early?

In a previous post , I mentioned that I would plant seeds for next season far earlier than usual. Usually, I would only begin with seed starting at the end of January. I started even later this year. I certainly won’t be doing that again. The season has not been as good as it could have been. To give my Chillies a more extended season, I’m starting seeds for next year now. In this way, I can avoid running out of time before my Chillies have fully ripened.

I believe, particularly with superhot varieties, there is a greater chance of a harvest in a single season.  Many of these Chillies have lengthy seed to maturity growth rates. Some can take over four months before they bear any fruit. The fruit then has to ripen.  Factor in that ripening depends on the amount of sunshine there is, and you could be waiting for over six months.

I won’t be starting all my seeds now.  For varieties with shorter seed to maturity rates. I will start seeds in line with what most other growers do. I will start these seeds in February. Quicker growing varieties can produce fruit in as little as twenty-two weeks from the date they are sown. For these types of Chillies, it makes sense to start later.  The Chillies I intend to grow that fall into this category include Chilli Trinidad perfumes, Zimbabwe Blacks, Pelita peppers, Malawian Birds – eyes, Apache F1s and Tangerine dreams.

Read more