Using worm castings for Chillies

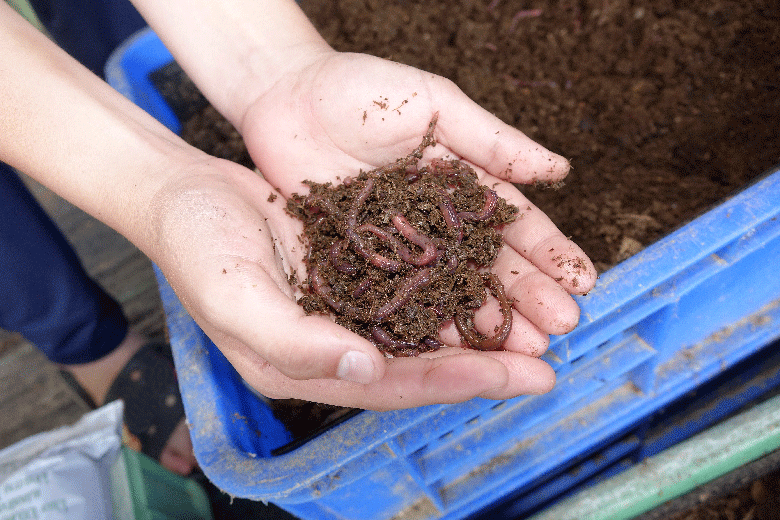
Seed starting with worm castings

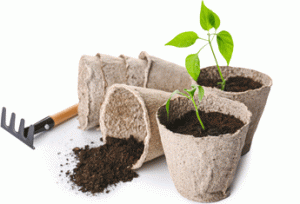
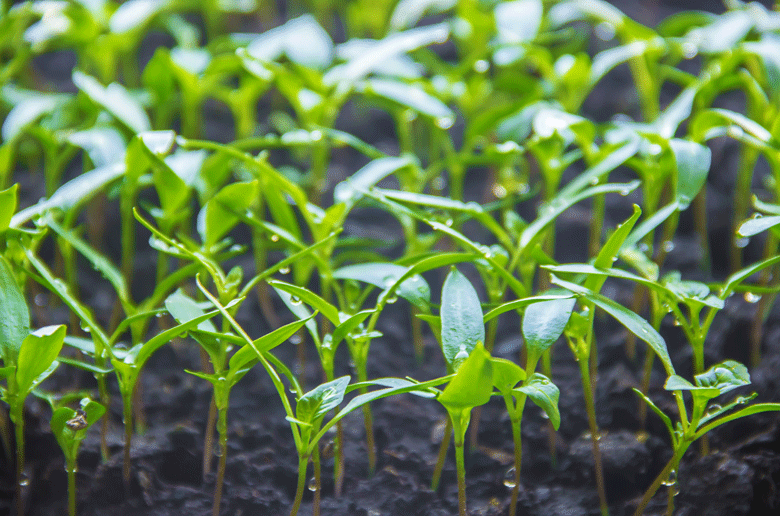
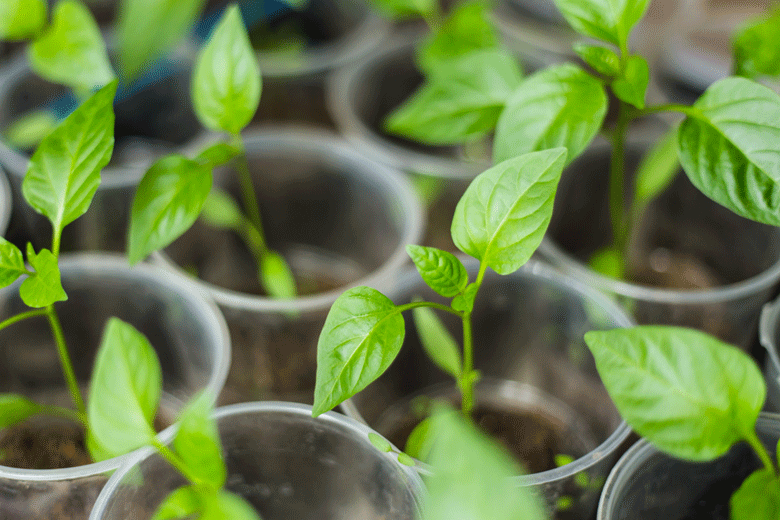
In my latest series of posts on growing Chillies, I took an in-depth look into the finer details of starting seeds. I covered all aspects, from seed selection through to the first potting on. However, I only touched on the use of fertilisers. It is a base I thought I already had covered. After all, Chilli seedlings don’t need fertilisers until much later. They first need to develop their first set of true leaves
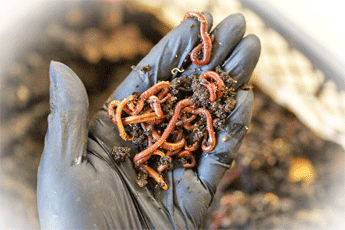
. When this happens, the seedlings are potted on. It is only at this stage that nutrients need to be considered.

It was to my surprise that after researching worm castings, I discovered there may be a better way to do things. It seems worm castings have a fantastic role in seed starting. This is what I learned.

Worm castings are essentially “worm poo”, for the want of a better way of describing them. They are a fertiliser made by feeding waste vegetables and animal products to worms. The worms eat these waste products; it passes through their digestive systems, and you are left with castings.

The conventional wisdom is that seedlings have enough nutrients to carry them through to their first set of true leaves. They don’t need any additional nutrients before then. So, if that is the case, why would anyone want to change? The truth is, what I discovered made total sense to me. It seemed like I had found new ground, and it was something I just had to try. Here’s why.
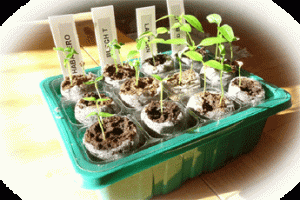
Read more

Watering Chilli seedlings

Some background

One of the biggest lessons Chilli growers need to learn concerns watering. I have been growing Chillies for many years, and still constantly make mistakes in this area. While not so serious when Chiili  plants are established, getting watering wrong when they are still seedlings, can lead to disaster. Overwatering can lead to diseases, and under-watering to other complications

I recently noticed that leaves on a couple of my Chilli seedlings were turning yellow. I concluded this had happened because the seedlings hadn’t been properly watered. First, they had been overwatered. To fix that, I let the soil dry out. But then I went to the other extreme. I allowed the soil to dry out too much. The seedlings started wilting and needed to be given water to revive them. The seedlings protested to being put under so much stress, and their leaves turned partially yellow.

With this event and the other problem I faced earlier in the year with overwatering, I decided it was time to find the best ways  ensure that seedlings are properly watered. This is certainly something I need to master, as it is a recurring problem. I have already made some headway with some new methods and will be trying out some other ideas in not too distant future

Read more

The best way to grow Chillies

Finding the best way

To find the best way to grow Chillies, I decided to have a detailed look into every aspect of growing them. I explored all things Chilli in greater detail. This included seeds, potting mixes, and watering. I also touched on fertilisation. The exercise focuses on starting seeds and what happens after they have germinated. It then continues to when they are potted on for the first time.  In time, the series will be expanded to include a detailed look at what needs to be done when the weather warms up.

This project is being run alongside my venture into growing Rocotos. These are Chillies I am growing for the first time. It made sense to do it in this way, because each step of the growing process is recorded. The Rocoto seeds were planted about a month ago and are currently young seedlings. Some have already been potted on for the first time. This makes these Chillies the ideal choice to use as the testing ground to implement my newly gained knowledge

While I believe my previously published posts on seeds, potting mixes and watering have covered many of the bases, there are still gaps. I am now looking to join the dots. To achieve this, I aim to explore answers to things I am still considering.  I also want to verify the thinking behind decisions I have already made. It will also cover aspects like growing temperatures and other factors that I have not already dealt with. In this way, I aim to improve my Chilli growing technique and learn more about this fascinating subject

Read more

Potting on of the Rocotos

First potting on

Two of my Rocoto Chillies have been potted on. Not for the same reason, though. One was repotted because it is developing its first set of true leaves and has grown taller than its “pot” (see final note). The second, however, was potted on simply because it was in the same space as the first. Somehow I managed to plant two seeds into the eggshell I used to start these seeds. Doing his is usually a standard procedure for me when I start seeds. I 
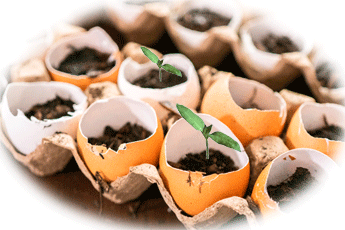
typically sow more than one seed into the pod or pellet I use to start seeds, because it is insurance against failed germination. However, in the case of the Rocoto, the seeds‘ quality was exceptional, and I decided to use only one.

This potting-on was an interesting one for me. It is the first time I have repotted from eggshells. It was a bit finicky, and next time I will do things slightly differently. The finickiness came from breaking the shell to do the repotting. Where previously with peat pellets, I would have repotted the seedling still in the pellet. Here, I had to break the shell before I repotted the seedlings.  I wet the soil in the eggshells before breaking them so that it would hold together. But obviously not enough. It broke up when I removed the shell, and I was left with two seedlings with not much soil around them. It made repotting somewhat more difficult. There was a silver lining to this, though. It certainly made separating the seedling easier. That both survived and have taken to their new containers quite  happily.

Read more

Tap water for Chillies. Is it safe ?

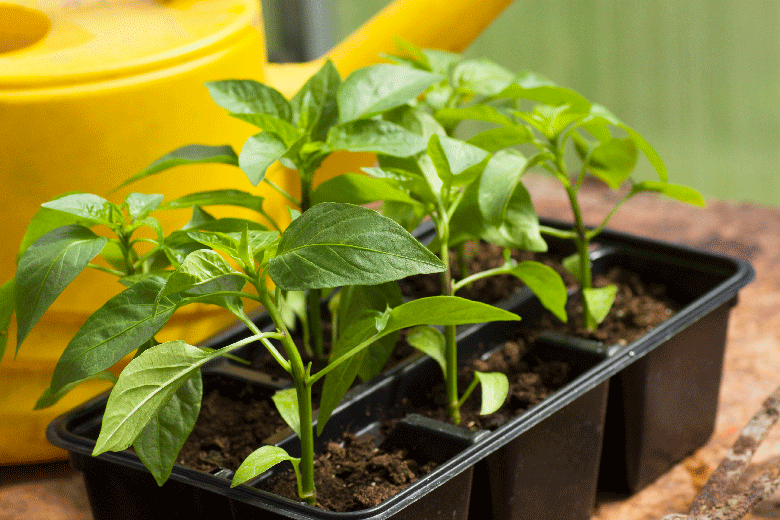
Why tap water can be bad

In my last post, I covered potting soil as part of my series on looking into the finer detail of growing Chillies  I developed a new potting soil for potting on.  I have already used some of this soil to pot on my Rocoto Chillies for the first time

As the next part of this exercise, I am looking into water. Up to now, I have used tap water (straight from the tap)  to water my Chillies. However, on doing research, I found it was not the best way to do things. So with this in mind, I will be examining this aspect of Chilli growing in more detail

Many believe chlorine or chloromines added to tap water are harmful to plants.  In fact, this is not true.  If the tap water suppliers (and most do) follow the WHO recommendation of less than 5 ppm tap, from a chlorine or chlorine perspective, tap water is safe for watering plants.  Chlorine / Chloramine levels would have to be over 150 pm before it started becoming toxic to them.

What makes tap water not good for watering Chillies is something else. Ordinary tap water contains a mixture of minerals and salts that can inhibit plant growth. These minerals and salts build up in the soil, raising PH levels over time. This, in turn, will impact a plants’ ability to extract nutrients from the soil. This is known as a nutrient lockout. If a plant cannot get what it needs to thrive, it won’t grow into a healthy plant.

Read more

Potting mixes for Chillies

New mix for the Rocotos

As part of my series, looking into the finer detail of growing Chillies, I am looking into potting soil. It is particularly fitting to do this now, as the Rocoto’s will be potted on for the first time.  To give them the best chance of success, I will use a new potting mix I recently formulated.  I believe it has everything they need to thrive.   I will also use this mix to repot my other Chillies when they require potting on

This potting mix will only be used for intermediate repotting. It will not be used for final potting on. I will use a different formulation for that. 
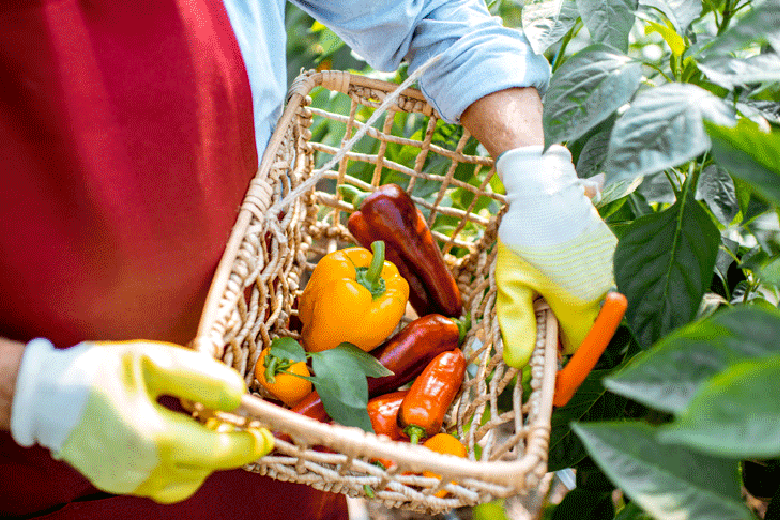
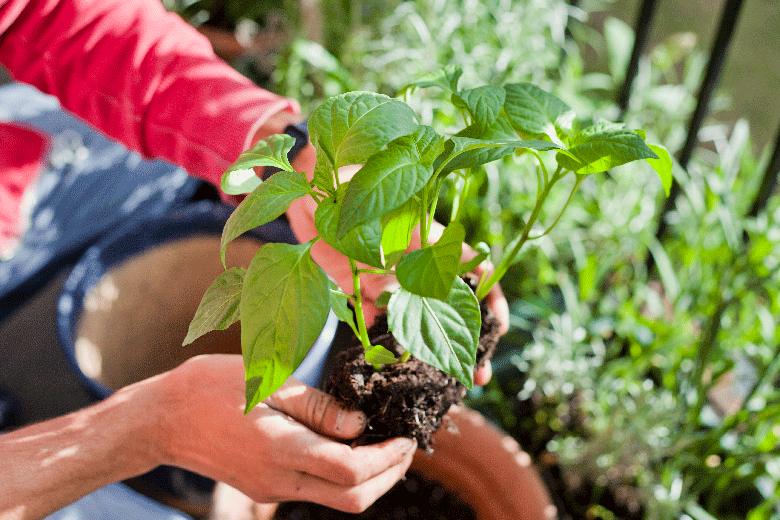
Final potting-on is the stage when Chillies get potted on for the last time. They are placed in containers specially prepared with nutrients so the plants can achieve vigorous growth.  The size of these pots is typically twenty to fifty litres (sometimes even bigger). The plants will remain in these containers until the end of the season.

Intermediate potting, on the other hand, is when seedlings are progressively placed into bigger pots as they grow. The reason this is done is to develop the seedling’s root ball.  To do this, seedlings are allowed to grow in smaller pots until their roots start becoming constricted. At this point, they are repotted into a larger pot.  A larger pot allows a plant to rapidly expand its root system, as it now has the space to do so. The new pot should be about twice the size of the previous one, nothing bigger.  As a rule of thumb, I repot my seedlings once they have reached the same height as the container they are planted in.

Read more

Why are my Chilli leaves turning yellow?

Looking into yellowing

Even with the best care in the world, when growing Chillies, you will always have some new mystery appearing out the blue. For me, the latest is that a couple of my seedlings have developed yellow leaves. It is a bit strange, as it only involves three plants and has only happened in one growing station. It’s time to look into why this has happened.

My research has revealed that the causes of leaves turning yellow are wide and varied. Yellowing of leaves can be caused by factors such as nutrition, watering, disease, pests and temperature. Judging by what I have read, I don’t think it is disease that has caused the yellowing on my plants. On my plants, the leaves are yellowed on the outside. They are otherwise quite healthy. With diseases, it seems you need to look for a yellow to brown mottling and leaves to be wilting. Examples of these diseases are bacterial leaf spot, wilt and phytophthora blight.

Luckily, none of my plants have any of these symptoms, so I could only believe it had to be something else.  The only way to reach a final conclusion was by a process of elimination.  I examined each of the remaining potential causes and arrived at what I think is a logical finding. Here’s how I did it

Read more

All about Chilli seeds

Getting seeds right

I want to become far more scientific in my approach to growing Chillies. As part of this, I want to examine everything required to grow them in finer detail. I will examine Chilli seeds, potting soils, water, fertilizers, growing temperatures and anything else needed. The aim here is to get a fresh perspective and build on what I already have learned about growing Chillies.Chilli seeds

Matters surrounding seeds are probably some of the most important decisions that need to be taken in growing Chillies successfully. Seeds are after all the beginning of the whole process, so it is essential to get them right. If you can do that, everything else rest will fall into place.

So, isn’t choosing seeds just about using seeds saved from last year, getting them as a gift from a friend, or buying them online or at a garden centre? Not really!  There is a lot more that needs to be considered. Where we buy our seeds, susceptibility to diseases, which varieties to plant, and growing conditions ( amongst other factors) need to be taken into account.

This post discusses that in detail. It covers what needs to be considered when buying seeds, and also what seeds need to grow healthily and with vigour. It also discusses how important it is to be selective in who and where we get our seeds from if we want to prevent the spread of Chilli plant diseases in the United Kingdom .

Read more

The next step. First potting-on

Well ahead of the game

About three weeks ago, I did my first potting on of seedlings for the 2022 season. I repotted some seedlings that germinated about two weeks ago. They are all about two inches tall.  The seedlings, all Habaneros, were transferred into 2-inch plastic pots.  Repotting seedlings into plastic pots is a deviation from the way I normally do things. Usually, I would have transferred them into peat or fibre pots. However, I used 
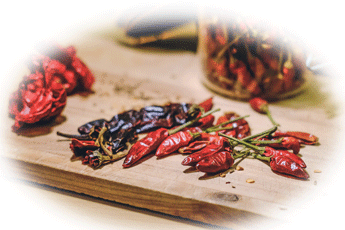
plastic on this occasion, as these seedlings will be kept in pots longer than I have done in the past. I will keep them in small containers to constrain their growth.  Because this is the first time I have started seeds this early, I am not sure how big they will grow between now and next June. I am, however, working on the assumption that plants grow slower in winter, so I am not expecting them to grow very big in this period.

At most, I might pot them on only one more time before they are placed into one-litre pots. In the past, I would have used peat or fibre pots for the seedlings, because this made potting on far easier. It wasn’t necessary to remove the seedlings from these pots. The seedlings could simply be placed into a bigger pot as they were (peat or fibre pots and all). They were then covered with compost and ready for the next stage of their development. This year, however, the game plan is somewhat different.

Read more

Starting seeds early. The pros & cons

Why start seeds early?

When to sow Chilli seeds

Most seeds packets for Chillies recommend sowing them between January and March. Some even recommend sowing as late as April.  I tend to agree with the January start, but unless you plant fast-growing varieties like Bell peppers, Jalapenos, Fushimi, Shishito or Hatch Chillies, starting in April, might be too late.

While most of the Chillies mentioned above will produce a crop in 60 to 75 days, if seeds for superhots are started, one could expect them to take far longer. Some superhots, dependent on the weather, take more than one hundred and twenty days from potting-on to set fruit. Then, it takes even longer for the fruit to ripen.

Take this season, for example. I started a month later than usual, and suffered the consequences. I struggled to get my fruit ripe this year. While many have finally ripened, I still have plants that haven’t even fruited. They have flowered, but are yet to produce Chillies. That’s no good, as the Chilli growing season has already ended for this year.

To ensure this doesn’t happen again, I have already started some of my seeds for next year. The seeds were planted about three weeks ago. Some seedlings are already about two inches tall, but for the most part, are only about an inch in height. They are mostly superhot varieties and will take a long time to grow. I expect they will only be between eight and twelve inches tall come spring next year.  I certainly won’t hurry to repot them too soon after their first potting-on. This should  constrain their growth. I am also working on the premise that plants grow more slowly in winter.

Read more