Chilli-infused soups
When the weather cools, or even when you just crave a vibrant kick, nothing quite satisfies like a bowl of soup. But we’re not talking about just any soup today. We’re diving into the thrilling, often fiery, universe of soup dishes that celebrate the humble Chilli in all its glorious forms, from a gentle warmth to an exhilarating blaze. These are the recipes that awaken the senses and add an unforgettable dimension to comfort food, proving that heat and comfort can coexist beautifully in a single, deeply flavoured bowl.
Chillies, in their countless varieties, are the unsung heroes of countless culinary traditions across the globe. They don’t just add simple heat; they bring depth, brightness, and a complex zing that instantly elevates a broth. The method of preparation is as crucial as the variety itself; a roasted chilli will lend a deep, earthy note, while one simply simmered will impart a cleaner, sharper heat to the liquid base. The type of chilli chosen—whether it’s the fresh, bright notes of a green jalapeño, the smoky whisper of a dried chipotle, or the intense, fruitiness of a bird’s eye chilli—is key to the soup’s character, dictating the final profile and intensity. The use of a chilli paste or oil, for example, offers a concentrated, upfront burst of flavour and colour, often reserved for garnishing or finishing the dish. This careful selection allows for endless regional expressions of flavor, showcasing how a single ingredient can define an entire culinary landscape, from the gentle capsicum warmth of a European goulash to the explosive fire of a Thai curry soup.
This post invites you on a culinary journey to explore some of the most incredible, globally-inspired soups that owe their soul to the chilli. From the peppery tang of South India to the lime-laced fires of Southeast Asia and the savory warmth of Central Asia, each recipe demonstrates a unique mastery of spice. Get ready to discover a diverse range of flavors and learn how to bring these vibrant, chilli-forward masterpieces, like Tomato Rasam, Tom Yum Soup, and Prawn and Chicken Laksa, directly into your kitchen.
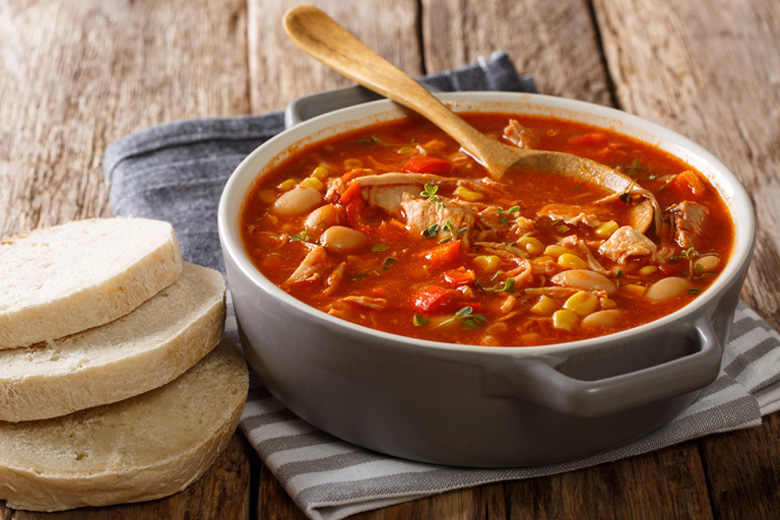 Wholesome and warming
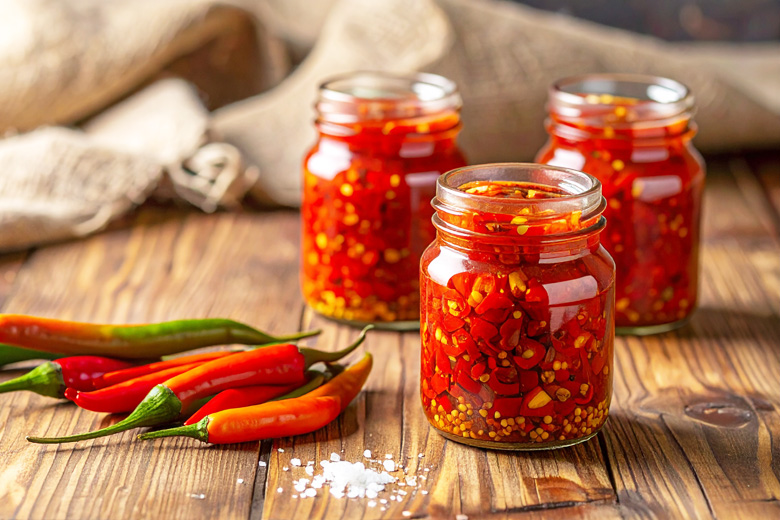
 Hybrid Chillies: Breeding for Flavour & Fire!
 Apartment Chilli Garden
 Do Your Chillies Need Epsom Salts When Using Amino and Humic Acids?
 wild, chilli seeds often
 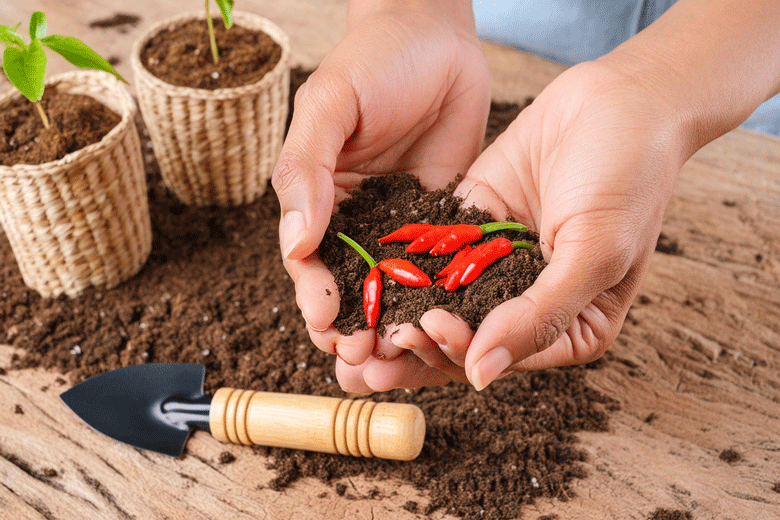 Giving seeds the best start
 tested techniques can dramatically improve success rates and reduce the time from planting to emergence. These methods take advantage of the seeds’ natural responses to environmental signals, mimicking conditions they would experience in their