The same size as pot rule
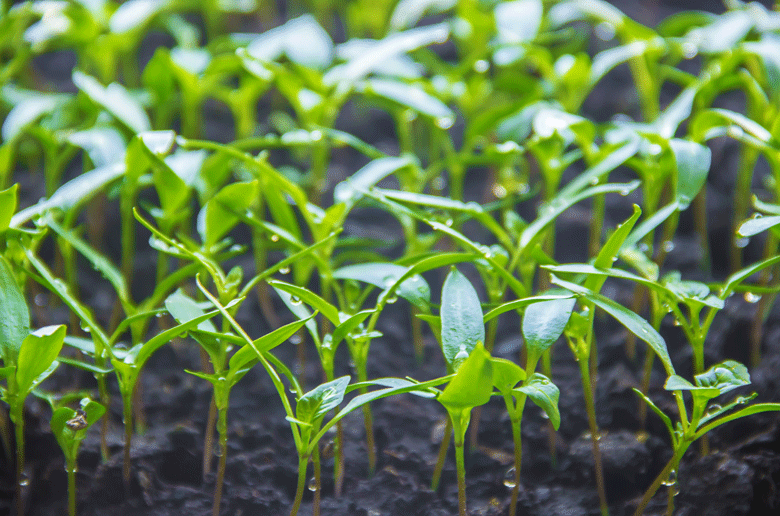
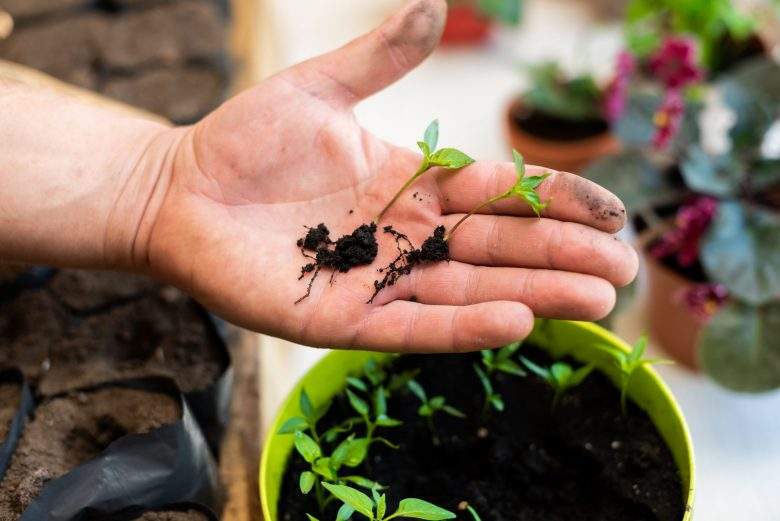
Determining the best time to pot Chillies on can be done using the same size as pot rule. The basic principle of this rule is that when a plant reaches the same height as the pot, it should be potted on into the next size of container up. The reason for doing this is to develop a plant’s root ball. It is a rule that takes the guesswork out of deciding when a plant should be repotted.
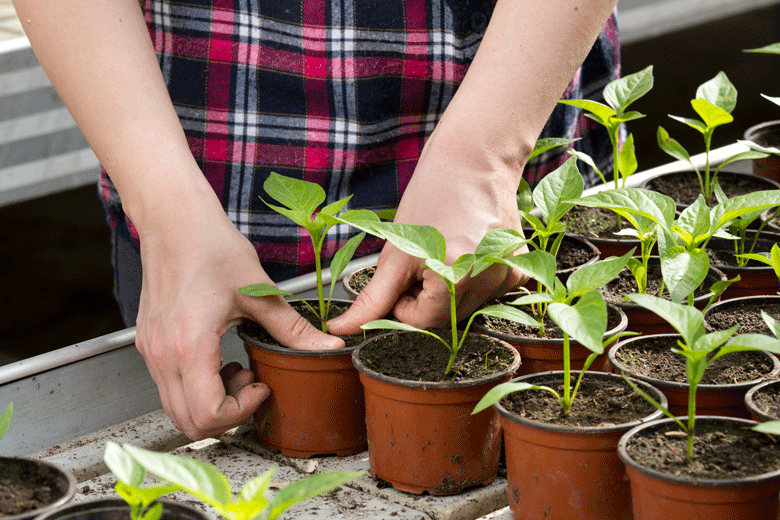
For example, once a seedling has germinated, once it develops its first set of true leaves, it should be transplanted into a plastic or fibre pot approximately 50mm high. Once a plant reaches two inches in height, it should be potted on into a 75 or 80mm plastic or fibre pot. The best time to pot on Chillies is definitely a month or two after they have germinated. This is a crucial time in the seedlings development, and will determine how robust the plant will be. After that, plants should be transplanted into 130 cm (one litre) pots. The 130 mm pots can usually only be found in plastic.
It is at this stage that I stop potting on until the plant has been hardened off. The seedling will have reached the same size at this pot (or even taller) at the hardening off stage. However, it is best to restrict potting on at this time, so that the plants can completely develop their root balls.
After hardening off
Final potting on
After hardening off, the plant will be transferred to a bigger container. This will be the container where the plant will spend the rest of the season. The container should big enough to cater for the final size that the plant will grow to when it reaches maturity. The size of these pots may range from two litres to over 50 litres
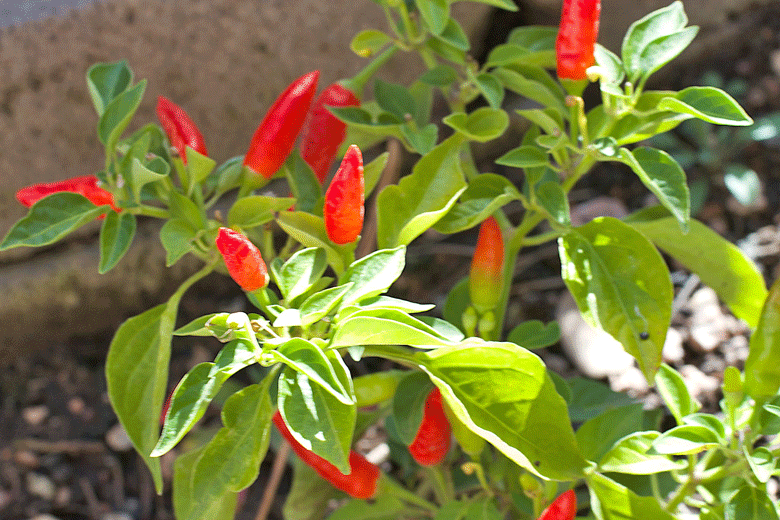
In some dwarf varieties, the pot size may be as small as 2 litres (or even just kept in its one litre pot). However, when growing Chillies like Rocotos, you need a bathtub, barrel, or heavy pot of fifty litres (or more). A Rocoto can grow to over five feet tall and have a spread of over six feet (two meters). Placing it into anything smaller or lighter would have the wind toppling it over all the time.
To determine how big a plant will grow, do some research before starting. In my case, I rarely go above twenty-five litres irrespective of the variety. By limiting pot size, it is a way to restrict growth. This will allow you to control the size to which plants will grow. In my instance, this is necessary, as otherwise my backyard would be overrun with Chillies. I often grow over fifty plants in any season.
I grow only in pots, but the same principle can be used for planting directly into the soil. Pot your seedlings on until they reach one litre pots. Allow the root all to develop until hardening off (in about May). Harden the plants off in the one litre pots, and then plant out into your garden or allotment. Make sure your fertilization is correct, and the plants will fly!
Finally
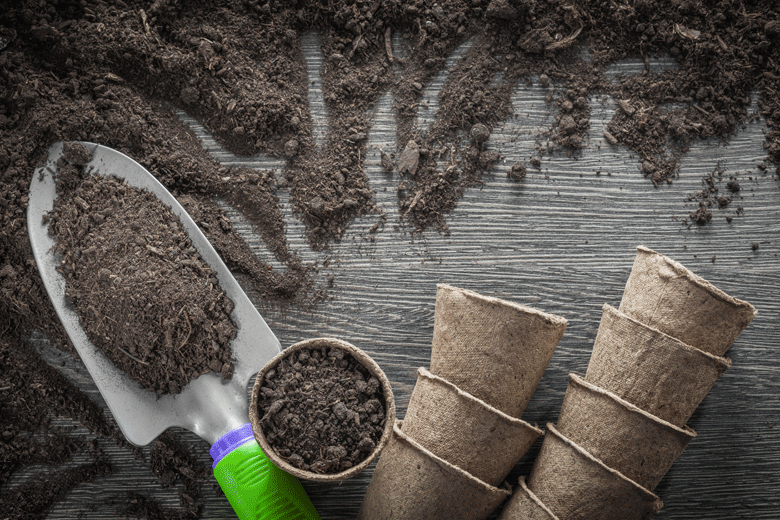
So what sizes are pots available in? This useful guide will help in that regard. The list, however, only starts at 90mm. Sizes below are 50 mm and 75 mm pots, which are used in the first and second potting’s on.

 Piri- Piri Chillies and the


 When is fertilising Chillies first required?
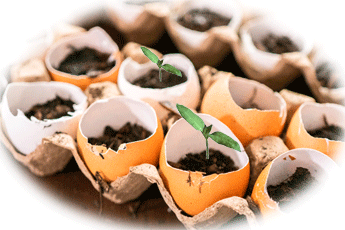 seeds. It consists of seed-starting compost with an NPK of 3.4-1-1.5 and worm castings with an NPK of 1: 0: 0. This is pretty low, but even at these levels, the mix could be higher than it needs to be. The seedlings just don’t need any fertilising at all. They can feed themselves through nutrition stored in the
 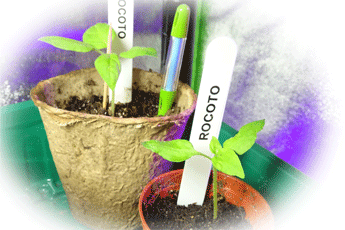 The rest still have a while to go, but I can see these Rocotos being potted on in the next couple of weeks.
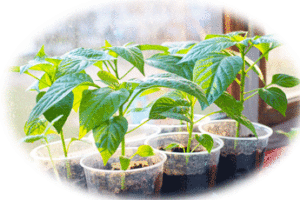
 irst potting on