
 Saving Chilli Seeds: Your Guide to Future Flavour
There’s nothing quite so rewarding as growing your own chillies. And once you’ve savoured the spicy fruits of your labor, you may find yourself wondering about saving seeds for future crops. As well as saving money, it allows you to preserve the genetics of your favourite varieties. Yet successful seed saving isn’t quite as straightforward as just scooping out some seeds; it’s also about drying them correctly so that they will still be viable when planting time rolls around again.
Prior to the how, the why. Chilli seeds, like most seeds, need to be gradually dried to remove moisture. If they‘re too wet, they‘re a haven for mould and mildew and will be unusable in no time. Too little moisture (i.e., drying them too quickly with high heat) can also damage the delicate embryo inside, reducing germination rates. What you’re looking for is a slow, even dry.
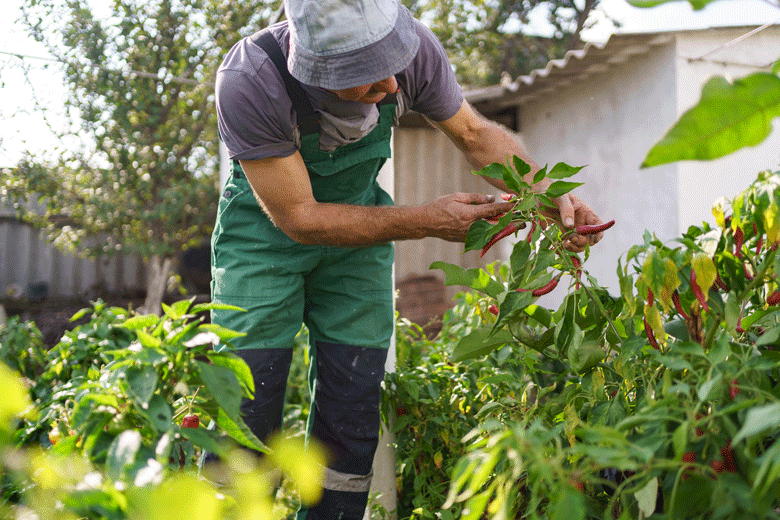
While most individuals relate seed saving with the close of the season, you can save seeds all along as your chillies mature throughout the growing season! The moment you have a fully mature, healthy chilli pod ready to be harvested, you can go ahead and extract those seeds. This way, you don’t have to wait for the plants to be dying off; you can harvest seeds from your best performers as they mature, ensuring you are harvesting the genetics of your strongest and most prolific plants.
 Step-by-Step Guide to Drying Your Chilli Seeds:
Below is the ultimate step-by-step guide to drying your chilli seeds for planting later:
1. Harvest from the Best (and Ripest!)
Quality In, Quality Out: Start with entire, healthy chillies that are totally ripe. They should be their mature colour (generally red, but varies with variety) and be free of disease, shriveling, or damage.
Avoid Hybrids (Unless You Like Surprises): For a guarantee that your future plants will be identical to the parent, take seeds from “open-pollinated” or “heirloom” varieties. Seeds from F1 hybrids won’t normally grow true to type, and you‘ll possibly end up with something quite different!
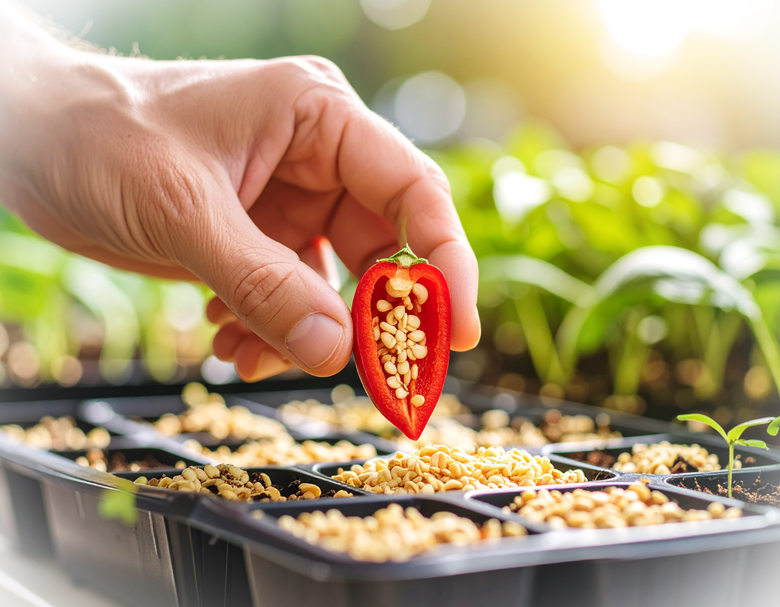
2. Extracting the Seeds Safely
Gloves, Gloves, Gloves! You can’t say this enough. The oil that makes chilli hot, capsaicin, is found in the white membranes holding the seeds. Get this in your eyes or, even worse, on your skin, and you will regret it!
The Cut: Slice your chilli in half lengthwise carefully.
Scrape Them Out: Using a small spoon, a knife tip, or even your gloved fingers, gently scrape the seeds away from the white placenta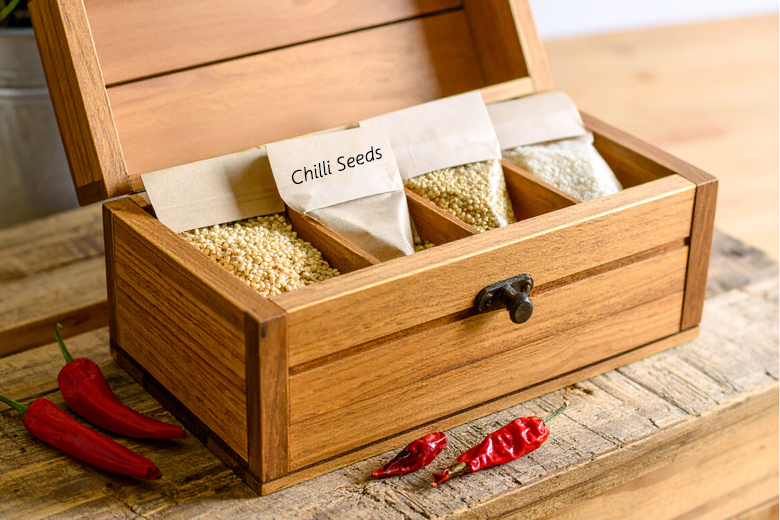 and inner walls. Try to remove as much of the wet pulp as possible.
3. Prepare for Drying – The Golden Rule: No Washing!
This is a common cause of confusion. The majority of people think that they should wash the seeds to clean them. Do not wash your chilli seeds!
Why No Washing? Introducing extra moisture in the form of washing significantly increases the risk of mould during the drying process. The capsaicin left on the seeds and membrane is actually a natural antifungal/antibacterial agent.
 Spread Them Out: Once you’ve scooped them out, lay your seeds in a single layer on an absorbent surface. Some good ones include paper towels (be gentle peeling them off later, or just plant the piece of paper with the seed!), blotting paper, plain typing paper, or paper plates (preferably unwaxed ones, or ceramic plates).
Label Everything: If you’re drying more than one variety, make sure to label each section clearly to avoid a mystery chilli patch next year!
4. The Drying Zone: Patience is a Virtue
Location, Location, Location: Find a warm dry spot with a little air circulation. A countertop not in direct sun, a cabinet with the door slightly ajar, or even a window sill (if it’s not in the sun) will work.
Avoid Direct Sunlight & Heat: Do NOT put your seeds in direct sunlight, on a radiator, or in an oven. Sudden, direct heat will “cook” the embryo and destroy viability. A slow, steady dry is what you want.
Turn and Check: Over the next 1-2 weeks, gently turn the seeds occasionally and, if using paper, change it if you find that it is becoming damp. This encourages even drying.
How to Tell They’re Dry: Seeds are totally dry when they are brittle and crack rather than bend when you try to bend them. If they are still pliable, they need more time.
 5. Storage: The Long Sleep
Airtight is Right: Store your seeds in an airtight container when they are completely dry. Small zip-lock bags, glass jars with tight lids, or even film canisters will do.
Add a Desiccant: To eliminate any last traces of moisture and preserve low humidity, add a small desiccant packet (like the ones that come in new shoes) or a few grains of dry, uncooked rice to the container.
Label Clearly: Don’t miss this one! Label with harvest date and chilli variety. You think you will remember, but you won’t!
Cool, Dark, Dry: Store your containers in a cool, dark, and dry place. A cupboard is okay, but the crisper drawer of your fridge is even better for longer-term storage as it maintains consistent cool temperatures and low humidity.
By following these simple yet vital steps, you’ll be well on the road to a fruitful chilli garden year after year, all from your own saved seeds! Which varieties will you be saving this year?