Overwintering for 2022

What I am overwintering

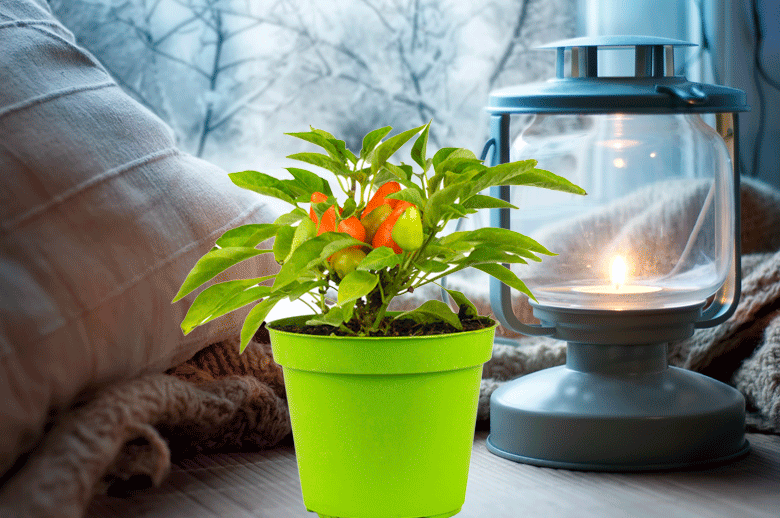
While we regard Chillies as annuals in the UK, they are perennials in their natural environments. In these environments, it rarely reaches freezing the way it does here during winter. As a result, most Chillies subjected to the freezing conditions during winter in the United Kingdom will die. Full stop. A few varieties are cold weather resistant (to a certain extent), but none can cope with frost.

So, if we want them (or a selected few at least) to survive wintry conditions, the plants need to be brought indoors or kept in a protected environment outdoors. This process is called overwintering.

This year, I am overwintering twelve plants. Two of these (yellow Scotch bonnets) are in their second overwintering. I overwintered them for the first time last year. The remaining plants are four Satans kisses, an Aji Crystal, an Apache, three Barak Chillies and two unknowns (somehow, I managed to lose their markers). In time, once they flower again, I will attempt to identify them

Usually, I cut plants back for overwintering. I also always keep them in the warmest room in our house, out of direct sunlight. Under most circumstances, this means placing the plants in an area next to our fireplace in our lounge.

While I keep them in the lounge as I usually do, I didn’t prune any of these plants this year, as I might have done in previous years. I took the view that except for the Aji Crystal, my Scotch bonnets, and one bigger Satan’s kiss, my smaller plants could be considered to be ornamentals. They are, on average, only about twelve inches tall. They were also exceptionally pretty Chillies and had aesthetic appeal. With this in mind, I resolved to treat the smaller plants as house plants. For the larger plants, I decided to wait for them to lose their leaves before I pruned them back.

Read more

Fertilisation after seed starting

How much do seedlings need?

Many people think Chilli seedlings need fertilisation straight after they have germinated . Nothing could be further from the truth. Chilli seedlings need far less fertilisation than most people might think.   After seedlings have germinated, they only need additional fertilisation once they develop their first set of true leaves. But even then, the amount of fertilization required is negligible. Once the true leaves have developed, the plant will start getting nutrition from photosynthesis. As the seedling develops its true leaves, the plant will also start expanding its root system to help extract nutrients from the soil.

Once a seedling reaches this stage, I feed them half strength Chilli Focus (2.5 ml per litre). I start doing this as soon as I pot them on for the first time. When the seedlings get to two to three inches tall, I pot them one again. After this, I will up the dosage of Chilli Focus to 5ml per litre of water.

I continue feeding the seedlings at this dosage (every second watering) until they are ready to be potted on again. At this point, they will be three of four inches tall and have about four true leaves. It will stay in this pot (normally one litre) until they’re ready to be hardened off. Hardening off normally takes place in middle to late May

Read more

Vermiculite and perlite

Growing essentials

Some products are essential to growing Chillies successfully. These include additives, fertilisers, growth mediums, and certain chemicals. Particularly when growing in pots – the way I do. These products help me keep pests at bay, promote growth, facilitate water retention, drainage and achieve other objectives. They all have their place in what it takes to grow healthy productive plants. In this post, I will cover two of these essentials. Further posts will cover the rest

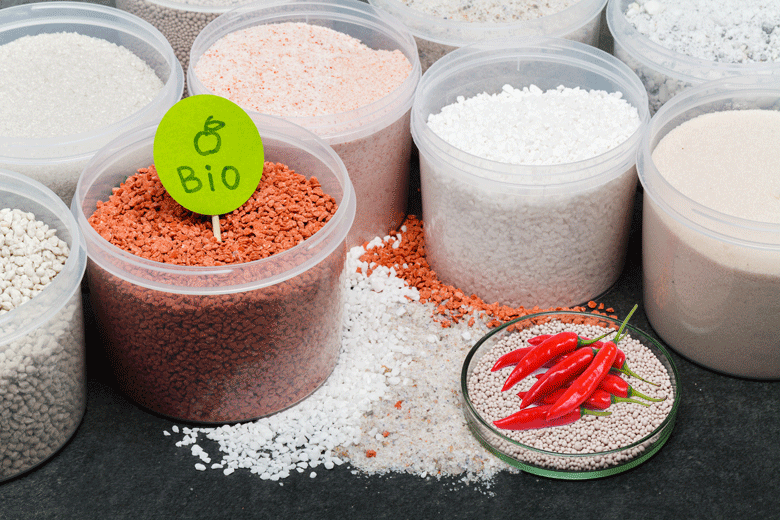
In my opinion, definite must haves for Chilli growing are vermiculite and perlite. These two products are used for different reasons.  Vermiculite is used as a growth medium and also as a means of retaining water in potting and seed starting mixes. Perlite, on the other hand, is used to aid drainage. Chillies don’t like their growth mediums to be too wet. So while on one hand you want your seed potting mixes to retain water, on the other hand you don’t want them to be sodden.  It is a delicate balance. Using perlite and vermiculite correctly will help achieve what you need to do

Some growers mix perlite and vermiculite into their seed, starting and potting mixes. How much to add depends on what needs to be achieved.  Perlite for example can be combined at one part perlite to one part vermiculite and added to one part coco coir for a seed starting mix.  For an enhanced seed starting mix, one part or vermiculite is combined with one part perlite. This is then  added to four parts coco coir and two parts garden compost

Read more

Rocotos. Getting rid of pests

Getting rid of the gnats

I recently noticed an increase in the number of fungus gnats hovering around my Rocotos and other Chillies.  While I have usually been able to keep fungus gnats under reasonable control by limiting my watering and using sticky fly paper, it just seems there are more of them around. Whether this is to do with me increasing the temperature in my grow tents, I am not sure. But one thing I do know is that I must take the bull by the horns. The time had come to get rid of these pests by using my new super weapon – hydrogen peroxide

Hydrogen when mixed to the ratio of one part 3 % H202 to four parts, water is an effective way to get rid of fungus gnat larvae and eggs. I made up a solution to this ratio and used it to treat the seed starting mix that my seedlings are planted in. To do this, I poured the solution onto the surface of the mix. The hydrogen peroxide drained through the mix and in the process killed off most of the larvae. By doing this, I hope to have broken the life cycle of the fungus gnats. Adults only live for seven days. By killing off the larvae and eggs, I will have reduced their ability to continue multiplying.  It is the first step in permanently getting rid of these pests.
One problem solved, but potentially another was created. I have observed that when I add the H202 to seedling pots, the seed starting mix seems to expand and become “fizzy”. I have read somewhere along the line that hydrogen peroxide provides oxygen to the roots, but I also thought I had read that the fizzing is a reaction to acidity. This got me thinking – was the H202 having an impact on my seed starting mix? Was the hydrogen peroxide perhaps affecting the PH? That wouldn’t have been good, because Chillies prefer slight acidity in the seed starting and potting mixes.

Read more

Fertilising Chillies

When is fertilising Chillies first required?

The Chilli seeds I have recently started don’t need any fertilising. They were planted about a week ago and still need to germinate. So, will they need fertilisation after they sprout? The answer is a resounding no. Seedlings don’t need any fertilization until they have developed their first set of true leaves.

It is precisely for this reason that when you choose a seed starting mix, it should have as low an NPK as possible. I use my own seed starting mix to start seeds. It consists of seed-starting compost with an NPK of 3.4-1-1.5 and worm castings with an NPK of 1: 0: 0. This is pretty low, but even at these levels, the mix could be higher than it needs to be. The seedlings just don’t need any fertilising at all. They can feed themselves through nutrition stored in the endosperm of the seed. This nutrition will be enough until the seedling decides it requires further nourishment.
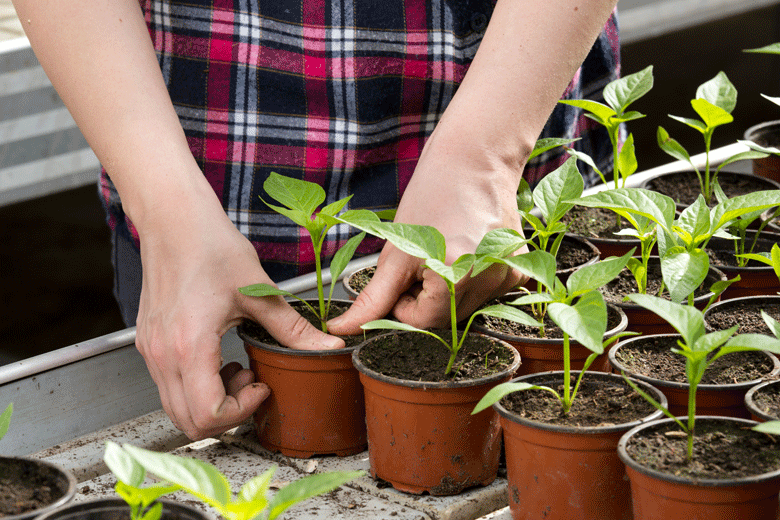
When this happens, the seedling will develop its first set of true leaves to begin photosynthesis. It will also expand its root system to extract nutrients from its growing medium. This is precisely when additional fertilisation needs to be added. Not too much though. Over-fertilising Chilles can be bad for seedlings. Caution needs to be exercised

Read more

Rocoto Chilles. 3rd potting on

Third potting on of a Rocoto

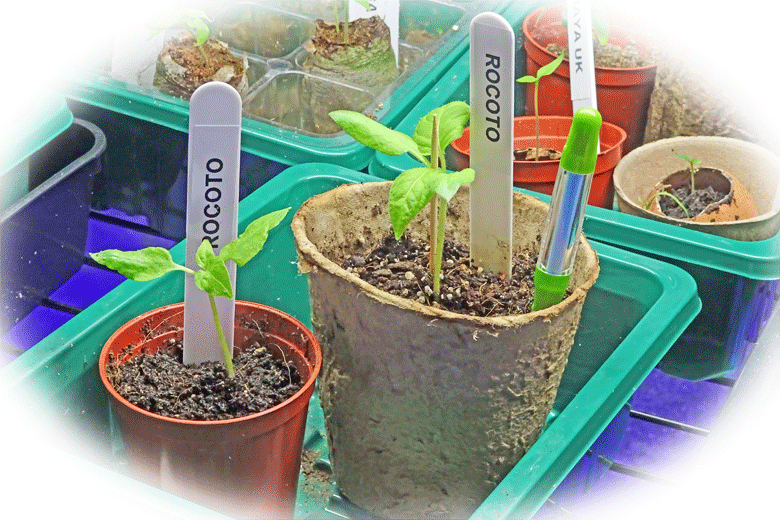
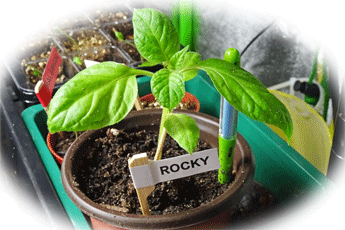
Rocky, the tallest of my Rocotos, has been potted on again.  This is his third repotting. His first was done in mid-December, when he was two inches tall. He was transplanted into 50 mm pots. A couple of weeks later, when he was three inches tall, he was potted on for the second time. He has now reached 4 inches tall, so has been potted into a 130 mm (one litre) pot. I followed the principles of my same size as pot rule to determine the correct time for potting on this Rocoto Chilli plant.

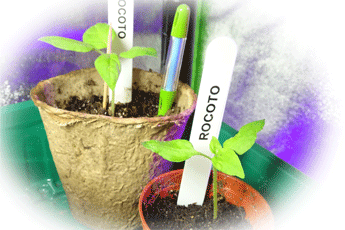
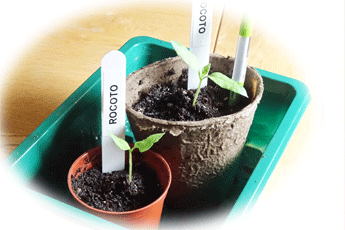
Rocco, another Rocoto, will also be potted on shortly. He is about three inches.The rest still have a while to go, but I can see these Rocotos being potted on in the next couple of weeks.

I have been impressed with how quickly my Rocotos have grown. They were planted in late November 2021. In addition to the ones mentioned above, all are at least two inches tall. When comparing them with other Chillies that were started at the same time or even earlier, they definitely stand out. They seem healthier and more robust than most of my other plants. This however is apparently not that uncommon. Rocotos are known to be cold weather resistant plants. They are also said to be exceptionally resistant to, resistant to diseases, infections, and pests. These are tough Chilli plants that can take a punch. There is no doubt about that!

With the biggest of my Rocotos already this big, it has got me thinking what will happen down the line. Come May, when I start hardening off, these plants will be far bigger. I don’t envisage these Rocoto Chilli plants being potted on again before then. However, once they are hardened off, I will have to decide on the size of the containers I will pot them on into.  Once I have done the final potting on, I will place the Rocotos outside for the rest of the season.

Read more

Scarification of seeds

What is scarification?

Scarification is the process in which various techniques prepare seeds for faster germination. It involves intentionally damaging the outer seed coat by abrasion, soaking, and other methods to aid seeds to germinate more quickly.

Nature equips seeds with a tough outer coat. This shell protects the “baby plant” inside the coat from harsh conditions. It is waterproof and gas-proof. It protects the seed during winter freezes and flooding. It also protects the seeds from heat and from being trodden on by wildlife and humans.

Most seeds enter a period of dormancy during winter. During this period, there can be fluctuations in temperature due to freezing and thaws. These fluctuations cause the seeds shell to expand and contract. Over time, this will weaken the outer coat. Come spring, when the seed is ready to germinate, it will have been naturally scarified to sprout

Birds are also a source of natural seed scarification. They often eat Chillies before migrating. The seeds pass through the birds digestive system and are exposed to digestion acids that thin the seed shell. When the bird makes a dropping, the seeds fall to the ground well prepared for germination. This method of seed dispersal is particularly efficient, because the seed is not only prepared by the acid scarification, but also has been provided with a ready source of fertilizer

When growing Chillies at home, we have to give seeds a helping hand. After all, they are in a protected environment and will not be subjected to the harsh conditions they would normally face in the wild. To do this, we can employ various techniques to scarify seeds. These techniques include scratching the seeds with sandpaper or using a nail clipper to nip off a piece of seed. Some growers even use their teeth to crack seeds. However, these methods are pretty finicky. Particularly as Chilli seeds are so small. It is far better to soak seeds to achieve the same objective.

Read more

Top tips for growing Chillies

Great tips for growing Chillies

Growing Chillies is a great hobby, but it is not without its challenges. Just when you think you have everything nailed, something else pops up. If it’s not that you have overwatered your Chillies. It’s that you have let them dry out. If it’s not problems with pests, it’s yellowing of leaves or ripening complications, etcetera, etcetera, etcetera. It’s what makes it fun.

I have been growing Chillies for about eight years now. While I am no expert by any sense of the imagination, I have learned quite a bit about growing them. Much of my knowledge has been gained by doing research, but I have also developed my growing skills through simply growing Chillies. I figure things out as they happen. It’s probably been the best way to learn

In my years of growing Chillies, certain things stand out repeatedly. These are the fundamentals of growing these plants. Get them wrong, and you will not be successful. For example, the fact that Chillies don’t like too much water is something that is virtually written in stone. Another fundamental principle is that Chillies, as a general rule, grow better in warm weather. These and other considerations go to the very core of growing Chillies successfully

I want to share some of my top tips for growing Chillies in this post. It will give advice on what precautions to take, provide solutions, and recommend how to avoid some of the most common problems I have encountered in growing Chillies

Read more

How Chilli seeds germinate

The journey of a seed to seedling

There are few things as impressive as planting a Chilli seed and then watching it burst into life. Seed germination is one of nature’s wonders. It is fascinating. However, it is not something that just occurs. Instead, nature has built all sorts of checks and balances into the process. This is how Chilli seeds germinate:

In the first place, a period of dormancy must have been experienced. This dormancy is a period when a seed stays inactive. It “sleeps” even though conditions may be optimal. Nature does this to avoid seeds germinating in unfavourable conditions. It also wants to ensure that seedling has reached the right maturity for germination

After this condition has been met, other requirements need to be fulfilled. For example, the quality of the seed must be good; moisture levels must be right; the soil temperature must meet the seeds expectations; oxygen should be available, and all the inhibitors that prevent a seed from germinating will need to have been washed away.

Nature has pre-programmed the seed that all (or most) of these conditions need to be met for successful germination. Unfortunately, nature is not kind to seeds. With so many boxes that need to be checked out in the wild, a Chilli plant can produce thousands of seeds in the expectation that only a handful will germinate. The going is made so challenging that this is all the plant can hope for. As a result, the chances of a seed germinating in the wild are pretty slim.

However, with seeds started at home, the odds are reversed. We can emulate the conditions seeds might have faced in the wild, and provide the ideal growing conditions for germination. Indeed, the possibility of a seed failing when started under these ideal conditions becomes the exception rather than the norm.

Read more

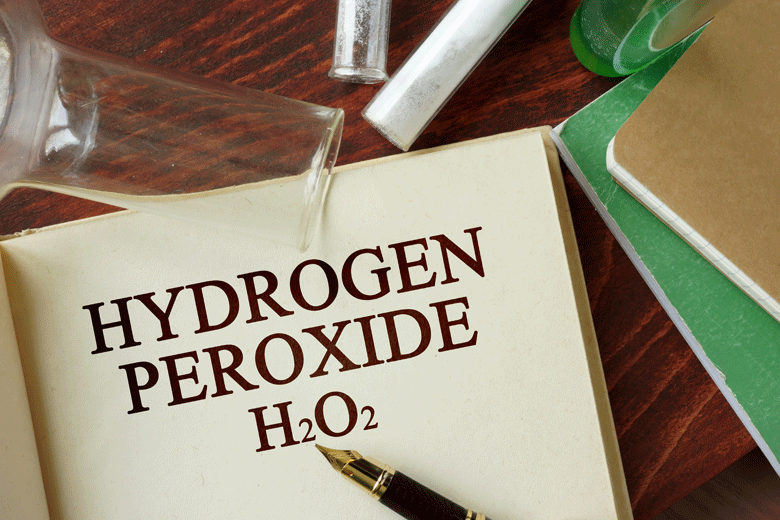
Hydrogen peroxide. The magical elixir

H2O2 and Chillies

Hydrogen peroxide is a combination of hydrogen and oxygen. In essence, it is oxygenated water. It is a clear colourless liquid, resembling water, but is slightly thicker and denser. It can have a pale blue colour in its pure form. Hydrogen peroxide comes in various concentrations, from 3 percent to 100 percent. In its lower concentrations, it is used domestically as an antiseptic, a component in bleach, a water purification agent, and as an ingredient in cleaning products. At these lower concentrations, hydrogen peroxide also has many beneficial uses in growing Chillies

It is a pest killer that hydrogen peroxide comes into its own in growing Chillies.  At a three percent concentration level, it can be used to kill fungus gnats. Fungus gnats are a constant source of bother in growing Chillies. Not only are they annoying, but in their adult form fungus gnats pose a risk to seedlings. They can carry pathogens like Pythium, which cause damping off. Damping off is a condition that causes seedling stems to become weak, causing them to topple over.  Once damping off takes hold, it can rapidly spread and wipe out whole batches of seedlings. Is thus something to avoid. And this is where hydrogen peroxide steps up to the plate

While hydrogen peroxide can be used to kill pests, it is not a chemical pesticide in the stricter sense of the term. Once it has done its work, it breaks down into its main components – water and oxygen. It is almost that it has been there to perform a task, and then it disappears, without leaving any sign of it ever having been around

Read more