Planting Chilli seeds early

Starting now

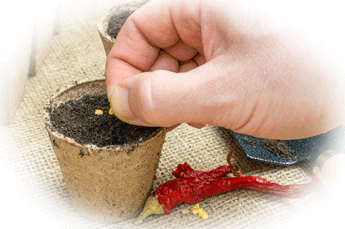
On Saturday I started some Chilli seeds.  They are currently in heated propagators in a grow tent where the temperature is controlled to be between 28 and 32 degrees Celsius. I expect the seeds to germinate in the next week or so

These seed have been started at least a month before I would normally start my season. This is something I have tried previously, but  have never been able to achieve the results I wanted. My seedlings germinated easily enough, but after that they didn’t grow well at all.
This year I have decided that I will harness every bit of knowledge I have about growing Chillies  to find a better way of doing things. I want  to control every part of the propagation and growing stages to the Nth degree and find out whether this has the desired effect.

When it comes to plant growth there are two things above the ground that need to be considered. The first is the temperature and secondly is the amount of light. Light is the energy that powers a plants growth through photosynthesis. Without it, plants would be able to grow

Now, my theory is that seeds don’t know what season it is when they germinate. If the conditions are right (i.e. moisture, heat etc) a seed will germinate. From there, the amount of light a plant receives will determine how well it will grow. Temperatures also need to be conducive to growth

Read more

Avoiding seed starting Mistakes

Taking my eye off the ball

In a recent post, I mentioned that I had started seeds for various Capsicum annuum varieties to prove that I could get a harvest from them in one season. I started two batches of seeds (with a rough interval of about a week between each batch) at the beginning of March. The varieties I planted are Hungarian waxes, Bulgarian carrots, Cayenne Long slims, Jalapeno Earlies and Cubanelles. When I planted them, I didn’t realise I was about to make a critical seed starting mistake.

I started these seeds using Hydrogen Peroxide and Camomile tea as scarification agents. I used these mediums, as I liked the idea that both have anti fungal properties. So, in addition to simply starting the seeds, I was also providing the seeds with a means to fight off any pathogens lurking in the background. I thought  had covered all the bases

Not so at all. Even though I thought I was on top of my game, I can’t say this is the best seed starting I have ever done. In fact, it is probably the worst results I have ever had. Out of a total of twenty seeds, I have only had germination of about eight.  That’s less than a fifty percent success rate. Normally, I achieve a germination rate of at least ninety percent. However, in this case, I dropped balls badly. Not intentionally so, but dropped balls they were nevertheless

The main reason for the abysmal germination rate is that I managed to allow one tray of seeds to dry out completely. That’s a big no- no when it comes to starting seeds.  To start seeds successfully, it is essential to keep their seed starting mix moist. It’s not that you want the seeds to be swimming in water. That’s also definitely not going to work either.  You need to achieve a delicate balance between the two extremes.  The mix should feel only slightly moist to the touch. Nothing more

Read more

Vermiculite and perlite

Growing essentials

Some products are essential to growing Chillies successfully. These include additives, fertilisers, growth mediums, and certain chemicals. Particularly when growing in pots – the way I do. These products help me keep pests at bay, promote growth, facilitate water retention, drainage and achieve other objectives. They all have their place in what it takes to grow healthy productive plants. In this post, I will cover two of these essentials. Further posts will cover the rest

In my opinion, definite must haves for Chilli growing are vermiculite and perlite. These two products are used for different reasons.  Vermiculite is used as a growth medium and also as a means of retaining water in potting and seed starting mixes. Perlite, on the other hand, is used to aid drainage. Chillies don’t like their growth mediums to be too wet. So while on one hand you want your seed potting mixes to retain water, on the other hand you don’t want them to be sodden.  It is a delicate balance. Using perlite and vermiculite correctly will help achieve what you need to do

Some growers mix perlite and vermiculite into their seed, starting and potting mixes. How much to add depends on what needs to be achieved.  Perlite for example can be combined at one part perlite to one part vermiculite and added to one part coco coir for a seed starting mix.  For an enhanced seed starting mix, one part or vermiculite is combined with one part perlite. This is then  added to four parts coco coir and two parts garden compost

Read more

Soaking seeds. Is it necessary?

Speeding up germination

As with many things in growing Chillies, you will find different schools of thought on various subjects.  The soaking of seeds to improve germination is no exception. There are views on how long the seeds need to be soaked for, what liquid they should be soaked in, and a whole lot more. To try and figure out what the real truth is, I thought I would do some research.
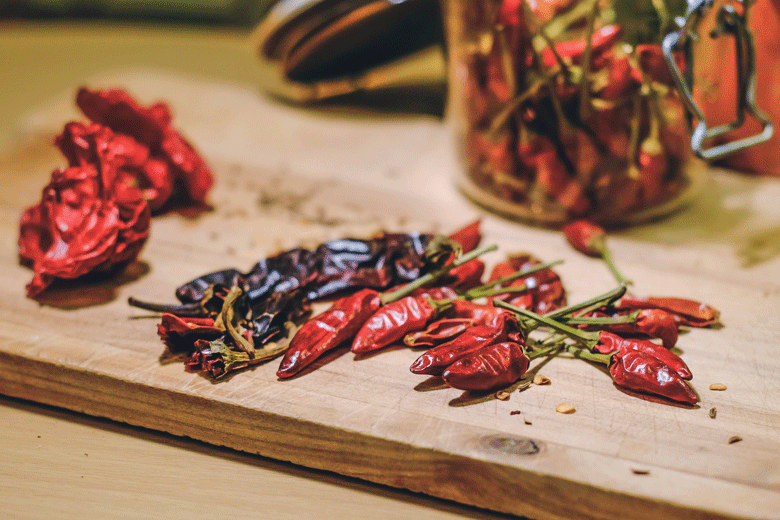
The first question I wanted to be answered is, is soaking seed necessary at all? According to much of my research, probably not. Seeds can be started successfully, without pre-soaking them. However, pre-soaking definitely improves Chilli growing. It speeds up sprouting and germination rates. And this is not just for any old reason. Soaking seeds emulates what happens in the wild.

In the first place, Chillies have a built-in inhibitor that prevents them from germinating inside ripe fruit. They will not germinate unless nature comes to their aid. When it rains, the inhibitors are washed away. Soaking seeds helps do that.  After that, other factors come into play before the seed will germinate.

Read more

Growing Chillies for beginners

Completely new to growing Chillies?

Okay, so you’ve never planted anything in my life. You received a packet of Chilli seeds from a friend, and you want to sow the seeds without doing a lot of research. You also don’t want to go to too much expense. All you need is a little solid advice on how to grow your Chilli seeds. Sound familiar? Relax, we have you covered. Follow this no frills guide to starting Chilli seeds, and you will be on your way in no time at all.

So what do you need? Some stuff is definitely required, but there is no need to spend a lot at your garden centre or online. Stick to the basics, at first. In time, you can get fancier if you like

At the very least, I would recommend a closed dome propagator, some eggs, a cardboard egg tray or two, a small bag of general-purpose seed starting compost, a plastic spray bottle, some wooden ice-cream sticks or similar, a marker pen, a teabag (camomile if possible, but normal will do), a spoon and separate seed tray). A heat mat, small bag of vermiculite, and some capillary matting are optional. You also need the seeds, of course. If you have all these things together, you will be on the path to success.
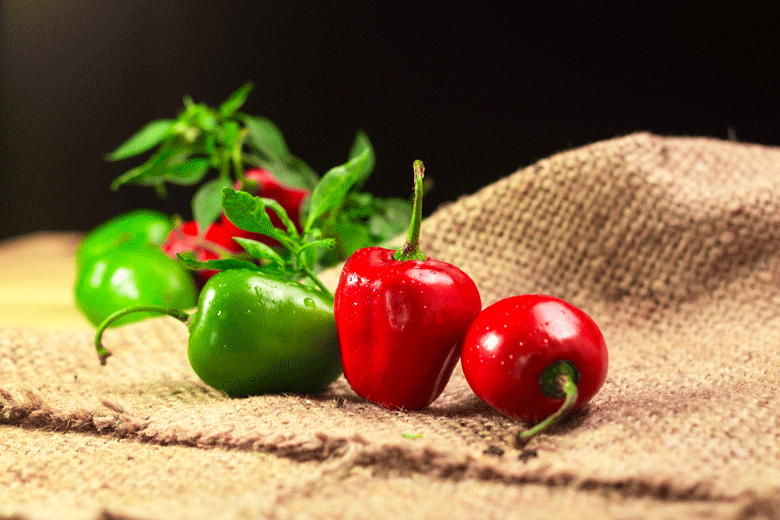
So what will all this cost? A quick search online revealed it would cost about £7.00 for a propagator, £15 for a heat mat (optional), 50p for a spray bottle, £ 6 for a bag of vermiculite (optional), a 10-litre bag of seed starting mix £5.50, £2 for capillary matting (see below) and a gravel tray £2.30. I would assume you already have a spoon, ice cream sticks, a marker pen, eggs and egg trays at home. So the total setup cost for the bells and whistles version is about £40.  Without the heat mat and vermiculite, it will cost about £18.00 (£16 without the capillary matting)

This may seem a lot to plant, just a few seeds, but the assumption here is that this will not just be a once off. The equipment and materials can be used to start many batches of seeds. Call it an investment in infrastructure.

Read more

The latest on the Rocotos

An update on the Rocotos

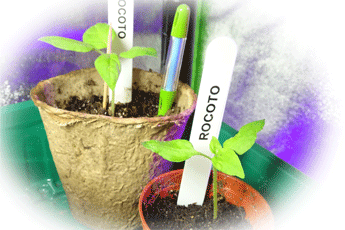
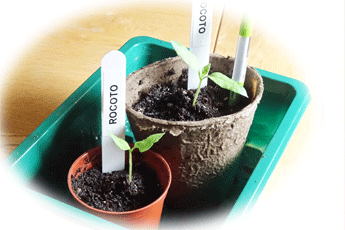
It has now been about seven weeks since my Rocoto seedlings  were planted. The tallest, named “Rocky” and “Rocco”, are about two to three inches tall.  They both have been potted on into 3-inch fibre pots. The rest (still to be named ?) are only about one inch tall. They are still in the eggshells they were started in.  The smaller seedlings still only have cotyledons. Once they develop their first set of true leaves, they too be potted on.

I have been pleased with these Chillies progress. Rocky and Rocco obviously like the new potting on mixture I developed last year. They are looking very healthy indeed. They are also definitely responding well to the current fertilization. I feed them with half strength Chilli Focus.  I am making sure they get the right amount of moisture with my newly acquired aquameters. These are little devices that allow you to gauge how wet potting soil is. Rocoto seedlingsEach of my larger Roccoto plants has one. When the indictor starts changing from blue to white, I know the time has come to give them water.
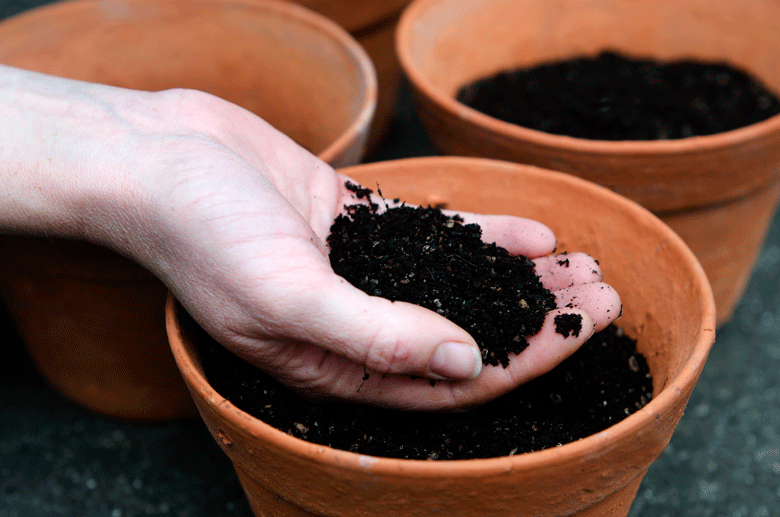
Since December, I am now only giving my seedlings rainwater. My wife bought me a rainwater barrel, and what a gift it was. I no longer have to use tap water. Watering Chillies with tap water can lead to nutrient lock out. I certainly don’t want that to happen with my Rocotos. They are, after all, my special plants

The general maintenance of these seedlings has been so far, so good. I am however still having to watch the aphids. As always, they always find a way of reappearing. This morning, I aim to wash the seedlings in a soap water solution that I make up. I use one tablespoon of a mild liquid soap like Castille, and add that to a quart of room temperature water. I then mix everything well. Once mixed, I turn the seedlings upside down (still in their pots) and submerge them in the solution. Normally this is enough to kill off any aphids, but to make sure I take it a step further. I allow the seedlings to dry, and then use my fingers to rub their leaves and stems. This wipes off any remaining aphids, whether dead or alive

Read more

Seed starting mix for Chillies

Getting ready for next year

A new round of seed starting will start at the beginning of next year. I aim to start these seeds in the middle of January. I have already started some superhots for next year’s season, and they are doing well. Some are already two to three inches tall and have been potted on for the first time. I expect to repot them into bigger pots at the end of January.

The seeds I will start in January have a shorter seed to maturity period than the superhots. They include Tangerine dreams, Malawian birds-eyes, Zimbabwe blacks and Trinidad perfumes. I expect them to germinate a week to ten days after they have been sown. They will probably be potted on for the first time in the middle of February.

With all this new seed started going to happen. I have decided to do some work on my seed starting mix. I have recently made some new discoveries that I want to try out.  So why not start now? It will give me more than enough time to trial the new mix until it comes to the serious business of the final round of seed starting for the new season.

Read more

The best way to grow Chillies

Finding the best way

To find the best way to grow Chillies, I decided to have a detailed look into every aspect of growing them. I explored all things Chilli in greater detail. This included seeds, potting mixes, and watering. I also touched on fertilisation. The exercise focuses on starting seeds and what happens after they have germinated. It then continues to when they are potted on for the first time.  In time, the series will be expanded to include a detailed look at what needs to be done when the weather warms up.

This project is being run alongside my venture into growing Rocotos. These are Chillies I am growing for the first time. It made sense to do it in this way, because each step of the growing process is recorded. The Rocoto seeds were planted about a month ago and are currently young seedlings. Some have already been potted on for the first time. This makes these Chillies the ideal choice to use as the testing ground to implement my newly gained knowledge

While I believe my previously published posts on seeds, potting mixes and watering have covered many of the bases, there are still gaps. I am now looking to join the dots. To achieve this, I aim to explore answers to things I am still considering.  I also want to verify the thinking behind decisions I have already made. It will also cover aspects like growing temperatures and other factors that I have not already dealt with. In this way, I aim to improve my Chilli growing technique and learn more about this fascinating subject

Read more

Potting on of the Rocotos

First potting on

Two of my Rocoto Chillies have been potted on. Not for the same reason, though. One was repotted because it is developing its first set of true leaves and has grown taller than its “pot” (see final note). The second, however, was potted on simply because it was in the same space as the first. Somehow I managed to plant two seeds into the eggshell I used to start these seeds. Doing his is usually a standard procedure for me when I start seeds. I typically sow more than one seed into the pod or pellet I use to start seeds, because it is insurance against failed germination. However, in the case of the Rocoto, the seeds‘ quality was exceptional, and I decided to use only one.
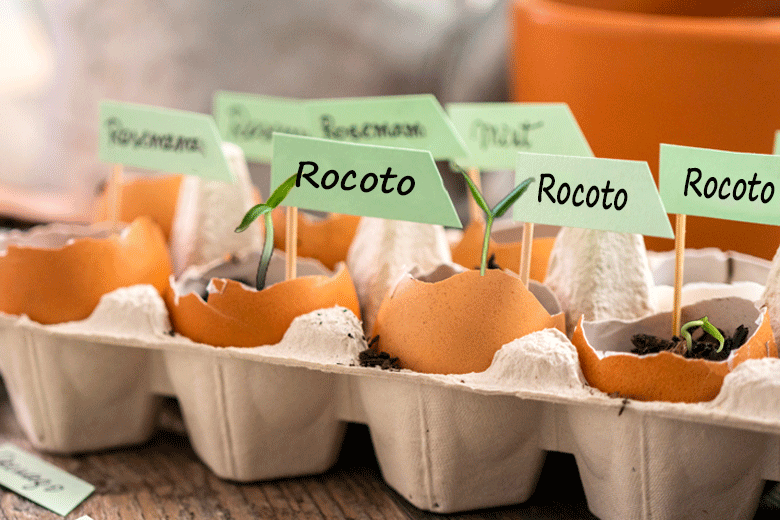
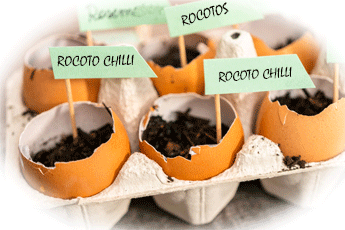
This potting-on was an interesting one for me. It is the first time I have repotted from eggshells. It was a bit finicky, and next time I will do things slightly differently. The finickiness came from breaking the shell to do the repotting. Where previously with peat pellets, I would have repotted the seedling still in the pellet. Here, I had to break the shell before I repotted the seedlings.  I wet the soil in the eggshells before breaking them so that it would hold together. But obviously not enough. It broke up when I removed the shell, and I was left with two seedlings with not much soil around them. It made repotting somewhat more difficult. There was a silver lining to this, though. It certainly made separating the seedling easier. That both survived and have taken to their new containers quite  happily.

Read more

Germination of rocoto seeds

The Rocotos have hatched

I was delighted a few days ago when I discovered that four of my Rocoto seeds had germinated. I was even more pleased this morning when I found that another had burst into life. Considering I expected germination for these seeds to take up to twenty days, it was a pleasant surprise indeed.

Instead of the time  I had  expected, the first seeds germinated in only ten days. What made the event even more pleasing was that the new peat-free seed starting medium had worked like a charm. To become peat free in my Chilli growing, where previously i would have used peat pellets, I tried something else.

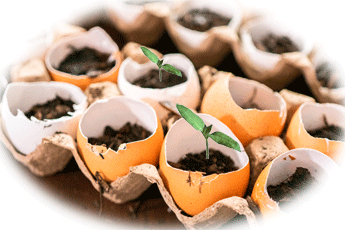
To start these seeds, I used eggshells as seed starting containers.  I filled the shells with John Innes seed starting compost that I had mixed with fifty percent vermiculite.

Okay, I have to admit that not everything was peat free. The John Innes compost contains a little .  It was however, a bag of compost I already had on hand. It will have served no purpose to throw it out. When the bag is finished, I will look at other peat-free starting composts. I have already done some research, and I could possibly make my own seed starting compost by next season.

If you read my last post, you might recall that I also used the egg tray in which the eggs were packed to germinate the seeds. I filled the cavities in the egg trays with a little vermiculite to aid capillary action between the capillary mat in my self-watering propagator. The eggshells were placed on top of the vermiculite in these cavities

Read more