
 Potting on for success
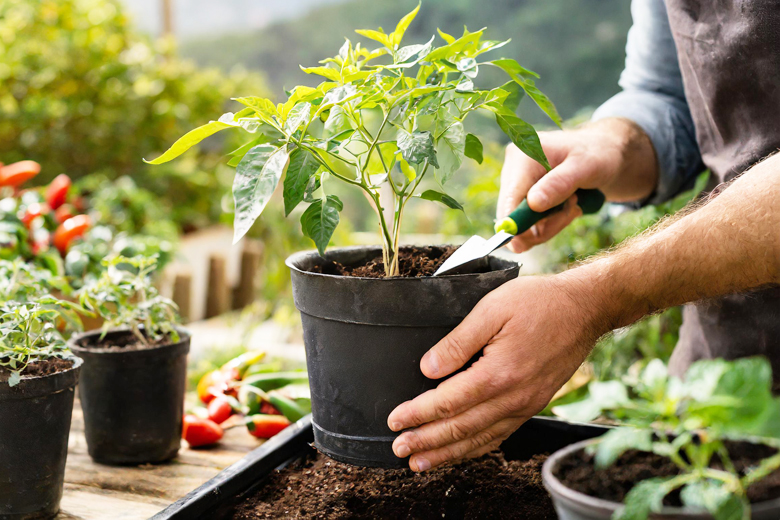
Potting on Chillies isn’t just a routine task; it’s a strategic process that directly influences the vitality and productivity of your Chilli garden. Each stage of potting on—from the delicate transfer of seedlings to the final placement in larger containers—is carefully orchestrated to provide your plants with the space, nutrients, and support they need to flourish. Understanding these stages ensures you nurture your Chilli plants from their infancy to their full potential, fostering a deeper connection with your garden.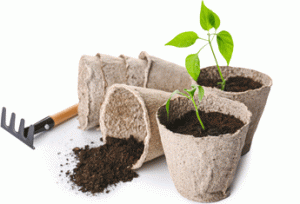
In this guide, we’ll delve into the intricacies of potting on, offering insights into selecting the right pot sizes based on the specific characteristics of your chilli variety. Whether you’re nurturing compact ornamental peppers or cultivating sprawling heirloom varieties, understanding how pot size impacts root development and plant growth is key to success. With our guidance, you’ll be able to tailor your potting strategy to suit the unique needs of your Chilli plants, fostering healthy growth and abundant harvests.
Join us as we explore the importance of potting on at every stage of your Chilli plants’ growth journey. From the early days of seedling development to the exhilarating moments of flowering and fruiting, we’ll equip you with the knowledge and techniques to ensure your Chilli plants thrive and produce a bountiful harvest. With our comprehensive approach, you’ll feel confident and empowered to tackle each potting stage with precision and care, setting the stage for a successful chili-growing experience.
 Stage 1: Seedling Development (1-2 inches)
When your Chilli seedlings develop their first true leaves, usually around 1-2 inches in height, it’s time to pot them on them from their nursery trays into small pots, typically 2-3 inches in diameter, containing approximately 0.25-0.5 litres of soil. The size of the pot may vary depending on the variety of Chilli you’re growing. At this stage, delicately lift the seedlings, being mindful of their tender roots, and transplant them into the new pots.
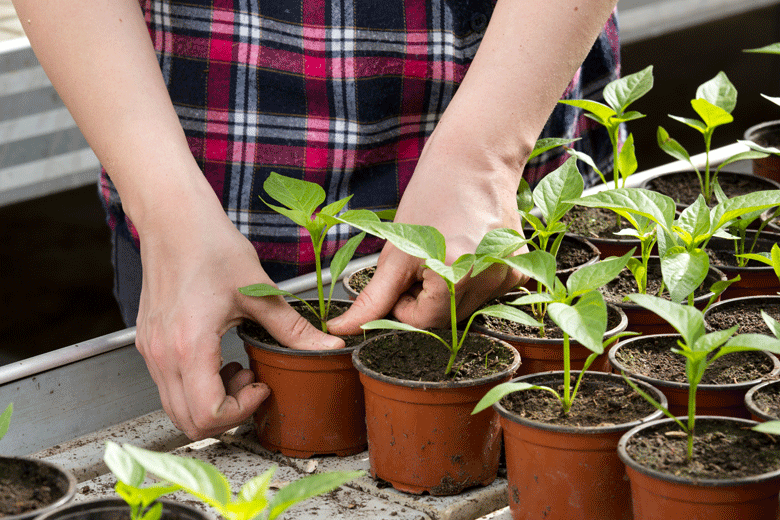
Stage 2: Early Growth (3-4 inches)
As your young plants grow to 3-4 inches in height, they’ll need more room to stretch out. Pot them on into slightly larger pots, around 5 inches, containing approximately 1 litre of soil. Again, adjust the pot size according to the specific variety’s growth habits, ensuring the root ball has ample space to expand. This stage is critical for establishing a robust root system, so handle the plants with care to avoid disturbing the roots.
Stage 3: Pre-Flowering (8-10 inches)
Once your Chilli plants reach the pre-flowering stage, usually around 8-10 inches tall, it’s time for another pot upgrade. Move them into pots ranging from 8-10 inches in diameter, containing approximately 4-6 litres of soil. Choose the pot size based on the specific variety’s anticipated size and root development, ensuring the root ball fits comfortably within the new container. This transition supports their increasing size and prepares them for the upcoming flowering phase.
Stage 4: Final potting on (12-14 inches)
Finally, when your chilli plants are thriving at 12-14 inches tall, before they enter flowering and fruiting stage, transfer them into larger pots, typically 11-15 inches in diameter, containing approximately 10-25 litres of soil. This is the last time that the plants need to be potted on for the season . Adjust the pot size accordingly, considering the specific variety’s growth potential and root space requirements. Ensure the root ball has enough room to spread out and access nutrients, promoting healthy growth and abundant fruiting.
By following these potting on stages and adjusting pot sizes based on the variety’s characteristics, you’ll set your chilli plants up for success, ensuring they have the space and support they need to thrive and produce a bountiful harvest! 🌱💧 #ChiliGrowing #PottingStages #GreenThumb