

Lacto fermentation
Enjoy a kick of spice but want to add some depth to your chilli peppers? Meet lacto-fermentation! This ancient preservation technique not only adds extended shelf life to your chillies but also yields incredible new flavours, from bright and snappy to deep and umami. You’ll also get a probiotic-friendly dose of probiotics. Forget bland dried peppers—let’s enter the world of bubbling, funky, and delicious fermented chillies!
If you’ve ever had a traditional fermented hot sauce like Tabasco or a spicy, funky kimchi, then you’ve already experienced the magic of lacto-fermentation. The process takes an unassuming ingredient and transforms it into something much more fascinating and complicated. It’s not so different from brewing beer or aging cheese—you’re working with time and teeny-tiny microbes to create something really, really special. The end result is a tangy, probiotic-laden product that doesn’t taste the same as the raw pepper you started with.
The best part? Lacto-fermentation is a very simple process that requires virtually no specialised gear at all. All you’ll need to get started is a jar, some water, and some salt. If you’ve got a garden full of chillies growing in your backyard, or you’re just curious to try out a new kitchen skill, lacto-fermentation is a great side project that will elevate your cooking. You not only get to keep your harvest but also open a whole new world of flavour that you can apply to so many recipes.
What is Lacto-Fermentation?
Lacto-fermentation sounds complicated, but really it’s a simple process which makes use of the natural bacteria present, in this case Lactobacillus. These beneficial microorganisms feed on the sugars present in chilli peppers (and other foods) and convert them into lactic acid. The acid acts as a natural preservative, stopping rot and producing that distinctive pungent flavour.
Why Ferment Your Chillies?
- Flavour! Fermentation converts the raw heat of the chilli into something much more nuanced. There’s a sour, tangy and even sweetish profile that is perfectly balanced with the heat.
- Probiotics: Fermented food is full of healthy bacteria that can help keep your gut microbiome in balance.
- Preservation: It’s a quick, low-energy way to store a glut of chillies. Your fermented chillies will last months in the fridge.
- Customisation: Ferment a single chilli type or mix and switch. Add garlic, herbs, spices, or even fruit to create your own unique hot sauce base.
What You’ll Need:
- Chilli Peppers: Whatever variety you like! Jalapeños, habaneros, Thai chillies, or get creative.
- Non-Chlorinated Water: Chlorine will suffocate the good bacteria. Use filtered, bottled, or boiled and cooled tap water.
- Salt: Employ a non-iodised salt like sea salt or kosher salt. Iodine and anti-caking agents can disrupt the fermentation. The rough ratio is 2-3% weight of salt per combined weight of Chillies and water. One simple way to get there is to make a brine: 1 tablespoon of salt for 2 cups of water.
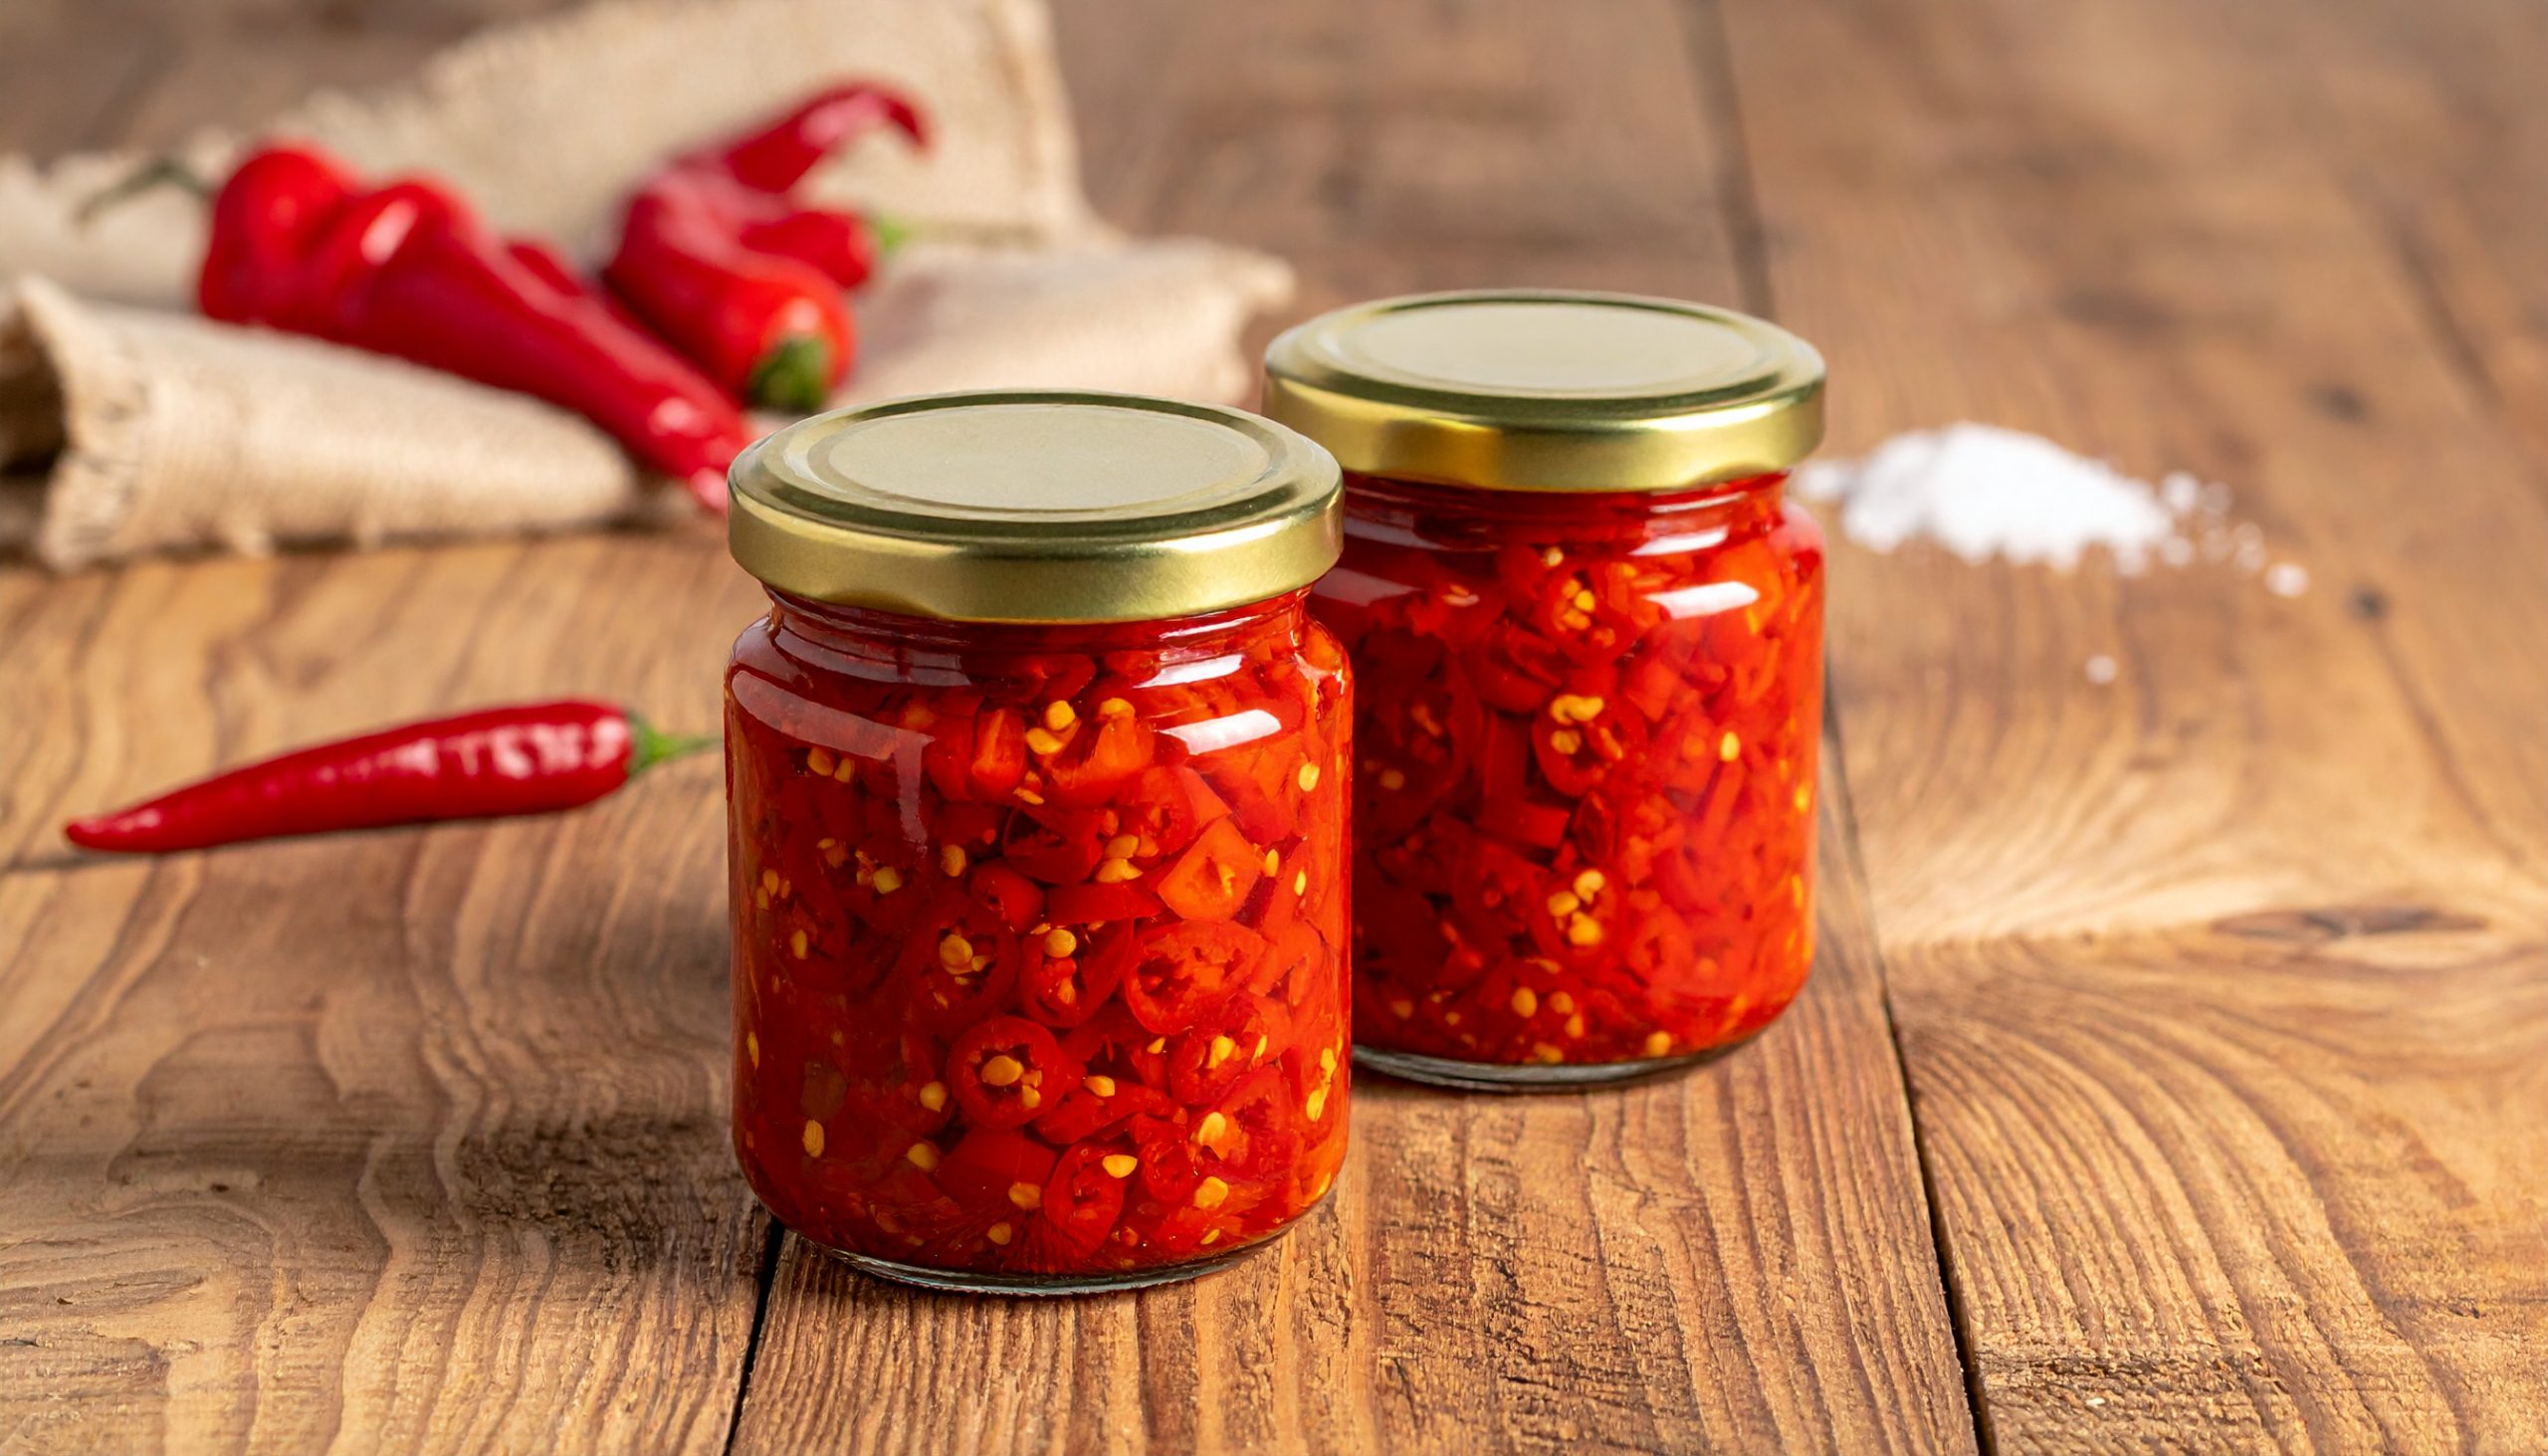
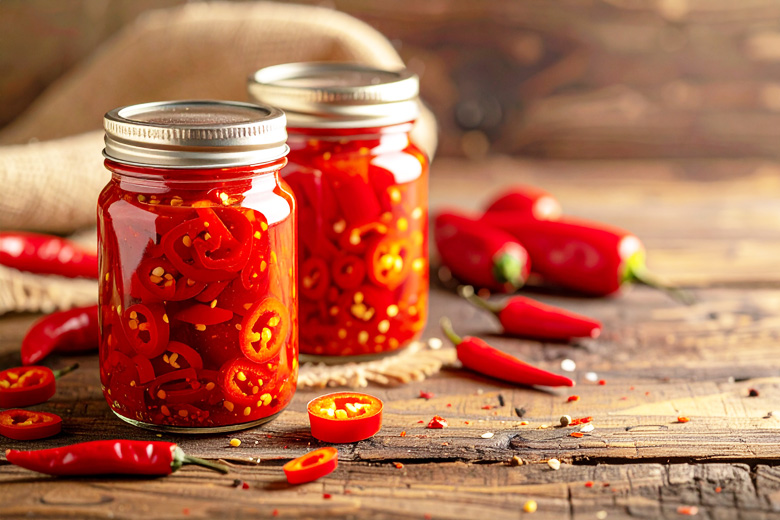
- A Jar: A sterile glass jar with a close-fitting lid is perfect. Alternatively, you can use a dedicated fermentation crock.
- Weight (Optional but Very Highly Recommended): A fermentation weight, a brine-filled plastic bag, or a small jar of water will hold the peppers underwater.
- Patience!
Step-by-Step Guide to Fermenting Chillies:
- Prep Your Peppers: Wash your chillies and remove the stems. You can leave them whole, slice them into rings, or roughly chop them. The smaller they are, the faster the fermentation.
- Make the Brine: In a separate container, dissolve your salt in the non-chlorinated water. Stir until dissolved.
- Pack the Jar: Fill your sanitized jar with your chilli peppers. You can add other aromatics like garlic cloves, sliced onion, or peppercorns at this point.
- Submerge Everything: Add the salt brine over the chillies, ensuring complete coverage. This is an important step in preventing mould. Leave a bit of space at the top of the jar, some inch headspace.
- Add a Weight: If you have one, place your fermentation weight on top of the chillies to weigh them down under the brine. Alternatively, if not, a small glass or baggie of brine will work just fine to press them down.
- Seal and Store: Loosely screw on the lid (this is important to allow for gases to escape) or, if you have one, use an airlock. Keep the jar in a cold, dark location, away from direct sunlight. A pantry or cupboard is ideal.

The Fermentation Process:
Day 1-3: You may not see much happening, but the magic is working! The brine should be cloudy.
Day 4-7: You ought to see bubbles! This is a sign that the Lactobacillus bacteria are fermenting, creating carbon dioxide. Burp the jar daily by opening the lid to allow the gas to escape.
Beyond: Continue fermenting for 1-4 weeks, depending on the temperature and sourness level you desire. Try a small piece of chilli after one week to see if you like the taste.
When It’s Ready: When the chillies turn sour to your taste, put the jar into the fridge. The chillies will slow down the fermentation process considerably in the cold temperature.
How to Use Your Fermented Chillies:
Eat Them Straight: They are an excellent tangy and hot condiment.
Create Hot Sauce: The ultimate favorite application! Blend the fermented chillies with some of the brine and the remaining ingredients (like vinegar, garlic, or a pinch of honey) together to create a lethal homemade hot sauce.
Use in Dishes: Chop them up and add to tacos, salads, sandwiches, or eggs for added flavor.
Troubleshooting
Fuzz or Mould: If you see white or greyish mould on the surface, it means that your peppers got exposed to air. Take it off and ensure everything is completely under water. But if you see pink, blue, or black mould, you need to discard the batch.
White Scum: This is typically Kahm yeast, which is harmless and a byproduct of fermentation. You can take it off.
Slippery Chillies: This is quite common during the early phase of fermentation.
Happy fermenting! Have you had a try at fermenting chillies already? What are your favourite flavour combinations? Share your tips and results in the comments below!
Tools
Your The Chilli Workshop conversations aren’t utilized to enhance our models. Ge