 Let’s make Jerk chicken
This jerk chicken recipe is made in three stages. The first stage is brining the chicken. For the brining, I will need a large chicken, one Scotch bonnet Chilli, a big piece of root ginger, a tablespoon of pimento berries (allspice), a medium head of garlic, a quarter cup of brown sugar, enough water to cover the chicken, and one tablespoon of salt flakes for every cup of water used. I wanted my brine to contain six to seven percent of salt in total.
First, I cut the chicken into pieces and placed the pieces into a pot. I then added water by the cup until I had added enough water to cover the chicken completely. I then removed the chicken from the water and placed it in a glass dish. I placed the chicken in the refrigerator and discarded the water
In a new pot, I added four cups of fresh water into a pot (this was the amount of water it had taken to cover the chicken). I then added four tablespoons of salt flakes. To this, I added the pimento, ginger and head of garlic. (I had previously cut these in half without peeling them.) Next, I added the sugar and the Scotch bonnet, which I had also cut in half
I slowly brought the brine to a simmer, stirring all the time until the salt and sugar had completely dissolved. I then took the brine off the heat and let it cool down. I then added some ice cubes to the glass container the chicken was in, and poured the brine over the chicken. The reason for adding the ice was to make sure that brine was cold enough. This is an essential step, otherwise food safety could have been jeopardised
After covering the dish with cling film, I placed the brining chicken in the refrigerator. I left the chicken in the brine for twenty-four hours. It would have benefited if I had left it in the fridge for longer (i.e., up to forty-eight hours). During this time, the meat absorbed the flavours of the aromatics, the pimento berries and the salt and sugar.
The next steps

Jerk marinade
In the meantime, I made the jerk marinade I was going to use to marinate the chicken in. To do this, I needed 250 ml of tamari, half a cup of gluten free Worcester sauce, two tablespoons of fresh thyme leaves, one tablespoon of ground allspice, one teaspoon of cinnamon, a tablespoon of brown sugar, a quarter cup of tamarind paste, five fresh bay leaves, four chopped Scotch bonnets, five finely chopped cloves of garlic, one bunch of chopped scallions and 50 mm piece of (peeled and finely sliced) ginger
Once I had all the ingredients together, I blitzed them into a chunky paste in a blender. I didn’t want the sauce to be too smooth. I wanted it to be slightly on the coarse side. Once everything was mixed, I poured the sauce into a jug and placed it in the refrigerator. I needed all the flavours to mingle
And this is where the second stage of this Jerk chicken recipe starts. After the chicken had been brined, I took it out of the brining water and placed it into a separate glass dish. I poured about sixty percent the chunky paste over the chicken. I then used my hands to massage the marinate into the meat and under the skin of the chicken pieces. I was wearing rubber gloves when I did this, as I knew there was a substantial amount of scotch bonnets in the paste. Not doing so could have proved dangerous
After covering the chicken in the dish with cling film, I placed it back into the refrigerator to marinate for twenty-four hours. While it was marinating, I made jerk sauce. For this, I needed one large onion, three tablespoons of vegetable oil, four cloves of garlic, a large piece of root ginger (peeled and finely sliced), half cup of brown sugar, one teaspoon of cinnamon powder, half a teaspoon of nutmeg, a cup and a half of tomato ketchup, and the remaining jerk marinade
The final stages
Sauce and cooking
To make the sauce, I sautéed the onion and garlic in the oil in a skillet until they were just turning translucent. I then added the ginger and allowed it to cook through for a while. I then added the rest of the ingredients and gave everything a good stir. I allowed the sauce to simmer slowly for thirty minutes. I then allowed it to cool. Once the sauce had cooled, I added to a blender and blitzed it until it was smooth.
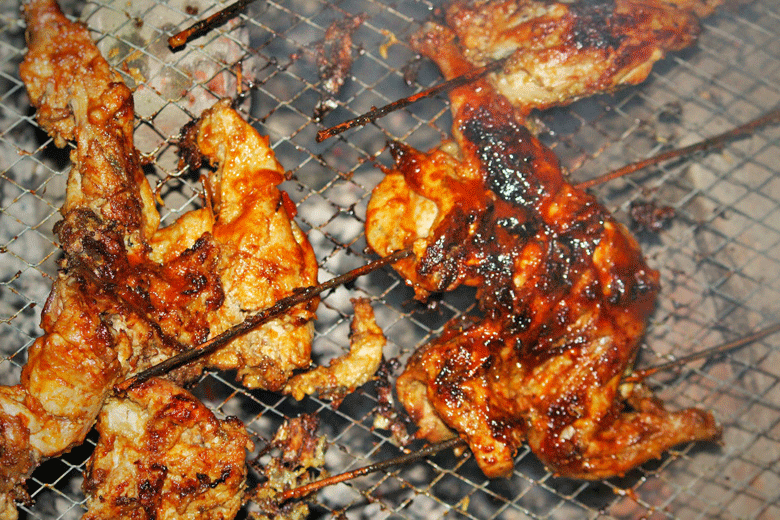
The final stage of making this jerk chicken recipe was cooking it. To do that, I soaked wooden chips in water for half an hour. I then placed some briquettes into my kettle barbeque, and using firelighters set them on fire. When they had reached a grey, white colour, I placed the soaked wood chips on the coals. Then I placed the marinated chicken pieces on a grill above the glowing coals. I placed the dome on the kettle barbeque and let the meat barbeque for ten minutes. During that time, the chicken was being infused with smokiness created by the wood chips. After ten minutes, I returned and flipped the chicken pieces. I placed the dome back on the kettle BBQ and let the chicken pieces cook for another ten minutes
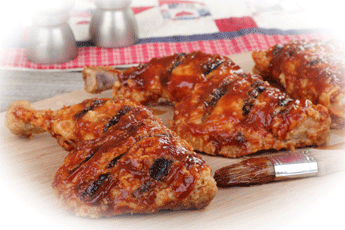
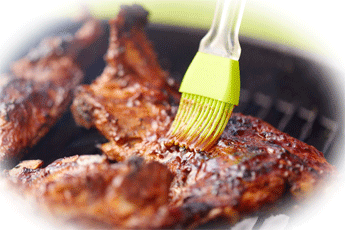
After that, it was now time to start painting jerk sauce on the pieces. I did with my marinade brush and continuously turned to chicken to prevent the meat from burring. Doing this created a nice, caramelised colour to the chicken pieces and flavoured it wonderfully
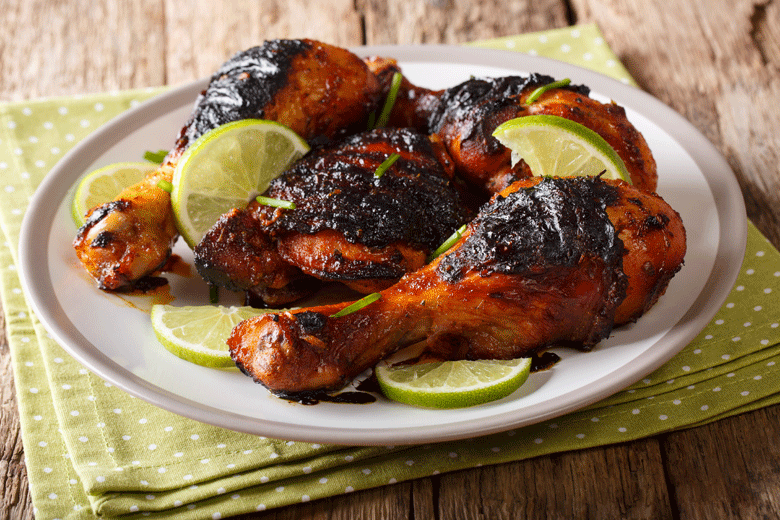
Once the chicken was well cooked, I was ready to serve. The chicken was served with the remaining jerk sauce. I could have warmed up the sauce before serving it, but decided not to. It is entirely optional
Finally
This recipe was designed to be gluten free, but can also be made with ingredients that contain gluten. To do this, the tamari can be replaced with soya sauce, and the Worcester sauce does not need to be gluten free.
I served this jerk chicken with a salad, but traditional accompaniments include Jamaican rice and peas, mango salsa, collards, plantains, or coleslaw. Mango salsa is a particularly interesting accompaniment to jerk chicken, as it also contains Chillies. It is made with mangoes, avocados, jalapenos, onions, green coriander, lime juice and spices. It is certainly something I will try the next time I make jerk chicken.

